
Authentic Neapolitan Pizza Dough Recipe
Last updated on March 4th, 2025 at 11:01 pm
Preparing an authentic Neapolitan pizza dough recipe may look easy. But I can assure you that making a good Neapolitan pizza is tricky. In my opinion is one of the most complicated pizza dough to perfect. Simply because it has a lot of variables to keep in mind and to consider. For example one of the most important problems when making Neapolitan pizza is finding the right balance between extensibility and elasticity. In fact a lot of people I was in touch over the last few years have the same problem: the pizza dough does not stretch easily and is too elastic.
Troubleshooting the issues of a Neapolitan pizza dough recipe is not an easy task. But today I am concentrating on giving you a recipe that simply works. One that at the end of the process will give you a Neapolitan pizza crust that melts in your mouth and that you almost don’t need to chew. Of course, you will also enjoy an easy to stretch pizza dough.
So, let me share what are the the topics of today:
- What is a Neapolitan pizza Dough?
- How do you know that yours is a well done Neapolitan Pizza?
- Neapolitan pizza crust ingredients
- How to knead Neapolitan pizza dough
- Bulk fermentation and pizza dough balls
- Last fermentation and oven pizza baking
- Kitchen Tools for Neapolitan pizza dough recipe
As you know, I am not just touching the surface of the recipe. I like to go deeper with explanations and tips. Moreover I love to share the authentic Italian pizza culture. So we are going to start answering a common question and giving some less known cultural aspects of the modern Neapolitan pizza.
What is Neapolitan pizza dough?
I explained already what is Neapolitan pizza in my article about authentic Italian pizza. And recently I published another article where I explore deeply the concepts of traditional Neapolitan pizza and the modern Neapolitan pizza variations. I strongly recommend you to read them. But now I want to highlight something else.
In fact I am not going to dig into the history of this typical Italian pizza. On the contrary I will touch a bit some of the technical aspects that make this pizza so special. This will also help me to introduce you to the recipe I am sharing in few seconds.
Tipo 00 is the most used flour for Neapolitan pizza.
This is the Italian classification of the flour type.
In your country you may have the same flour but simply categorized in a different way
Neapolitan pizza is a specific type of round pizza that is prepared strictly with four ingredients: flour, water, salt and yeast. The typical flour used during the last decades is the well-known tipo 00. This is the most refined flour from soft wheat. Tipo 00 is the Italian classification of the flour type.
In your country you may have the same flour but simply categorized in a different way. I created in the past a table that tries to map the flours types around the world. It is true, however, that what is classified as tipo 00 for pizza is very often a flour with various kinds of soft wheat, enzymes and additives that tune the flour itself to be more adaptable to make Neapolitan pizza.
And talking about flour, we open a further technical discussion. Because in Neapolitan pizza dough you need to find the right balance between elasticity and extensibility. Definitely using a flour that is not meant for pizza makes everything much more complicated. For example: if you use 100% high gluten flour you will get a dough that most probably will have close to no-extensibility. And of course when you are tossing the dough ball this is a problem!
One more technical topic is about temperatures. A typical Neapolitan pizza is baked at very high temperature. If the traditional Neapolitan is baked at up to 485C (or 905F), the modern version of this pizza is baked at a much lower temperature. For example, the Neapolitan pizza recipe I am sharing is baked at around 400C in my Ooni Koda 16.
One last info: beware of a recipe that use oil in a traditional Neapolitan pizza dough 🙂
How do you know that yours is a well done Neapolitan pizza?
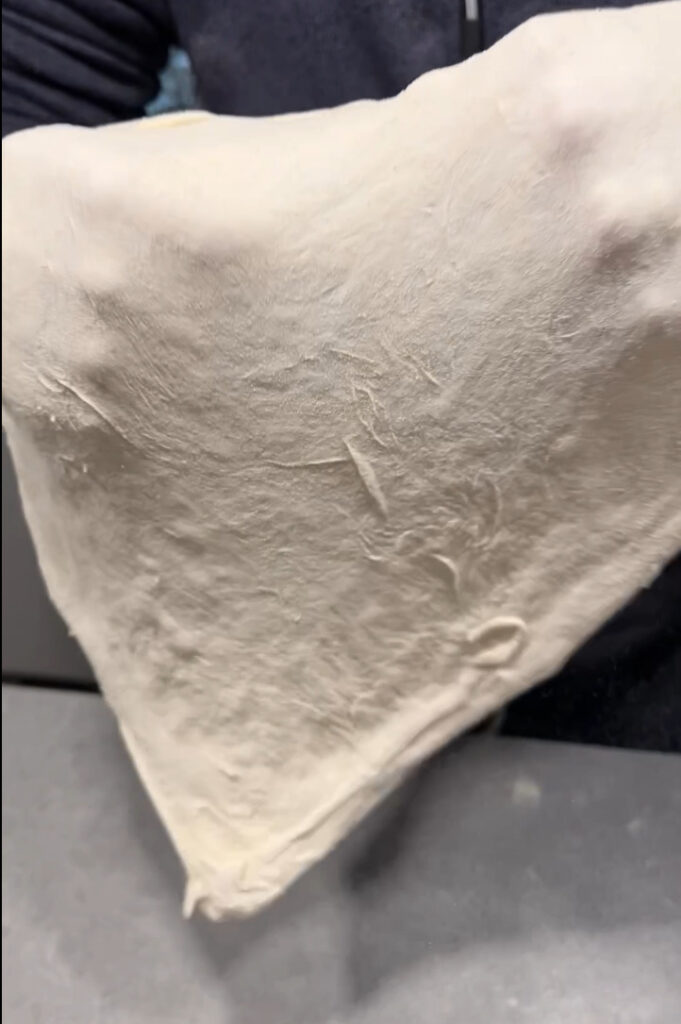
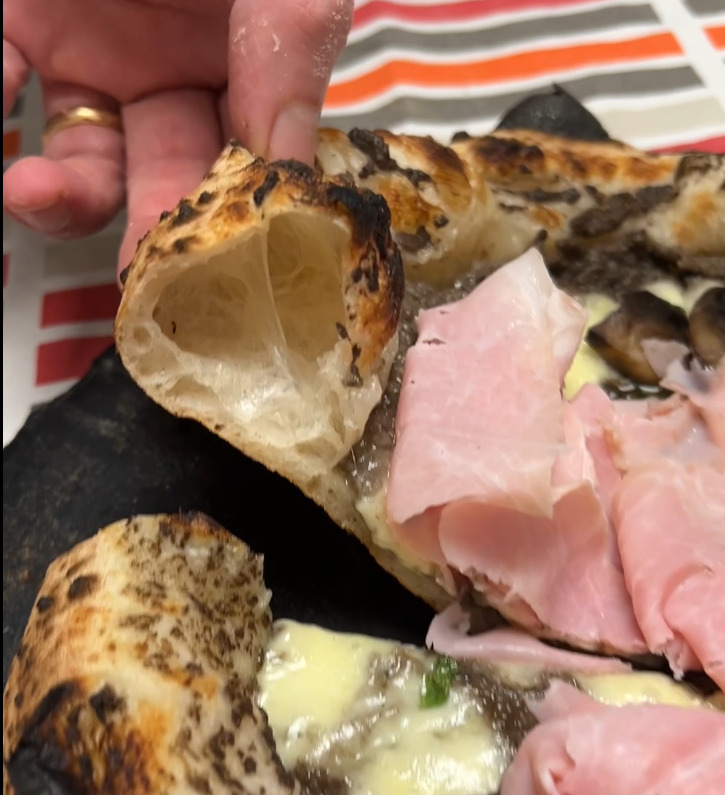
I think that the best way to understand if you did a good job with your Neapolitan pizza dough recipe is to look at how easy you can stretch the dough ball. A well done pizza dough should be super easy to toss. You expect almost no elasticity, just what is enough not to rip your pizza dough disc.
Why is this so important? Simply because the elasticity is kept also after the baking. It moves to your bite. Our goal should be an easy pizza bite with almost no chewing. All experts say that the authentic Neapolitan pizza has to melt in your mouth almost by itself.
And how do you reach this good melting feeling? Well, this is where Neapolitan pizza dough becomes tricky and one of the most complex pizza styles. There is not an easy a short answer. But for the purpose of this article I think it is enough to share that everything starts with the right flour and then following the right process. Especially working appropriately during the bulk fermentation and the dough balls rising.
The second aspects you are searching for is: you should be able to fold the pizza in four parts without braking the crust. In Naples they would say that you want to be able to have a “pizza a portafoglio“, literally translated it means like a wallet. In other words: fold the pizza on itself, like this:

Last but not least: Neapolitan pizza is never crunchy. Maybe a little bit crispy on the cornicione and exclusively when is just coming out of the oven. The center of the pizza has to be extremely soft, so that you can fold the tip of the slice on itself, like this:
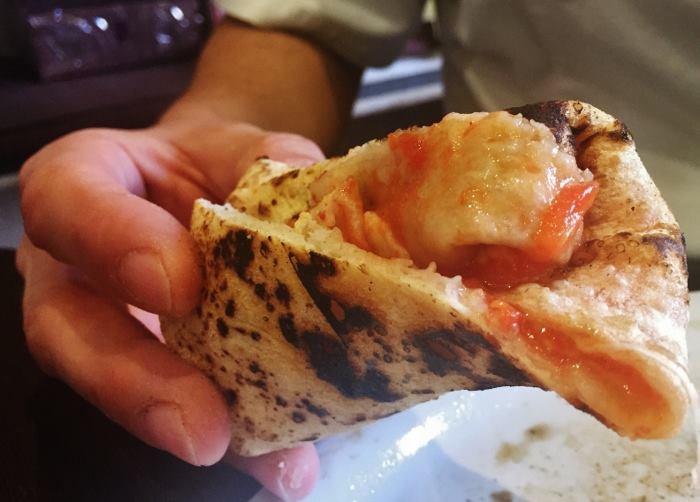
What said is the bare minimum to know before you start to prepare an authentic Neapolitan pizza dough recipe.
Neapolitan pizza crust ingredients
For this authentic Neapolitan pizza dough recipe we are going to use the standard four ingredients. This time we will prepare a 65% hydration dough suitable for a total of 24 hours fermentation. The pizza proofing will be partially at home temperature and partially in fridge.
So let’s start with the pizza ingredient list for 5 Neapolitan pizza dough balls. Then I will spend a few words on the flour and yeast.
| Ingredient | Quantity |
|---|---|
| Flour | 775 gr |
| Water | 505 gr |
| Yeast | 2,3 gr |
| Salt | 18 gr |
As I said before, the most classic flour for Neapolitan pizza is the Tipo 00. In other words an all-purpose flour. Pay attention though: you need to have at least 12.5% of proteins! This would a good indication of a flour that can sustain 65% hydration. Ideally you want to prefer a flour that is designed for pizza. Brands that sell thos kind of flours internationally are Caputo, Polselli and Le 5 Stagioni. I recommend to search for them online or in your area.
I personally don’t use Tipo 00 flour. I generally prefer a Tipo 0 and/or Tipo 1. I like to use less refined flours. In fact most of the time I prepare pizza dough with 80% of Tipo 0 and 20% of Tipo 1. You can do the same if you have already experience making Neapolitan pizza. If you are still new, I recommend to stick on single flour type. The recipe above is tuned for Tipo 00 and tipo 0 flour. And is flexible enough if you want to add up to a 10% of Tipo 1.
For the yeast I always prefer fresh one. If you can’t find it you can use instant dry yeast. In this case modify the recipe and use 1 gram of instant dry yeast.
How to knead Neapolitan pizza dough
This time I will be showing you how I am kneading using a spiral mixer. But the majority of concepts will not change if you use a stand mixer. Even though, you need to be careful with temperatures and you will need more time and less rush in how you add water. I have in the pipeline another article that will describe exclusively how to deal with making pizza with a stand mixer.
If you are interested in making this authentic Neapolitan pizza dough recipe kneading by hands, have a look at my article about how to make Neapolitan pizza dough in 8 hours. The kneading mechanism works perfectly also for today’s pizza recipe.
To make everything easier for you we will divide the kneading in few steps.
Prepare ingredients and start kneading
First, weigh all ingredients and get them ready. Make sure you use cold water, directly from fridge. Then, put all flour and yeast in the mixer and let it start at low speed for 2-3 minutes. We want to have flour to breathe:
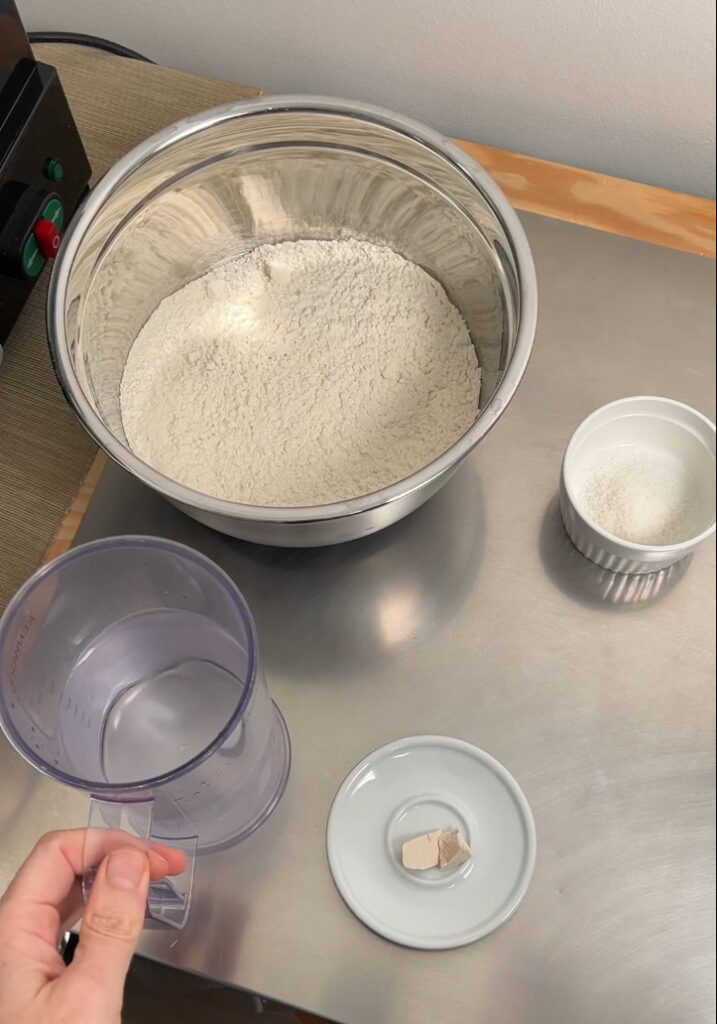
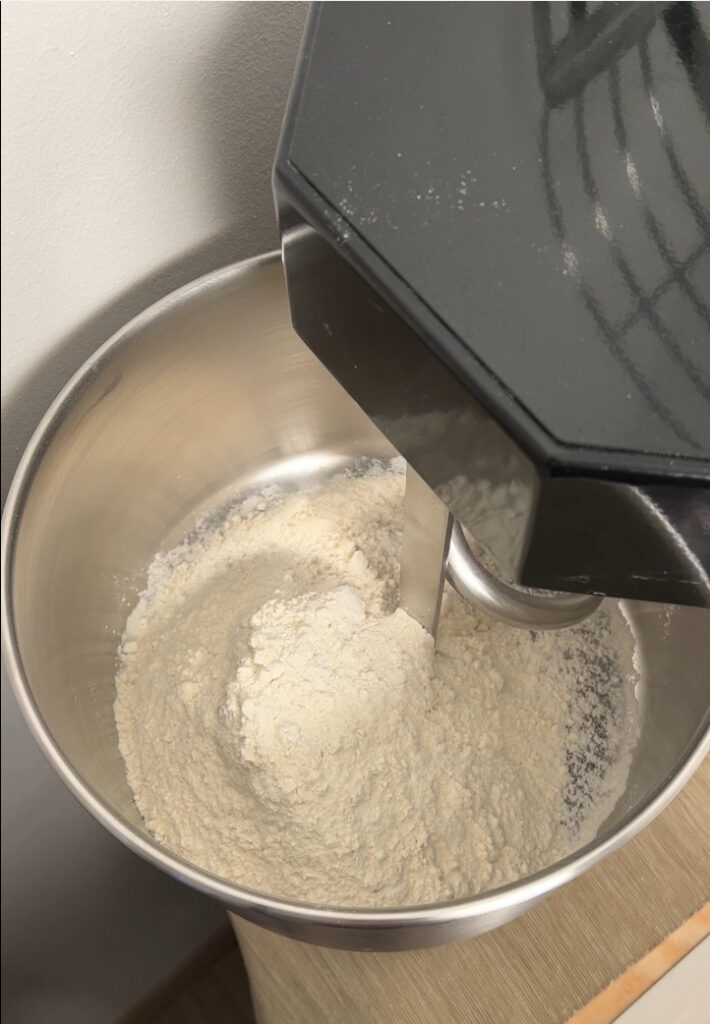
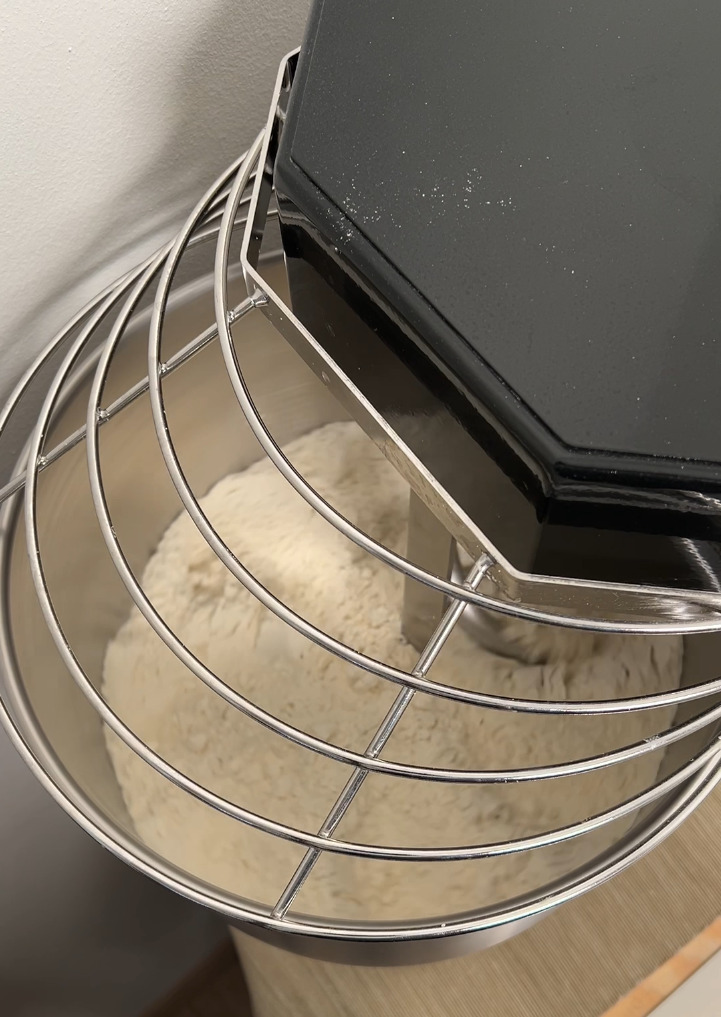
After that, you can start pouring water. Pay attention here! You want to pour water slowly and with the goal to reach about 60% hydration. It means that at the beginning of this phase you will add about 480gr of water, leaving out the remaining for the last part of the kneading. I personally add the initial part of the water very slowly and taking a couple of breaks from pouring. This will help the flour to absorb water better:
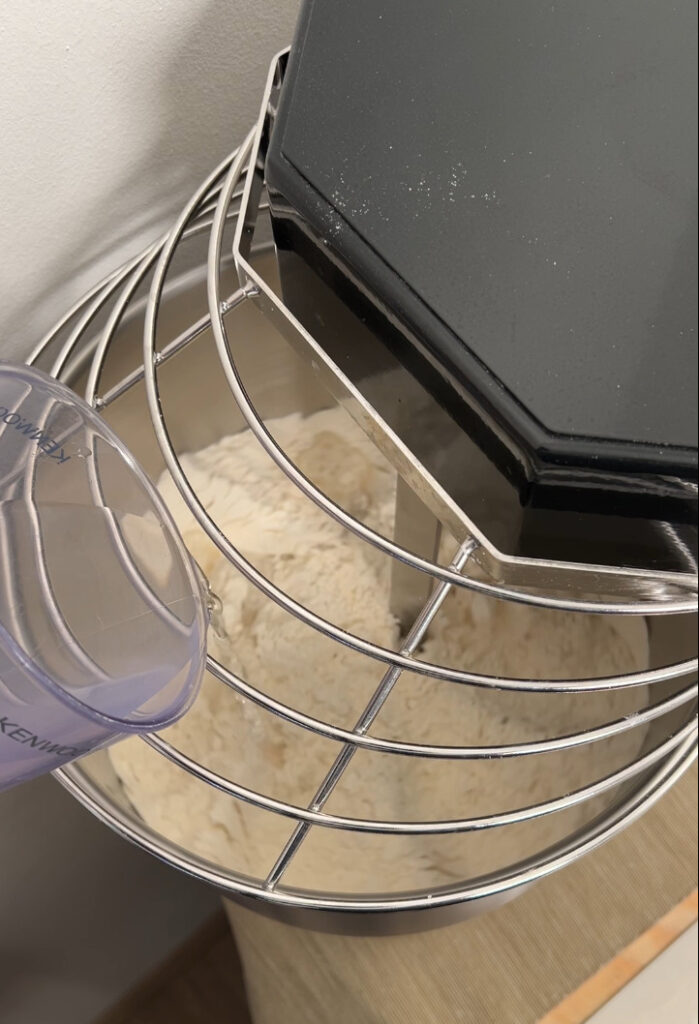
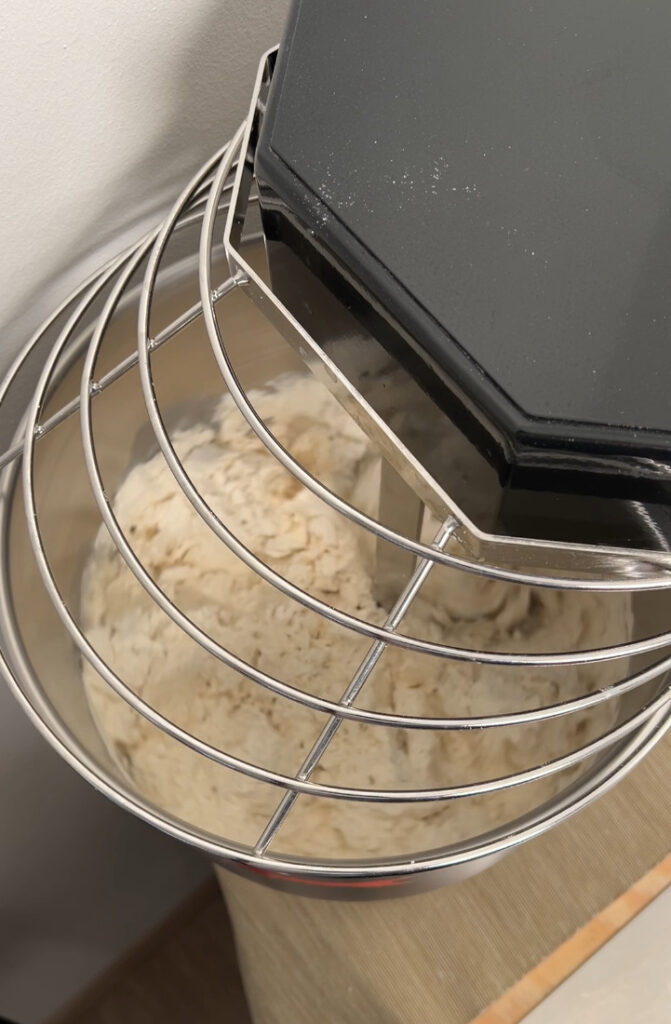
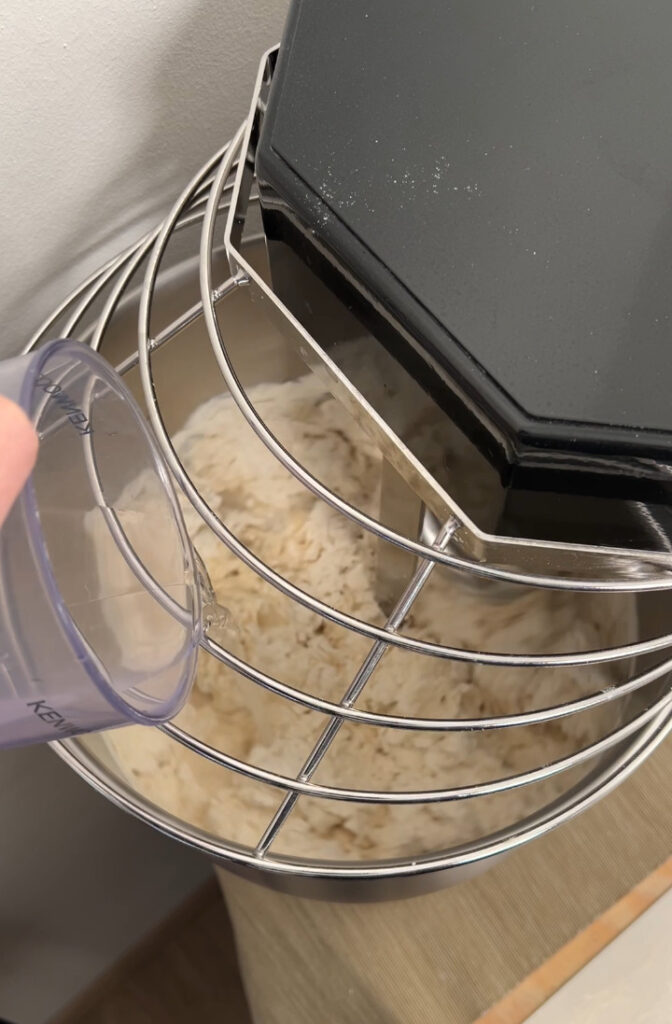
Then let the spiral dough do the kneading properly. It will take several minutes before you will start seeing the dough becoming what is called “the pumpkin”. From the pictures below you will understand why this name:
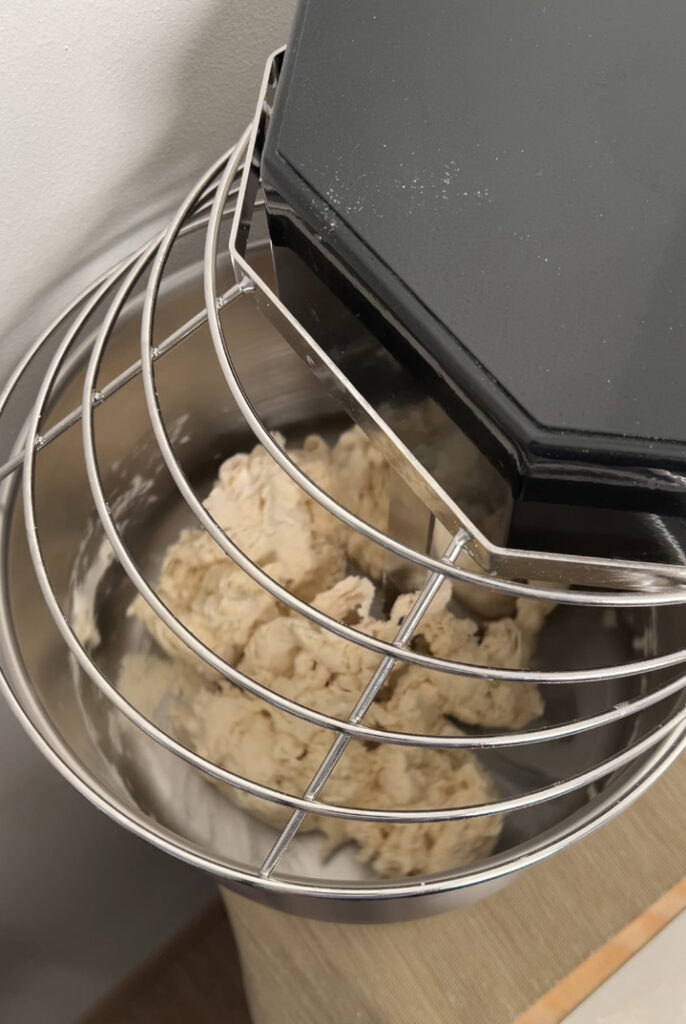
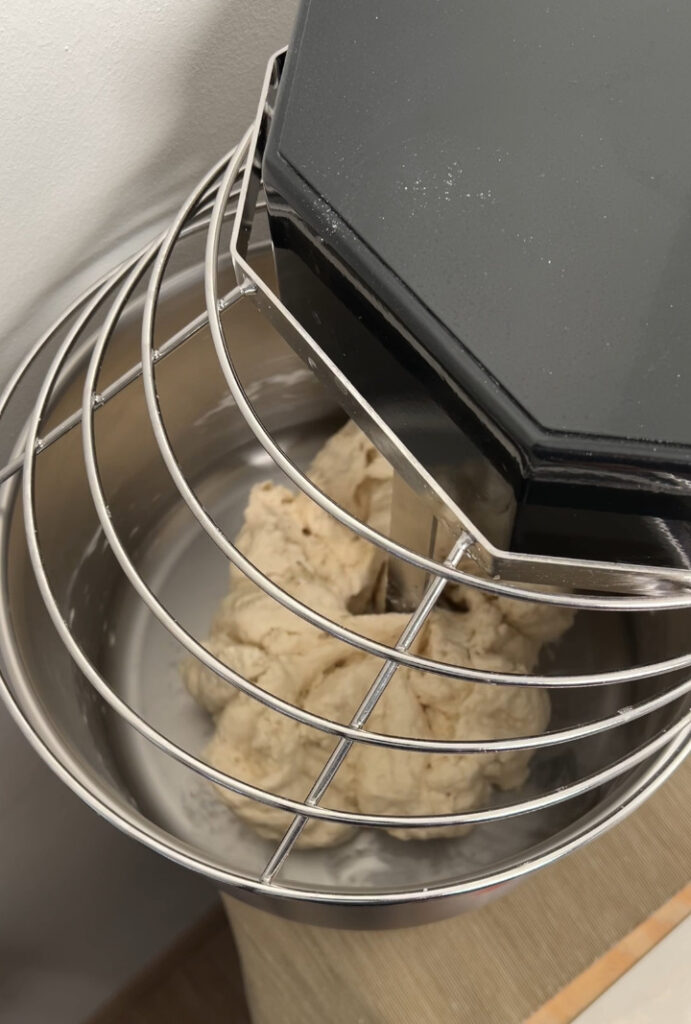
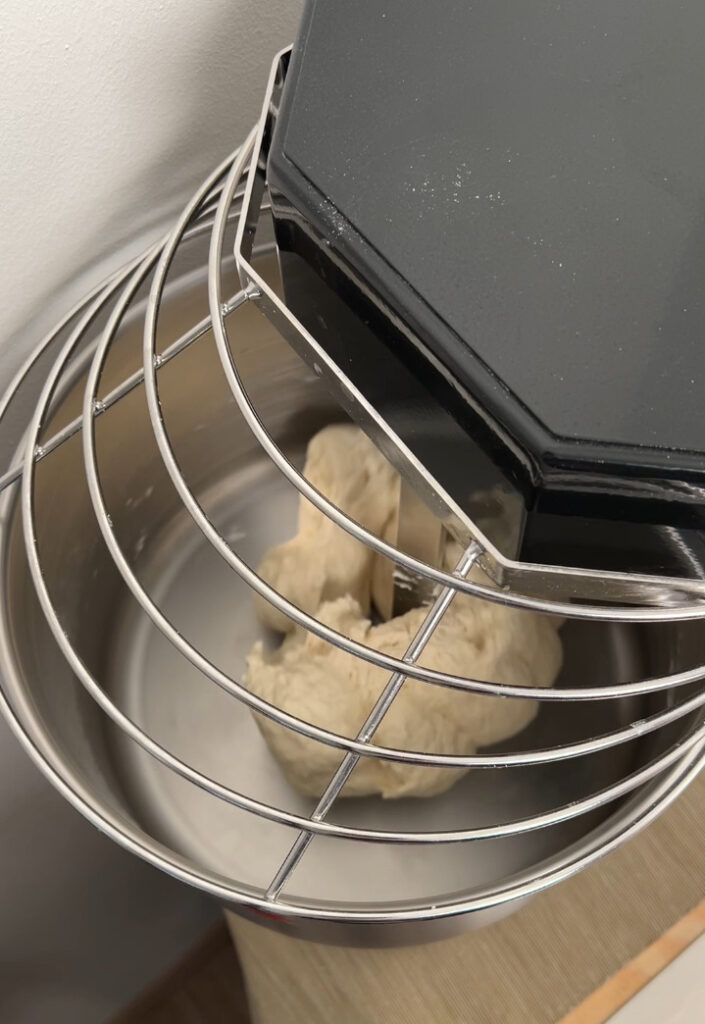
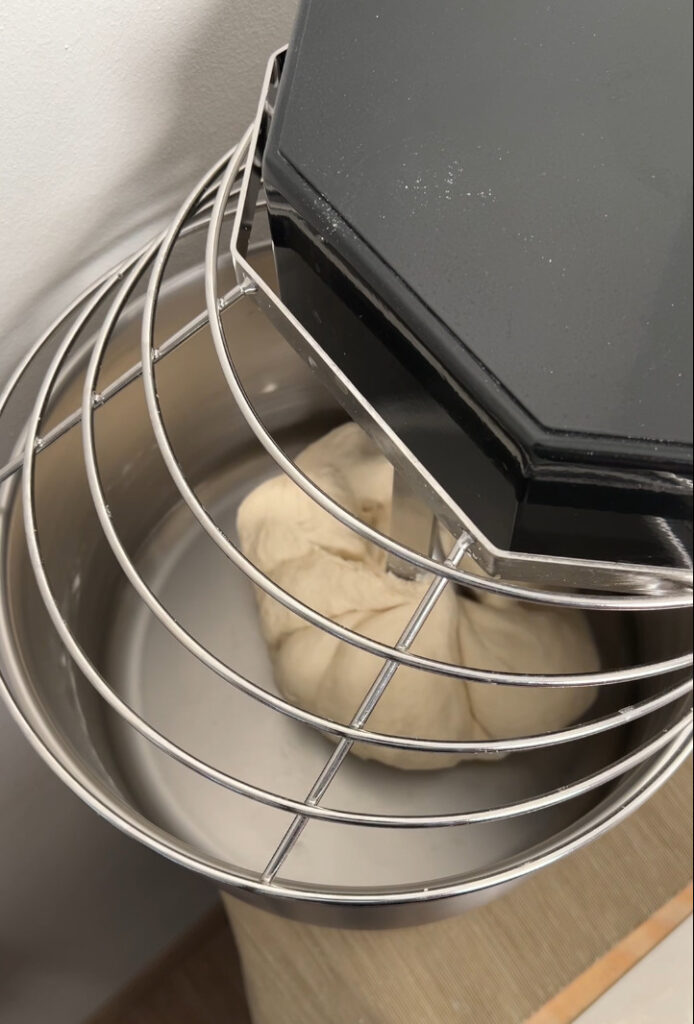
As you can see the pizza dough starts to look like a pumpkin. And now is when we are ready to go into the second part of the kneading
Adding Salt, remaining water and conclude the kneading process
Once “the pumpkin” is there (in my mixer it takes about 8-10 minutes since the start of the kneading), yuo want to add the remaining salt and just a few drops of water to ease the salt absorption:
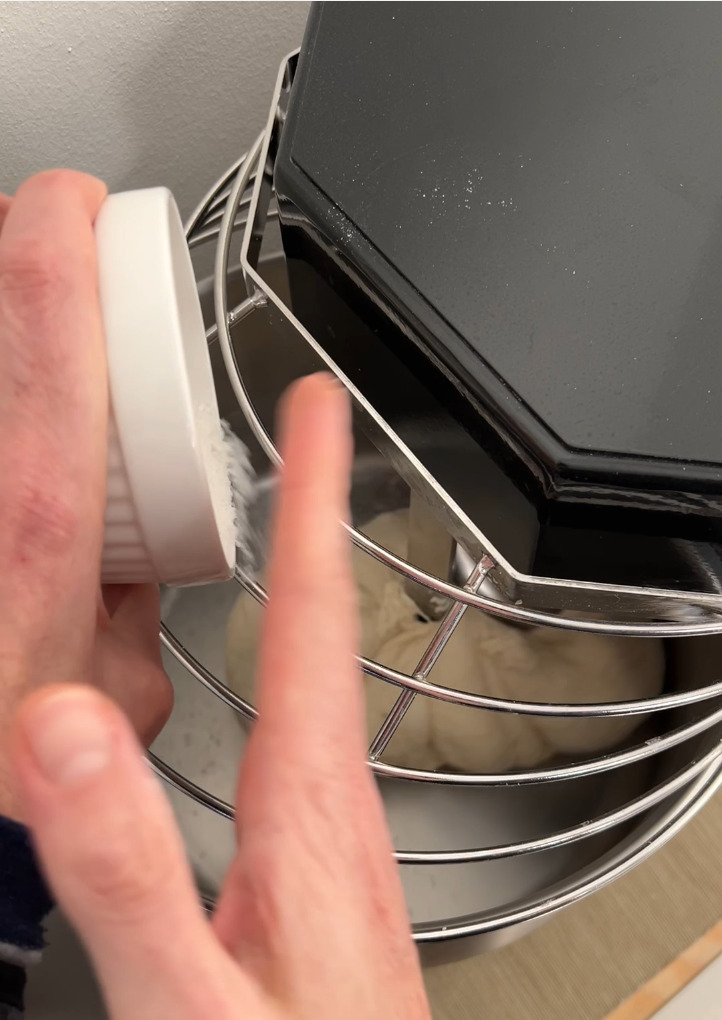
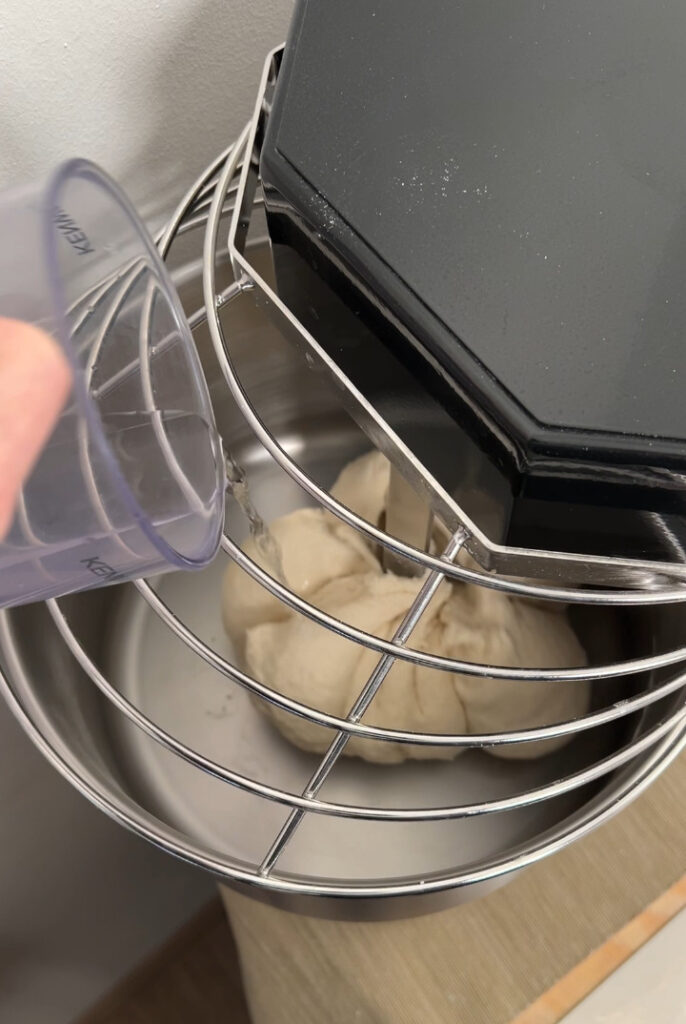
Once the few drops of water you used to ease the salt absorption are completely integrated in the flour it’s time to increase the speed of your spiral mixer. I bring mine at 200 RPM. And from this moment you need to finish to add the remaining water. It should not be too much, something like 40 gr, so you can introduce it in 3 times:
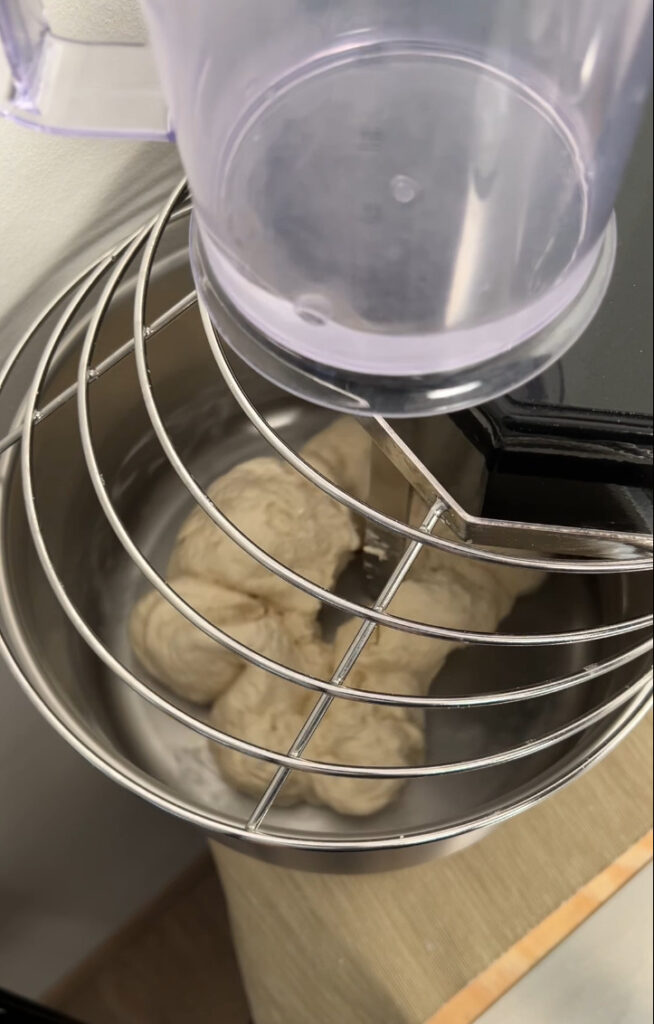
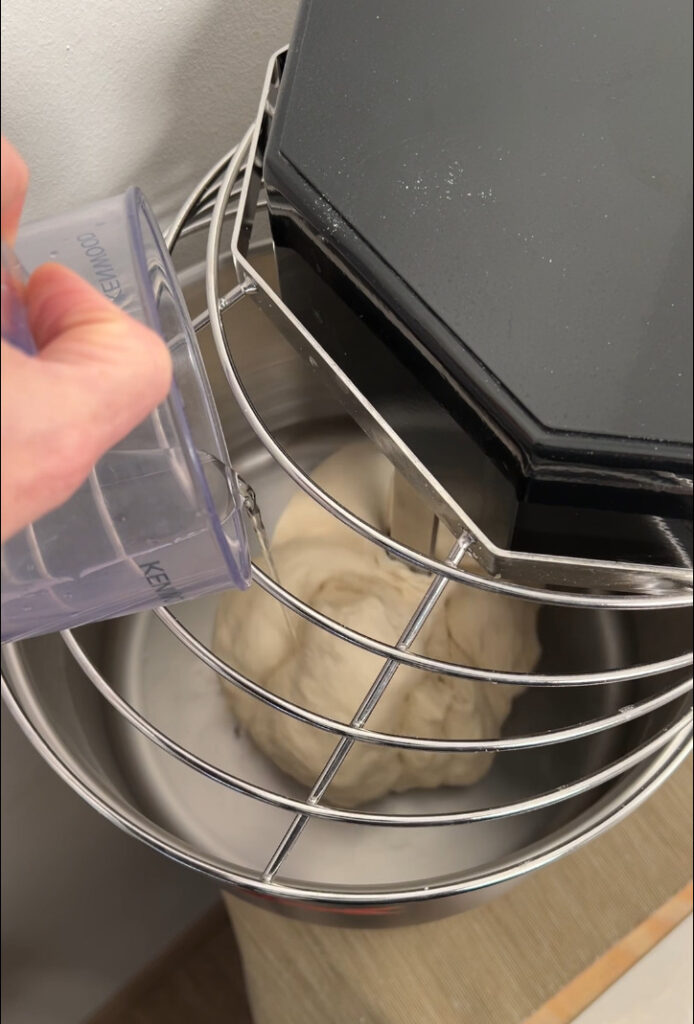
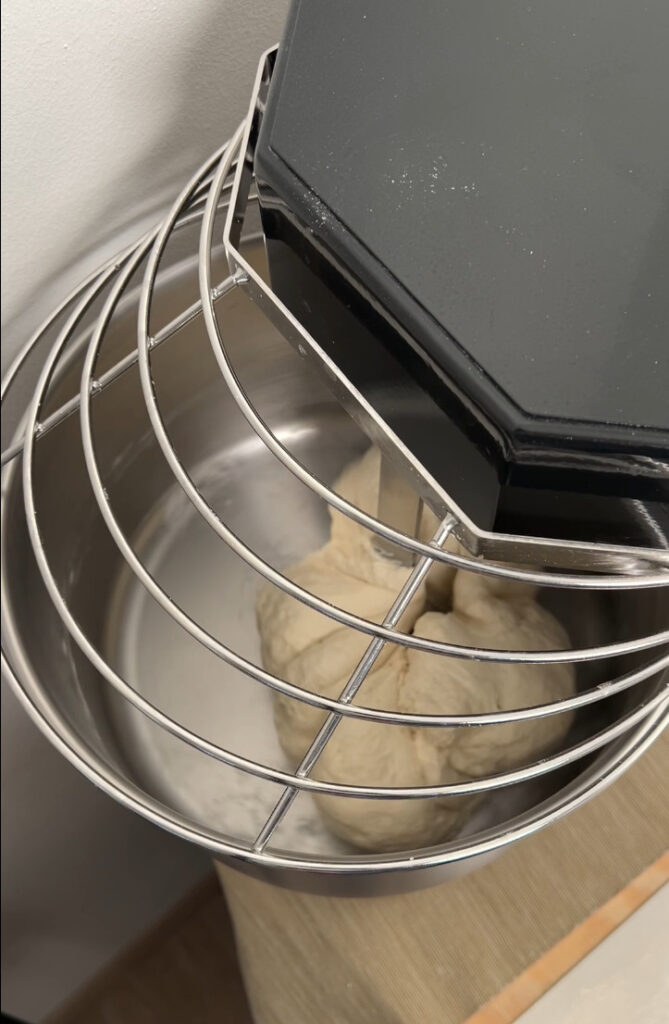
From the images above I want you to notice a couple of things. First of all, when you add water don’t be in rush. Give to the dough the time to absorb well what you introduced before you add more water. Second and most important: if you worked well until this point, when you introduce water the dough will not start to break up. It keeps its shape! This is key to be sure that the gluten mesh is well formed and prepared to get more water. You can notice this especially looking at the difference between the second and the third picture.
Once water is finished, keep the spiral mixer running from one more minute. The final dough you get should look similar to this one:
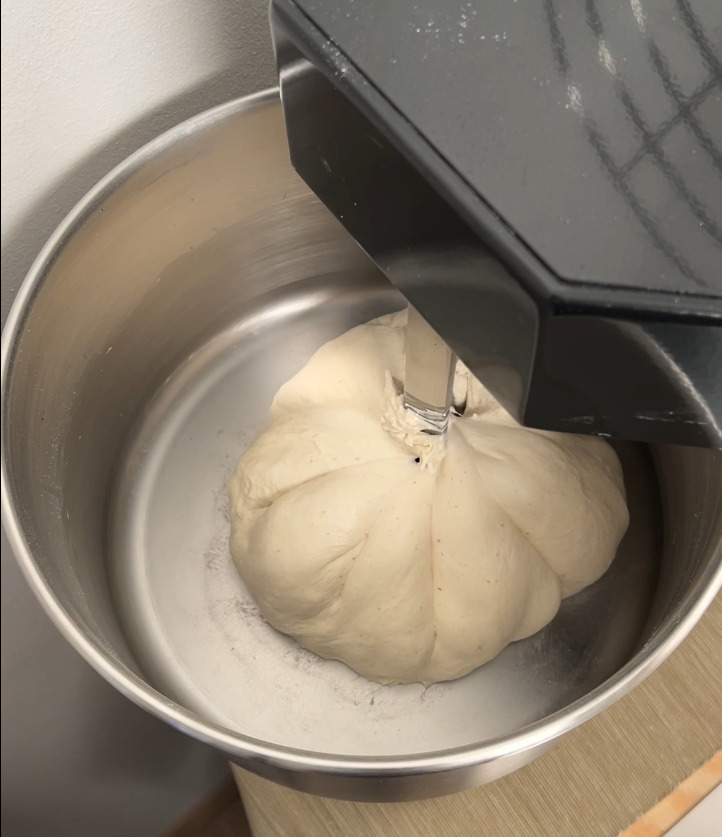
Preparation of bulk fermentation
We reached now the very final stage of kneading. It is time to move our dough on the countertop to make it as a big dough ball and ready for bulk fermentation.
The process is pretty easy: wet your hands and start moving the dough from the mixer bowl to your countertop. Make sure you don’t rip the gluten mesh pulling the very elastic dough you created. Better to “choke” the pizza dough as mozzarella producers are doing. Look at pictures below:
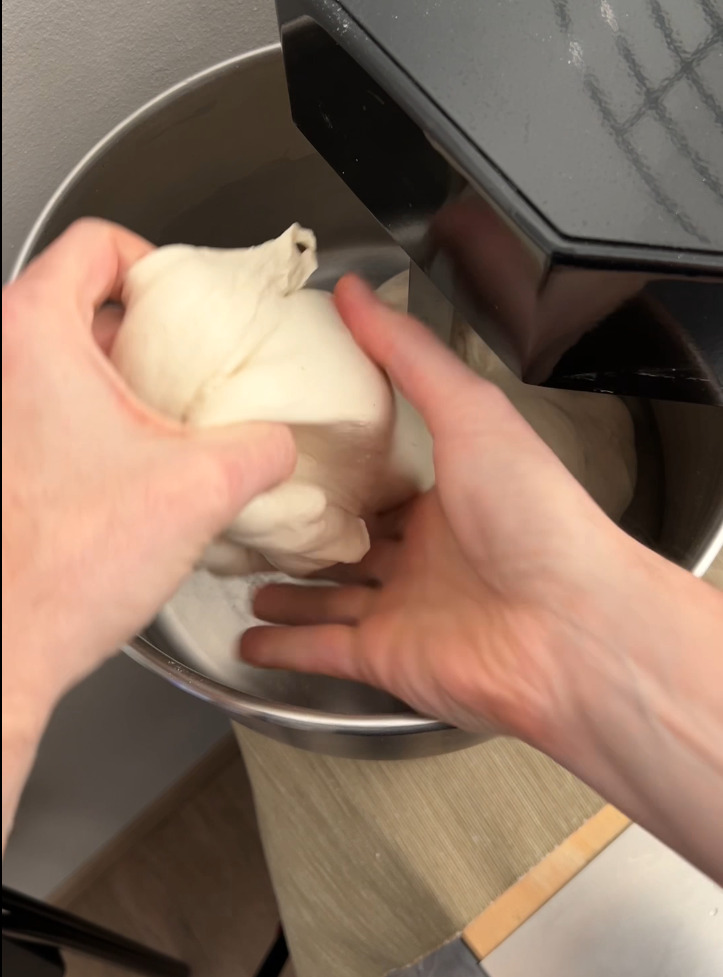
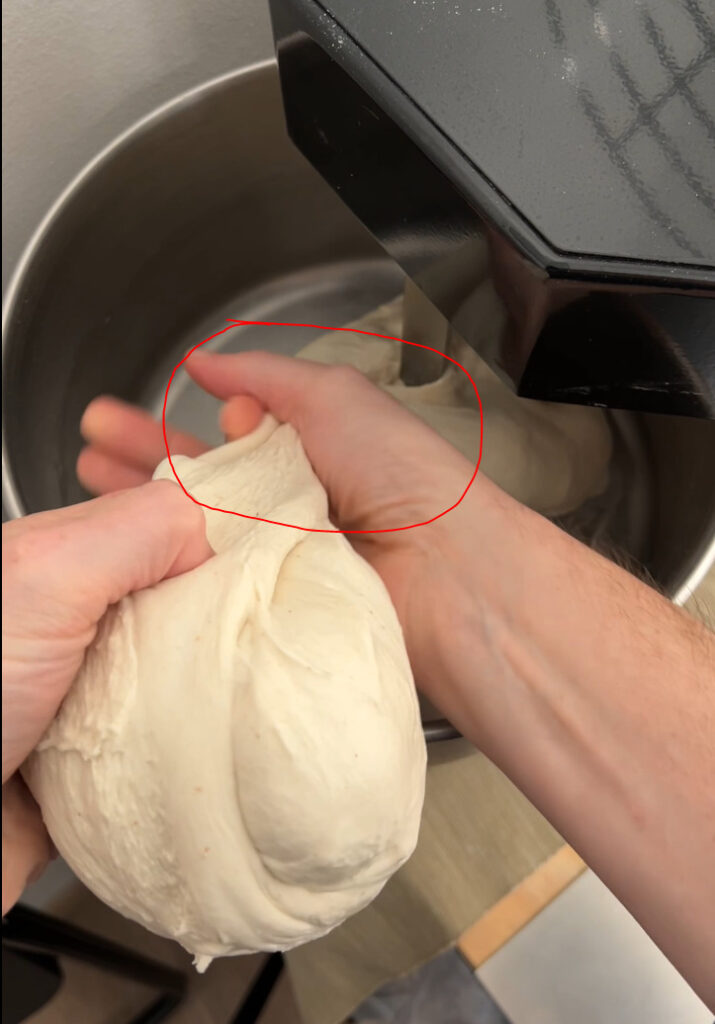
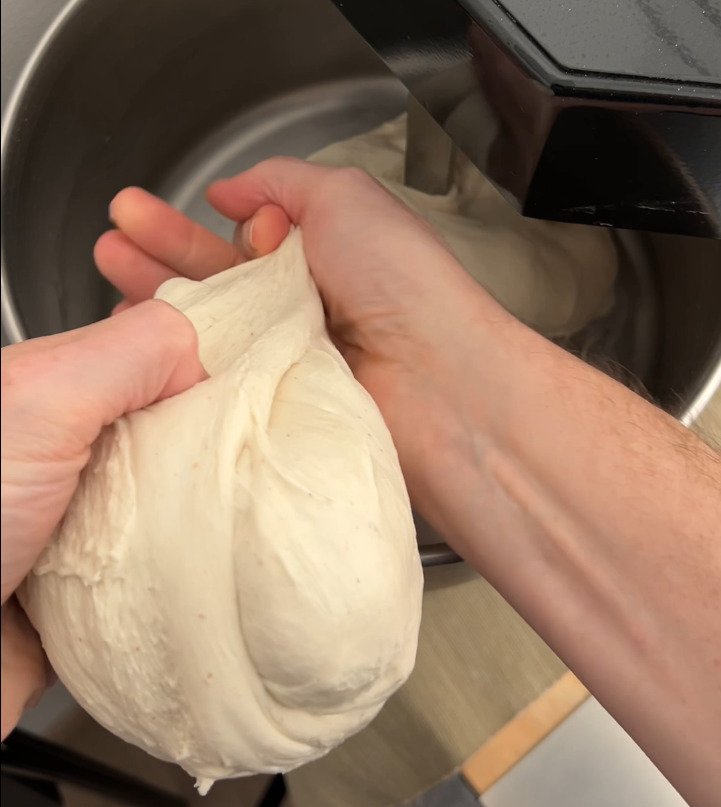
As you can see I cut the dough choking the dough using my thumb and index fingers.
Next you move all the dough on the countertop and using slap and fold you create a dough ball:
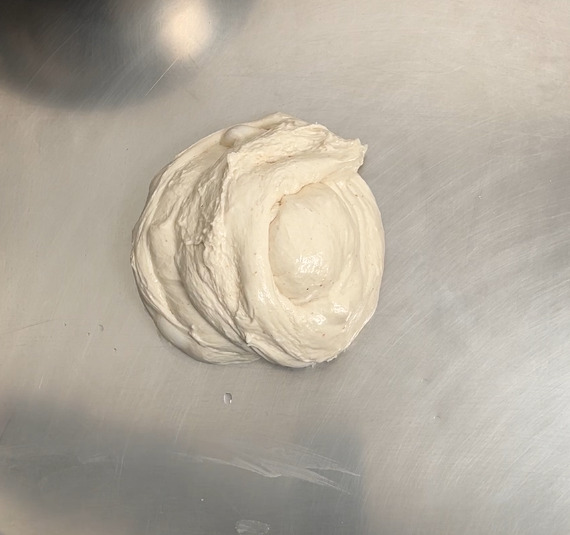
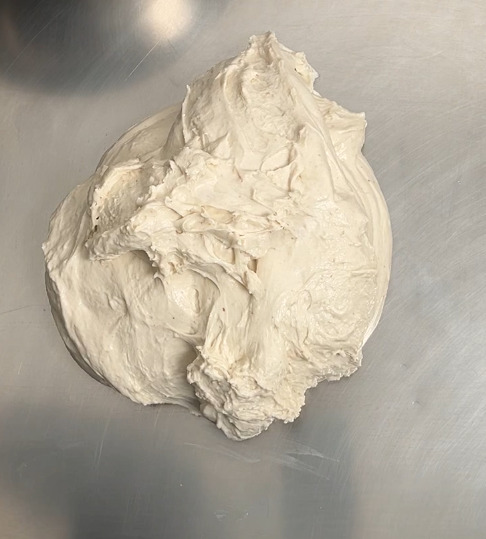
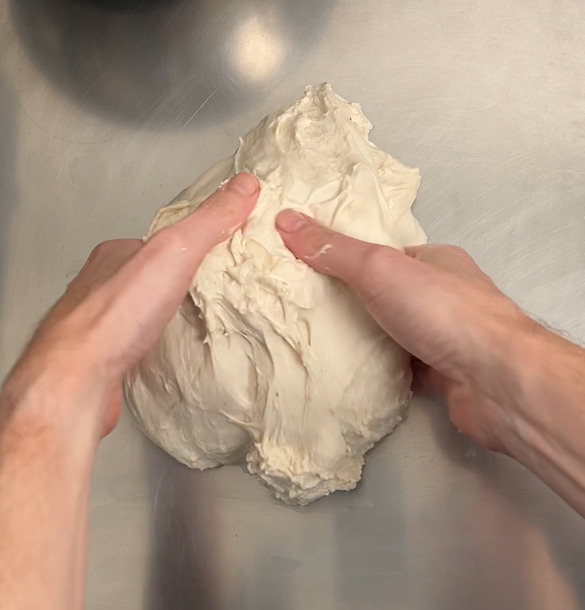
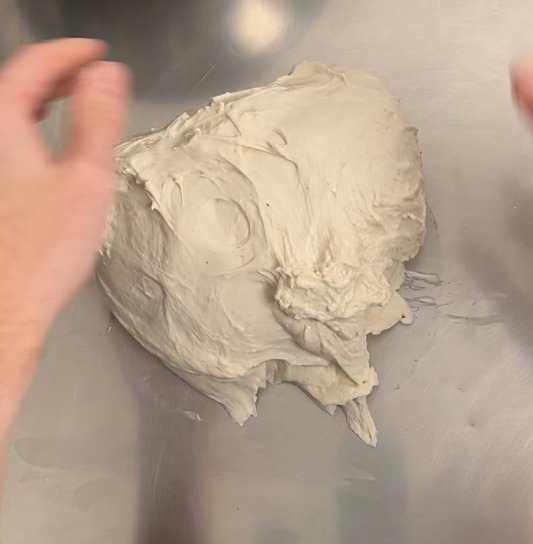
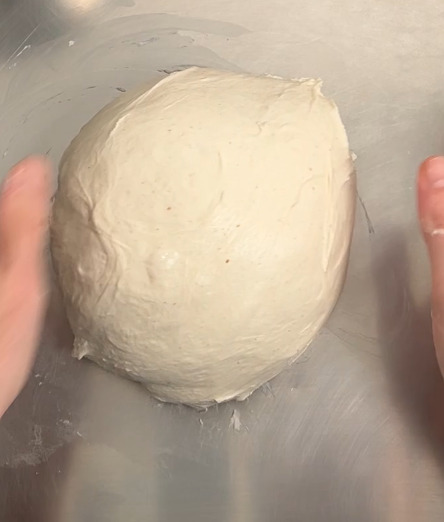
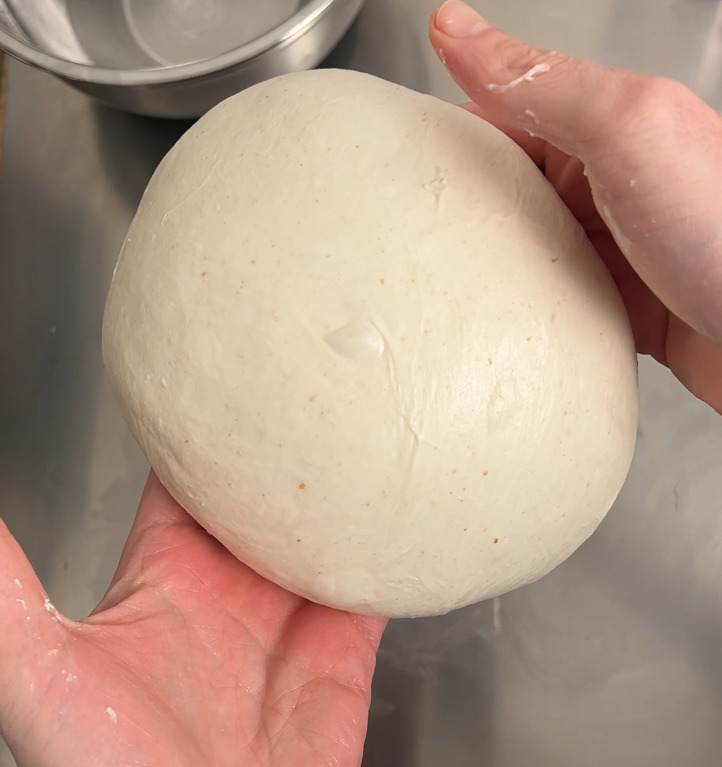
And we are now ready to move to the next step of this authentic Neapolitan pizza dough recipe.
Bulk fermentation and pizza dough balls
This step is very critical for your final result. Doing bulk fermentation of Neapolitan pizza dough will influence your elasticity. In this recipe we are going to do this phase at room temperature. Depending on the season you are following this recipe, it may take between 3 and 6 hours to complete it. The time span is an indication only. The details of management of pizza dough bulk fermentation is part of a dedicated document that I am preparing and will make available in future.
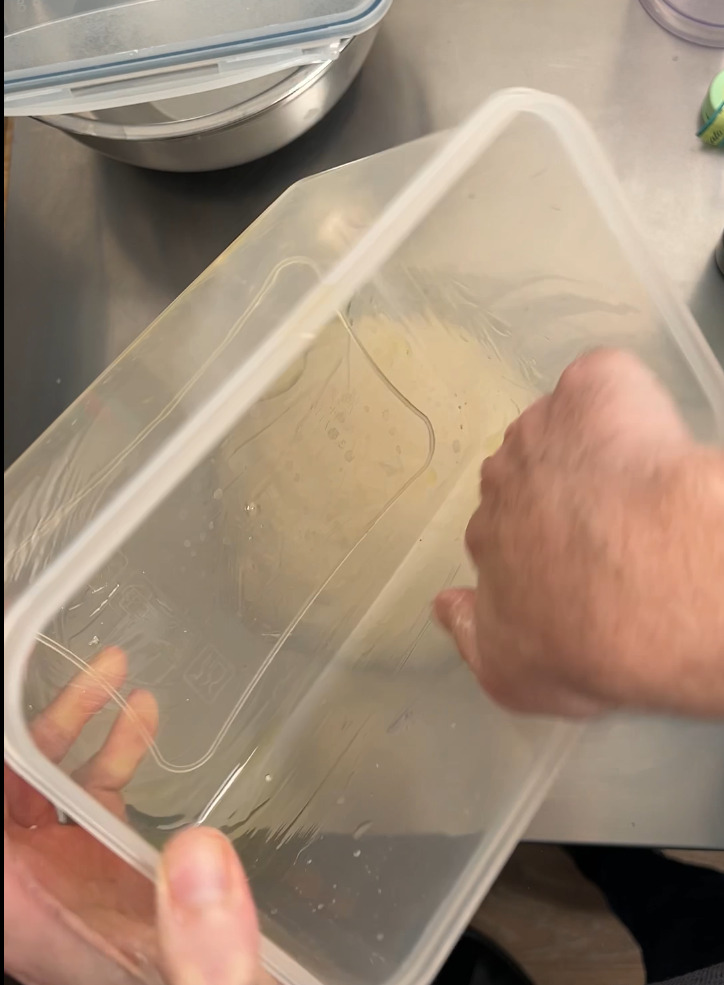
Bulk fermentation starts preparing a proofing container with a little bit of good quality extra virgin olive oil distributed around container itself:
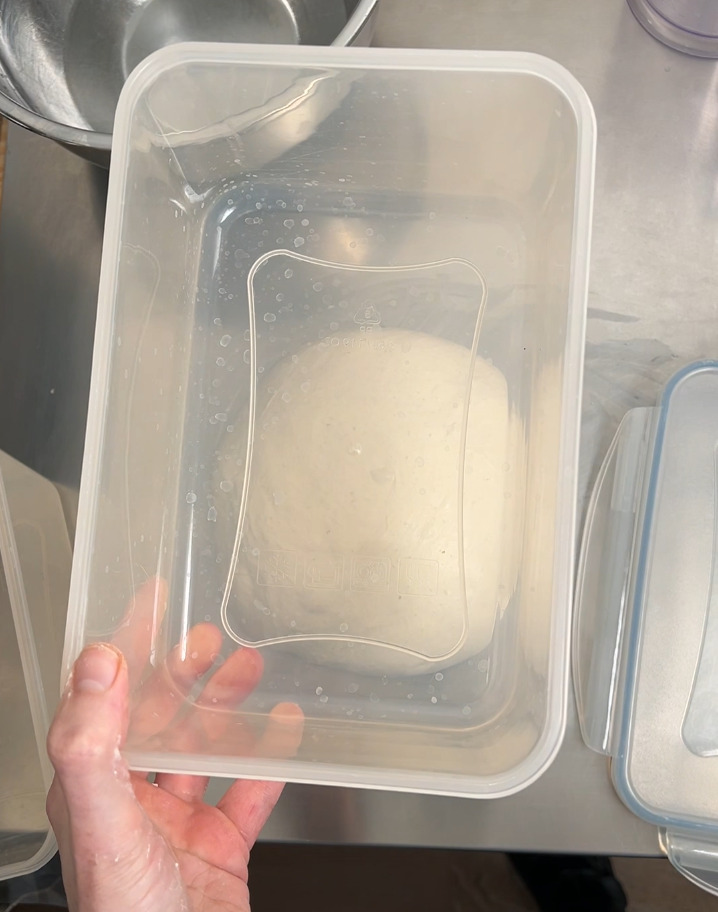
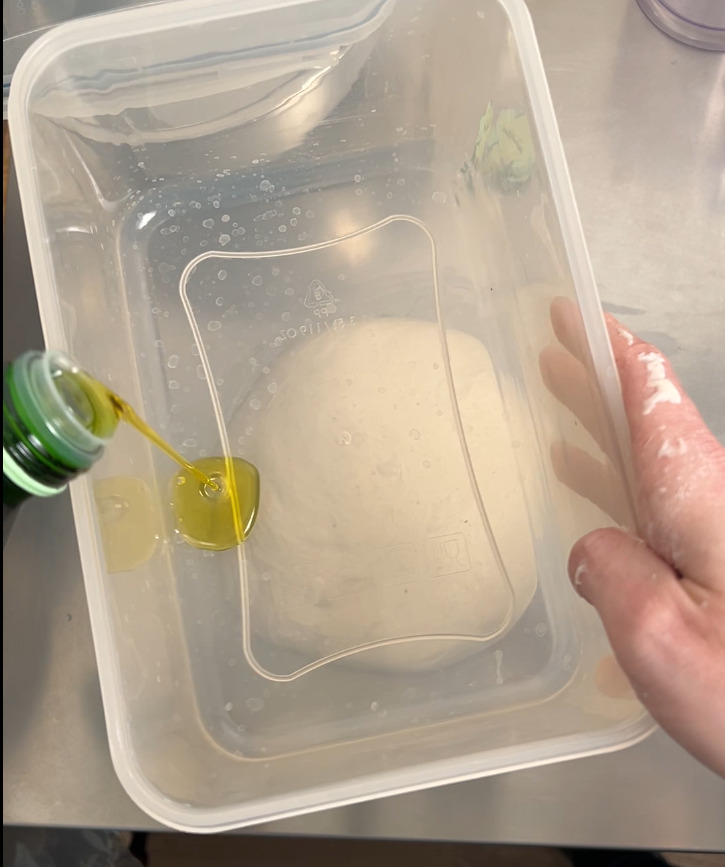
Now just move the dough in the proofing container and close it with hermetic lid:
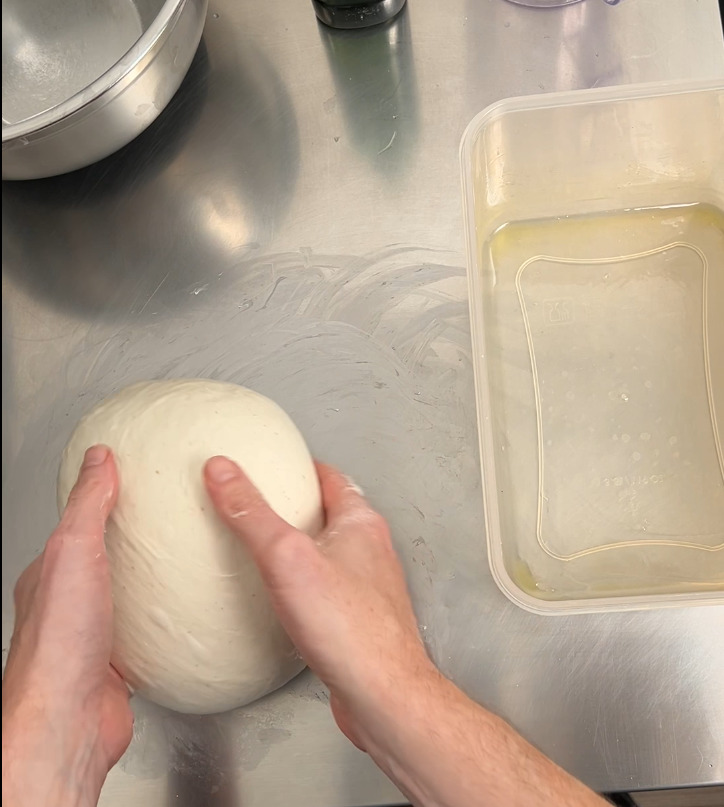
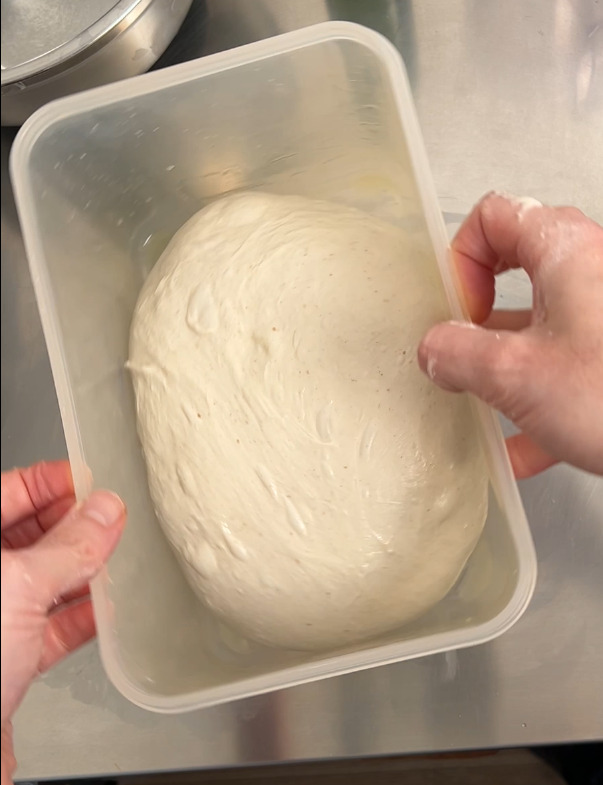
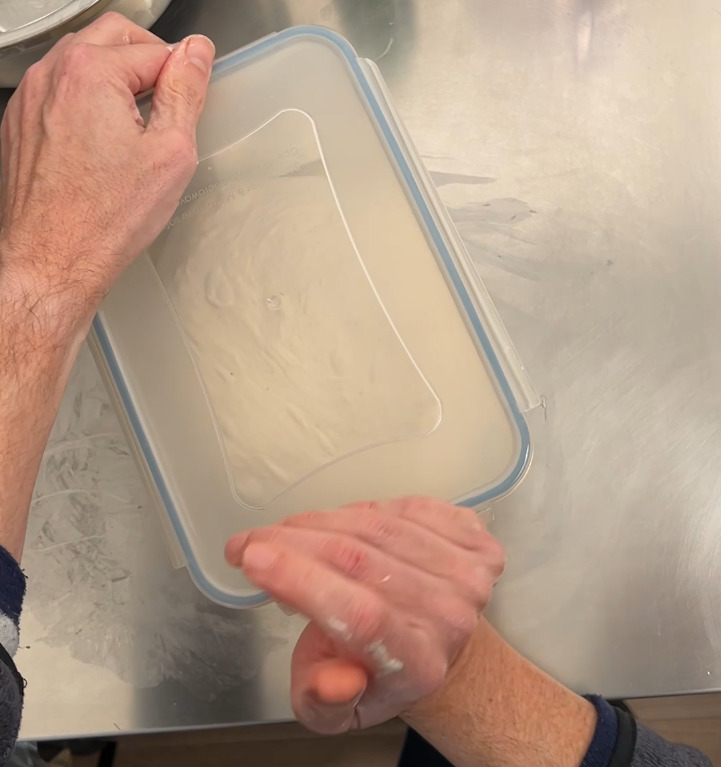
In this phase it is very important to use the right containers size. For this recipe I used a rectangular 3.5L.
You can buy a similar proofing box here:
– Purchase at Amazon.com
– Purchase at Amazon.de
– Purchase at Amazon.it
– Purchase at Aliexpress
Please note those are affiliate links.
After this Neapolitan pizza recipe bulk fermentation (again, from 3 to 6 hours) it’s time to prepare dough balls. Simply open the lid of your proofing box, turning upside down and let the dough fall on your countertop.
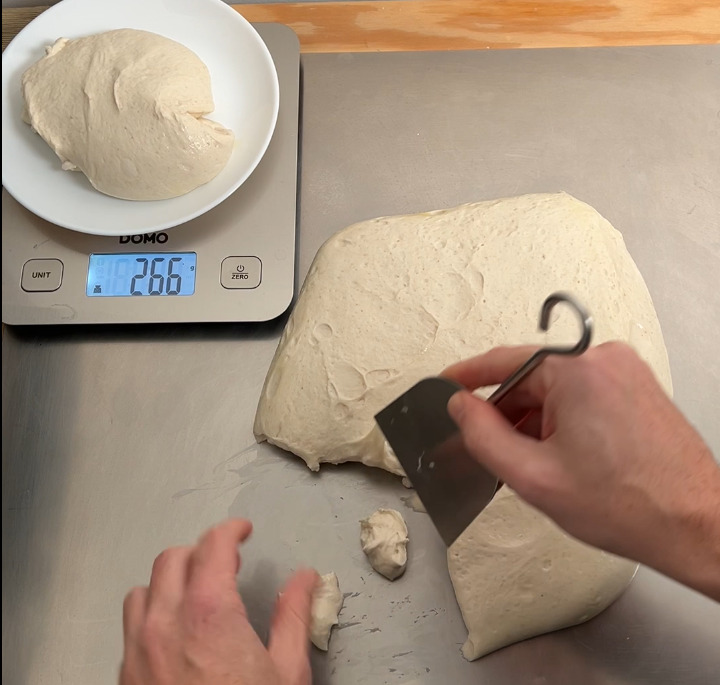
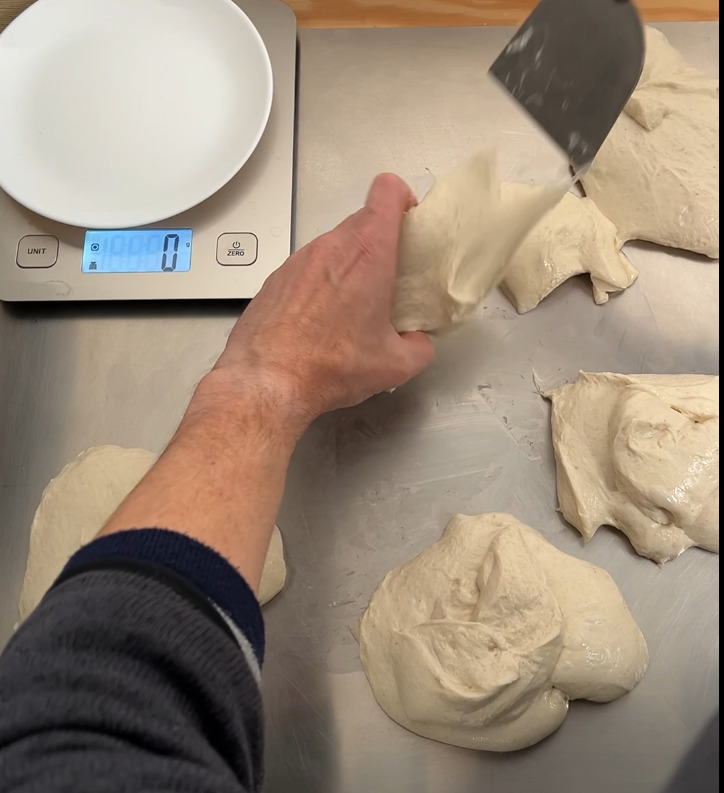
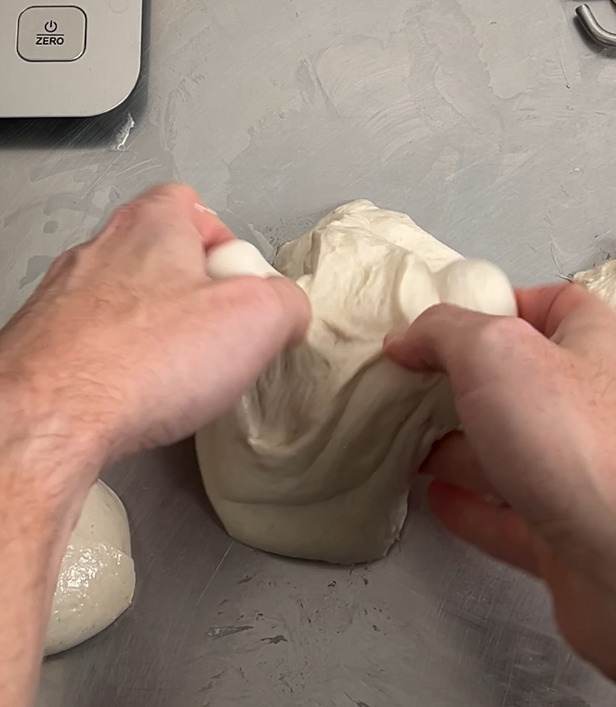
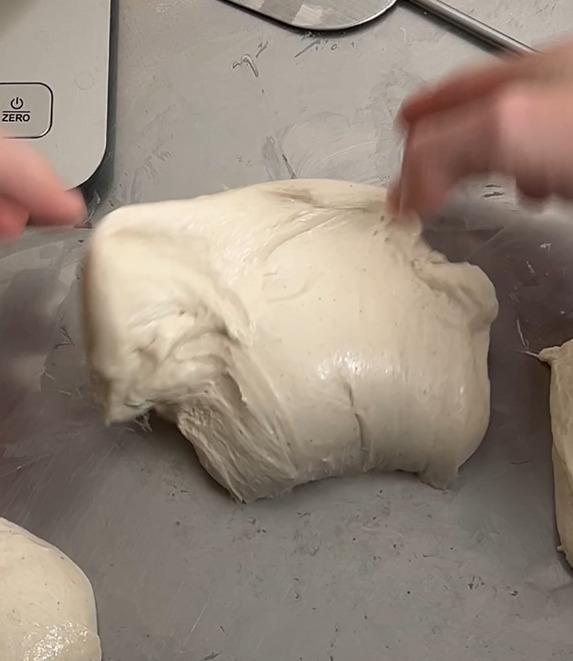
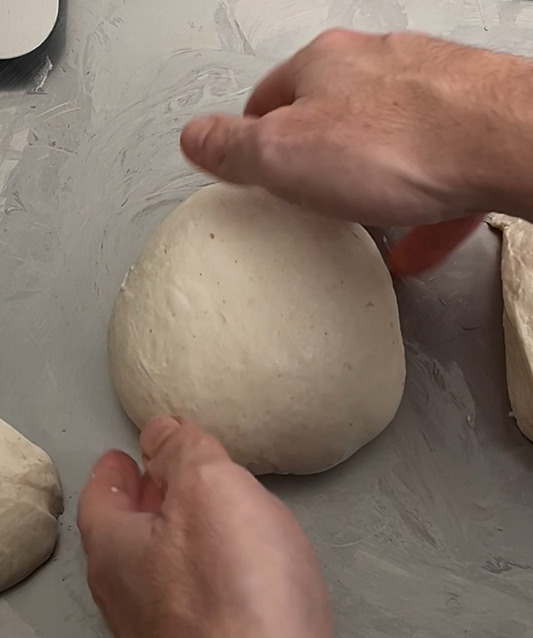
The, with the help of a spatula and a kitchen scale prepare 5 dough balls of 260gr each:
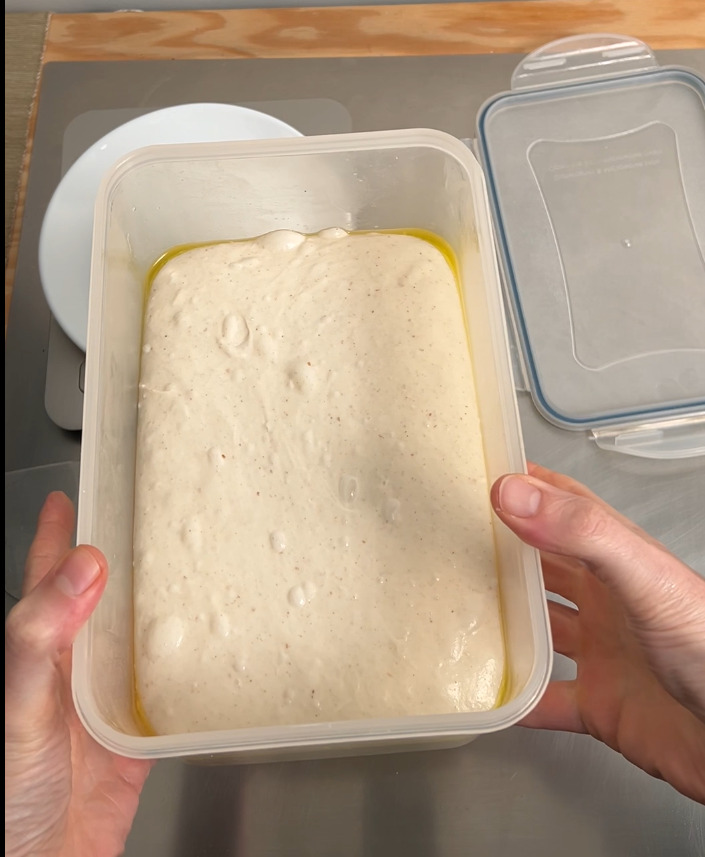
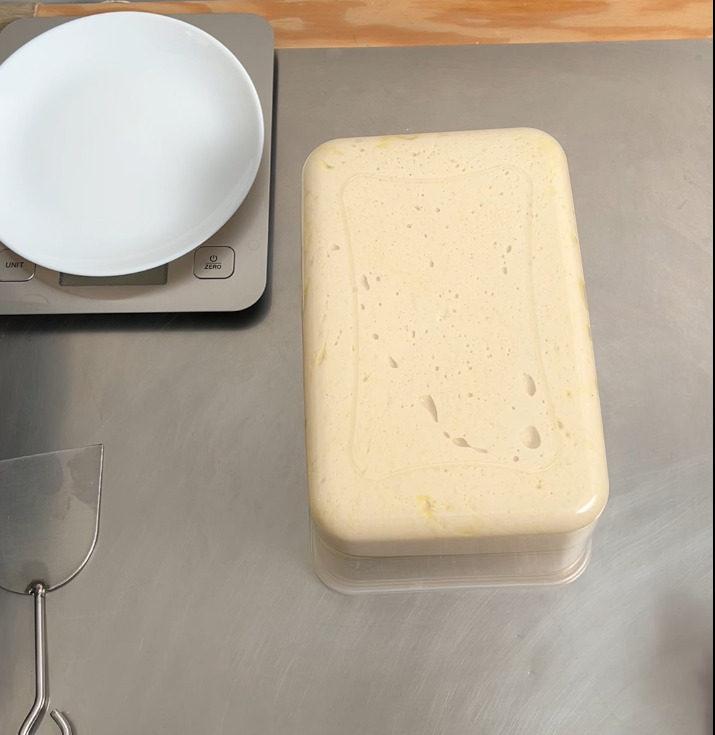
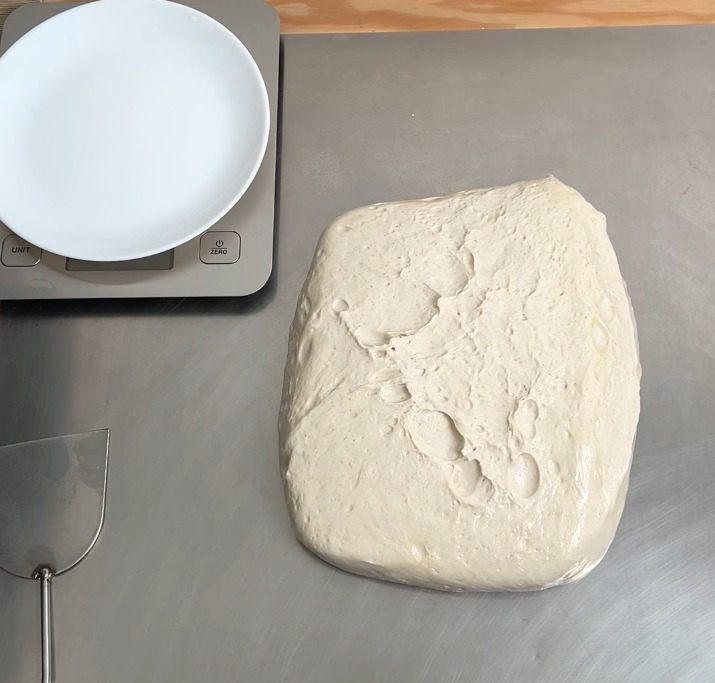
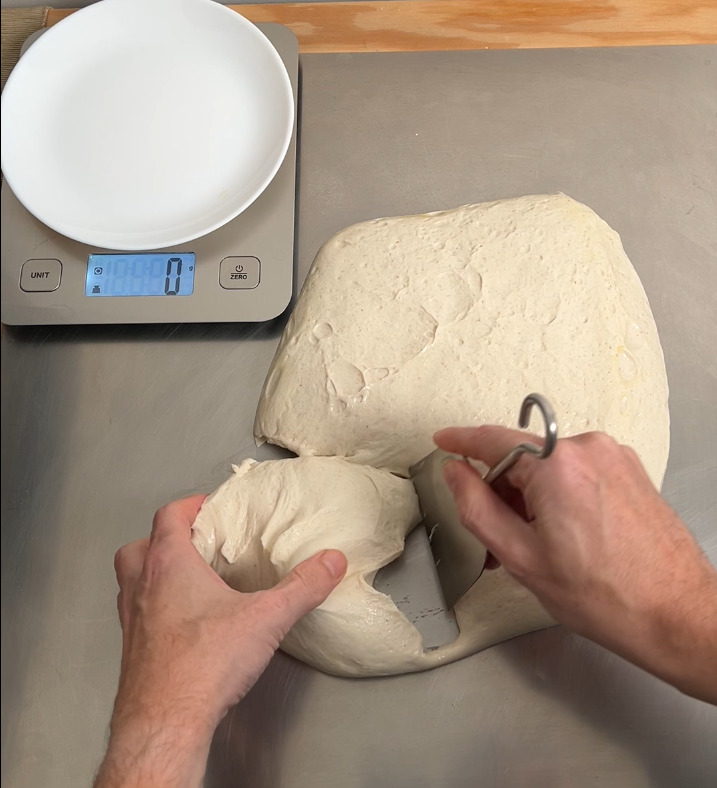
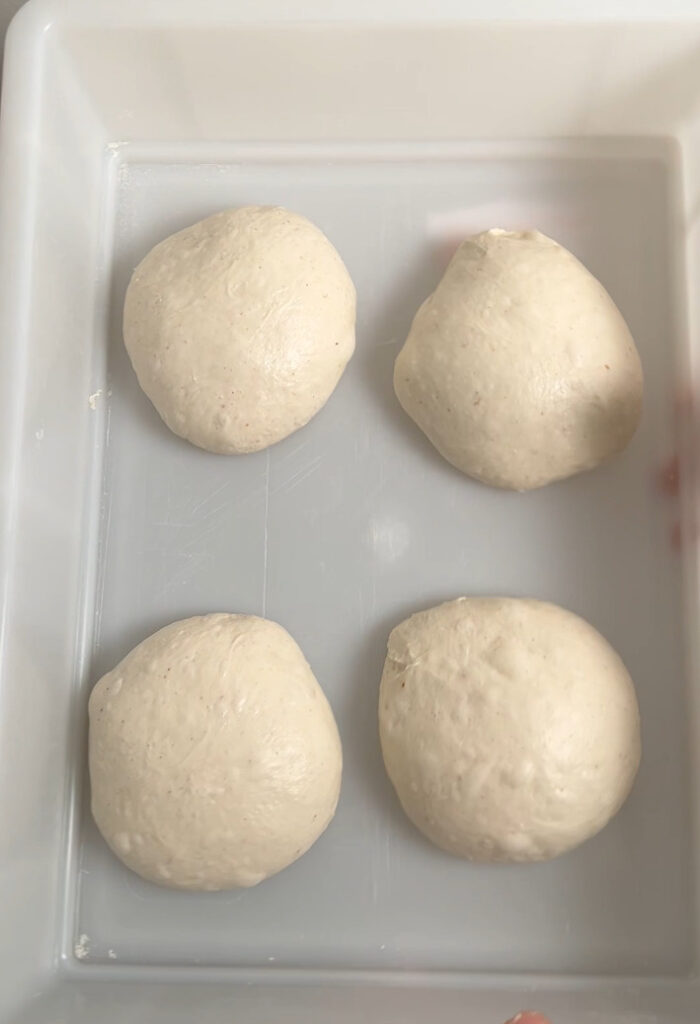
Now we are ready to move all Neapolitan pizza dough balls in the final proofing box to start the last fermentation:
Last fermentation and oven pizza baking
Once you moved the Neapolitan pizza dough balls in proofing box, you cover them with a lid and move them in the fridge. Here they will proof for about 20 hours.
I want you to notice that in a proofing box of 30x40cm I don’t introduce more than 4 dough balls. Normally you see online squeezing 6 dough balls in the same container. I personally prefer to give space to the dough balls so that they can proof and relax. This helps also for the ratio between extensibility and elasticity.
You can buy a proofing box for Neapolitan pizza here:
– Purchase at Amazon.com
– Purchase at Amazon.de
–Purchase at Amazon.it
– Purchase at Aliexpress
Please note those are affiliate links.
After about 20 hours in fridge your dough balls are ready from a proofing point of view. But before baking them you need to wait a couple of more hours. In fact you should avoid to bake Neapolitan pizza with cold dough balls. Always prefer to bake the dough that is as close as possible to room temperature.
Once you are ready you can turn on your oven so that it is heating up properly. I am going to use my Ooni Koda 16 and will wait that the temperature of the stone arrives at around 420C (788F) before baking my first pizza.
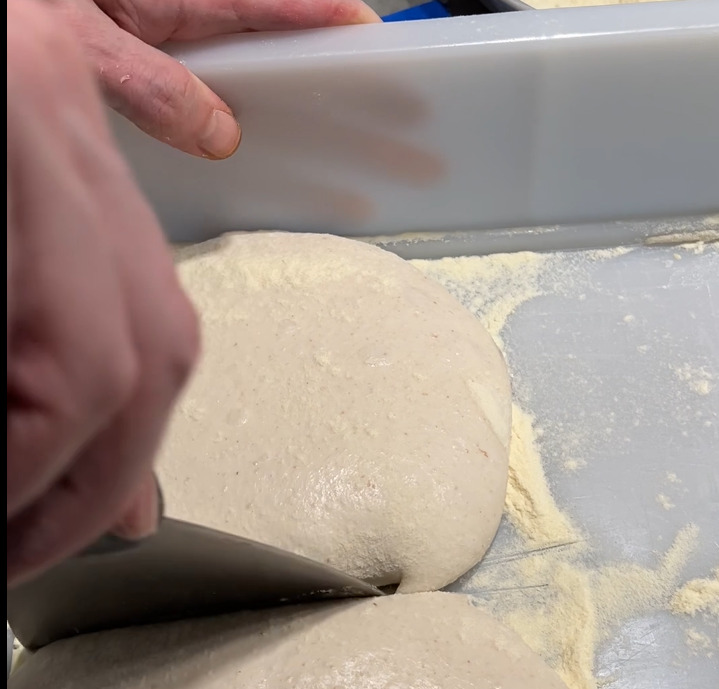
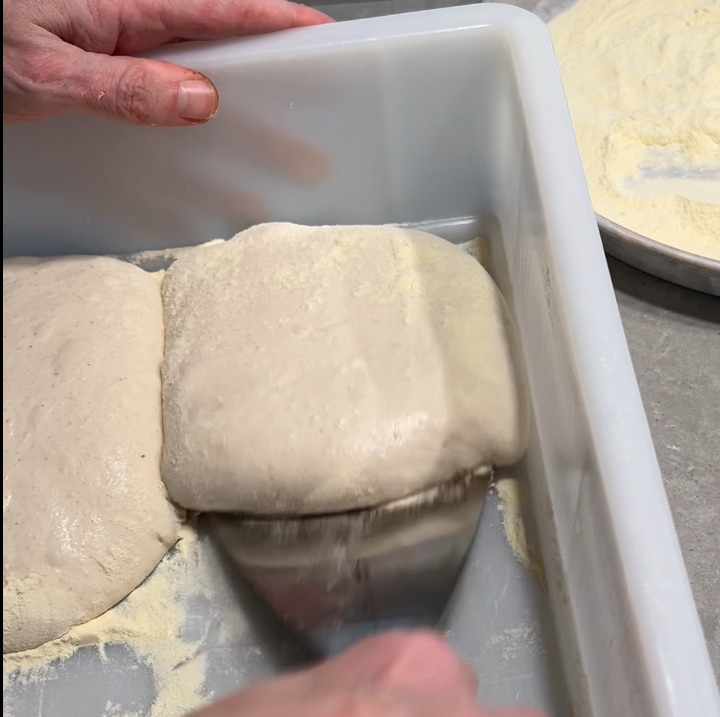
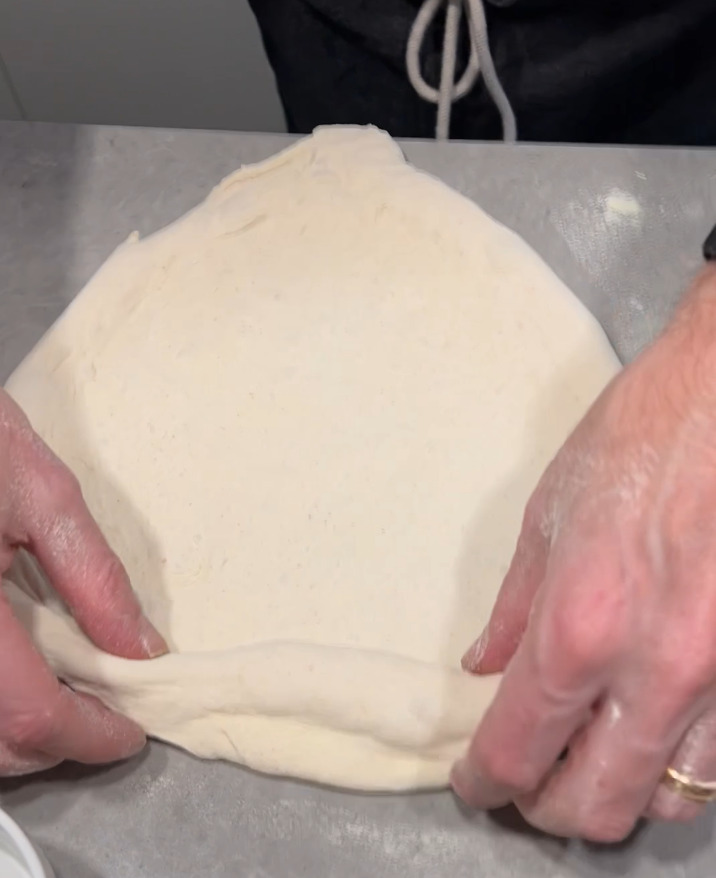
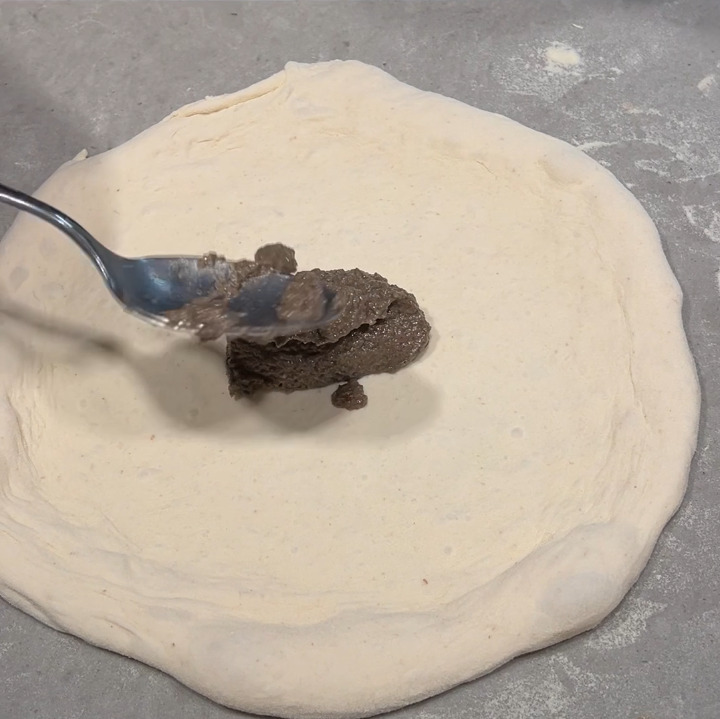
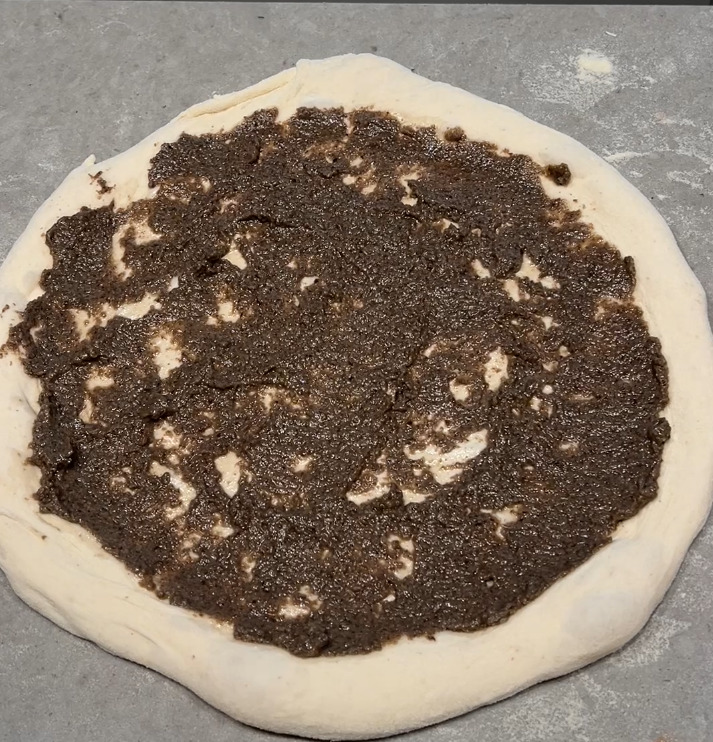
Today I am going to share the pizza tossing and baking of a Ham and Mushroom Neapolitan pizza. I stretch the pizza dough in semolina flour and here are steps I follow:
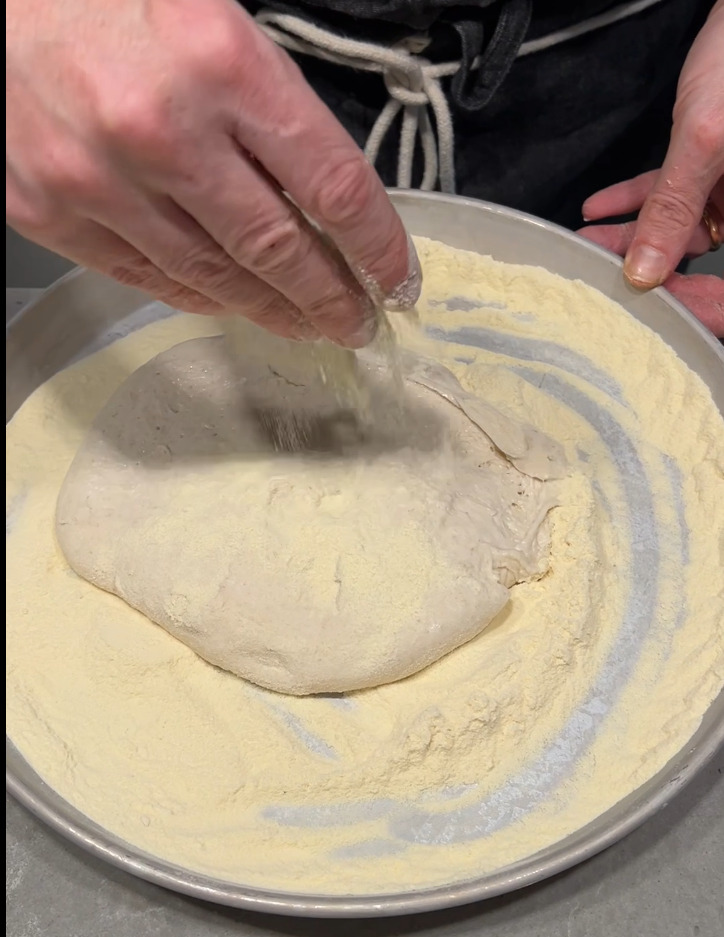
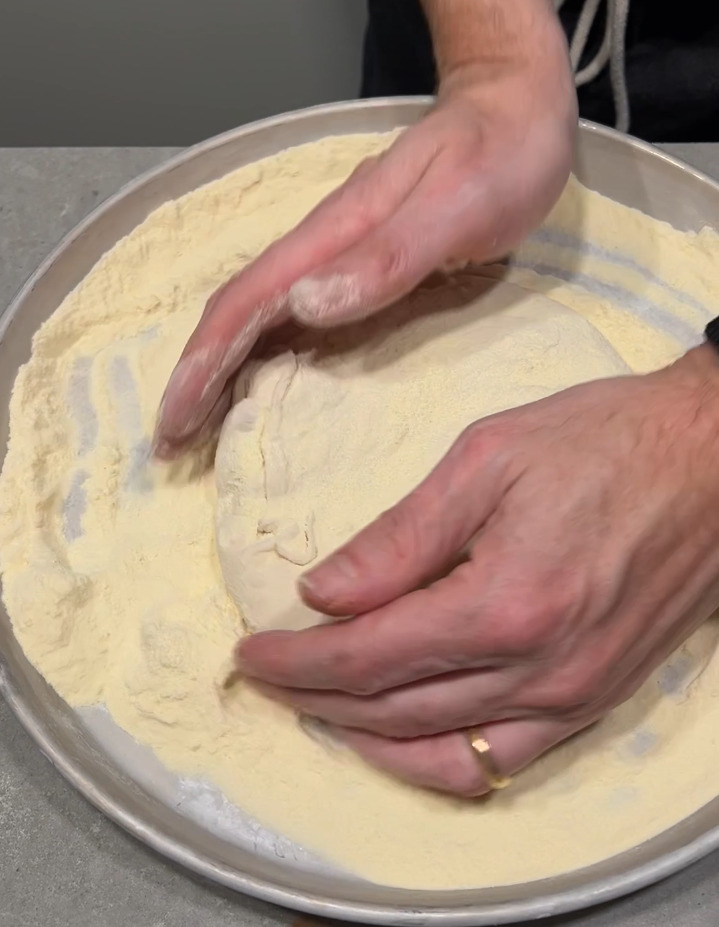
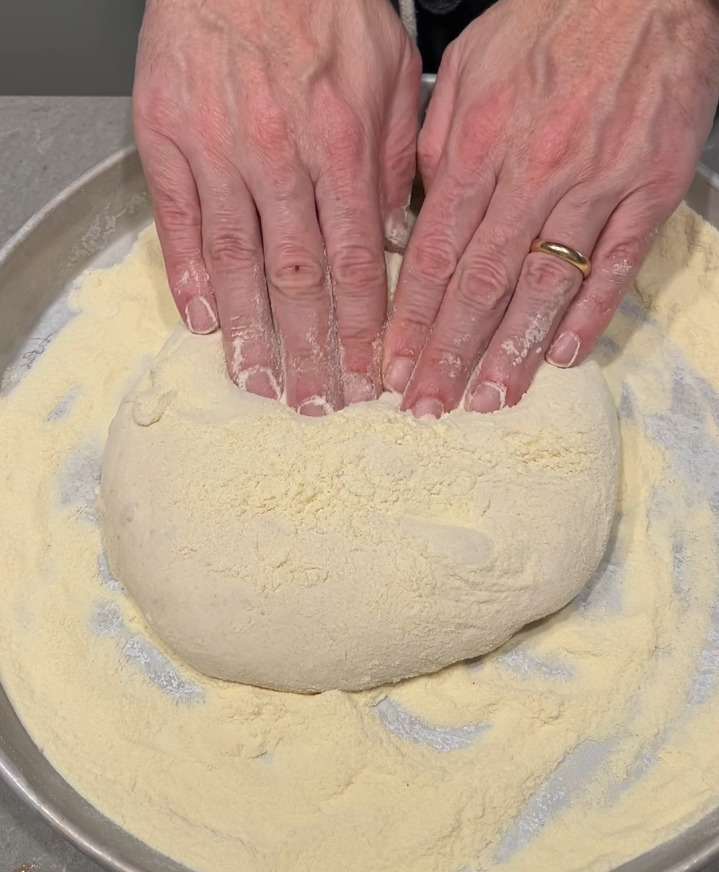
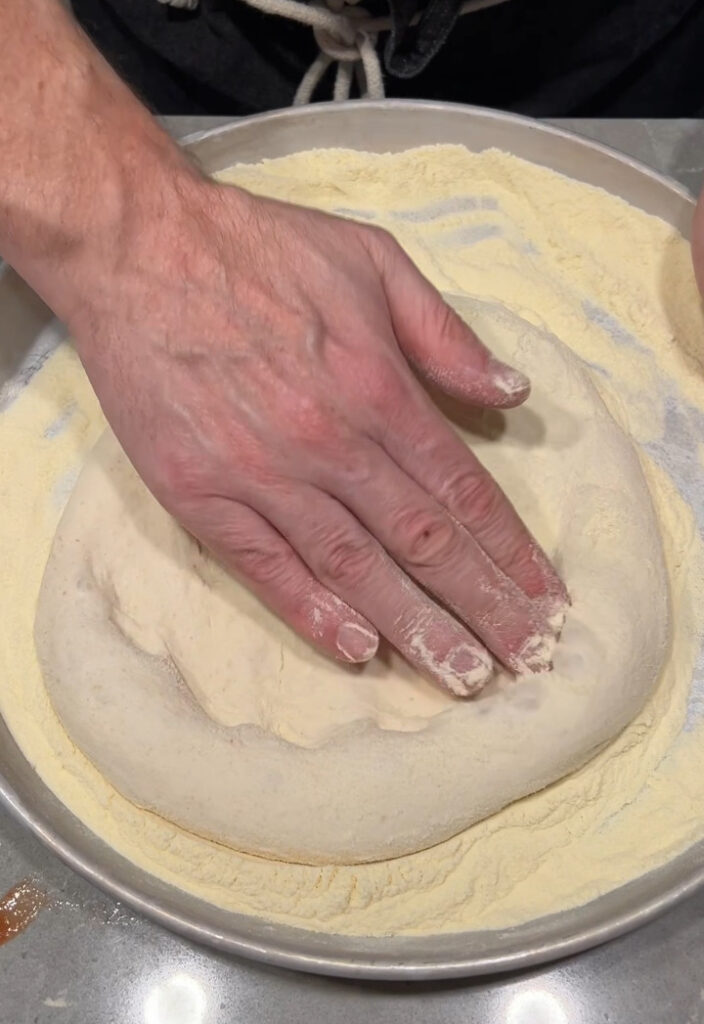
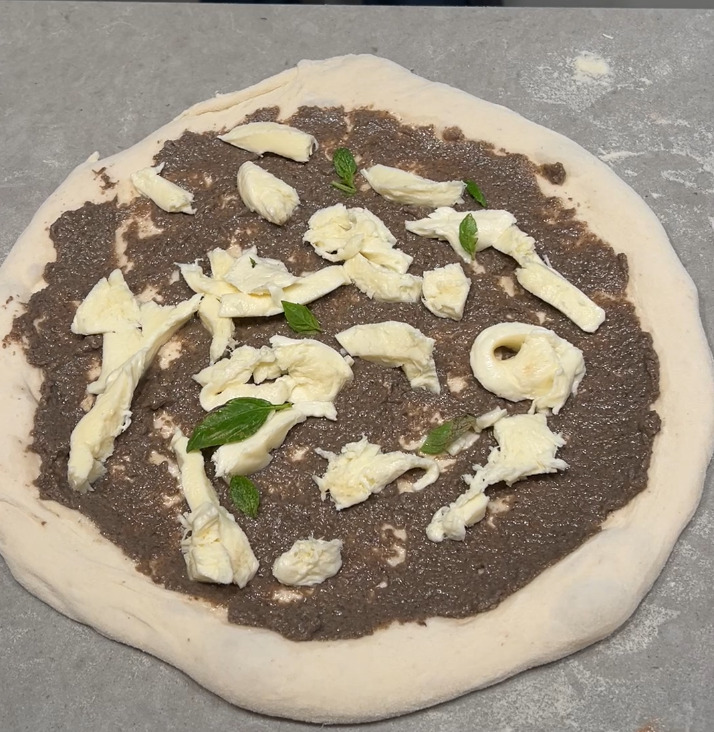
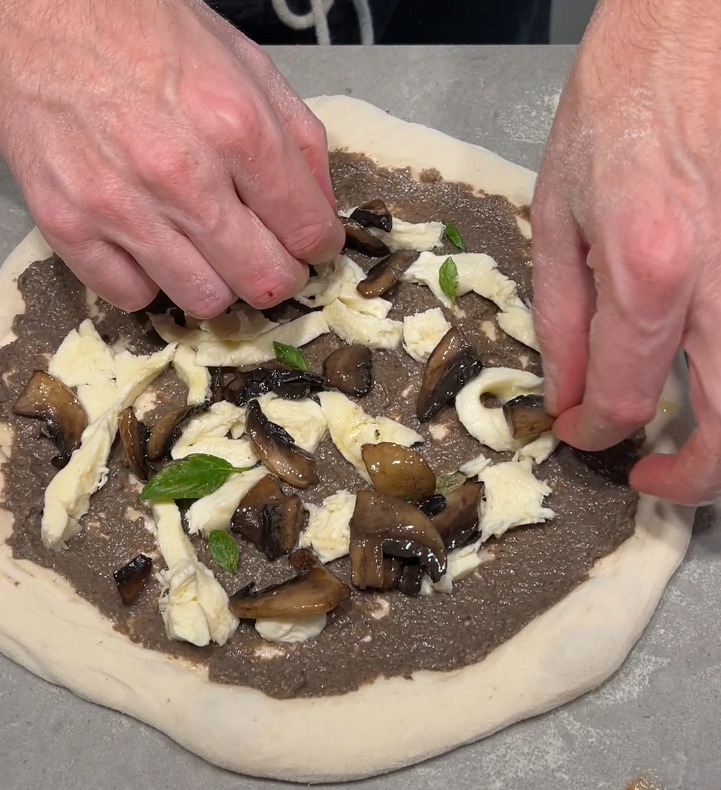
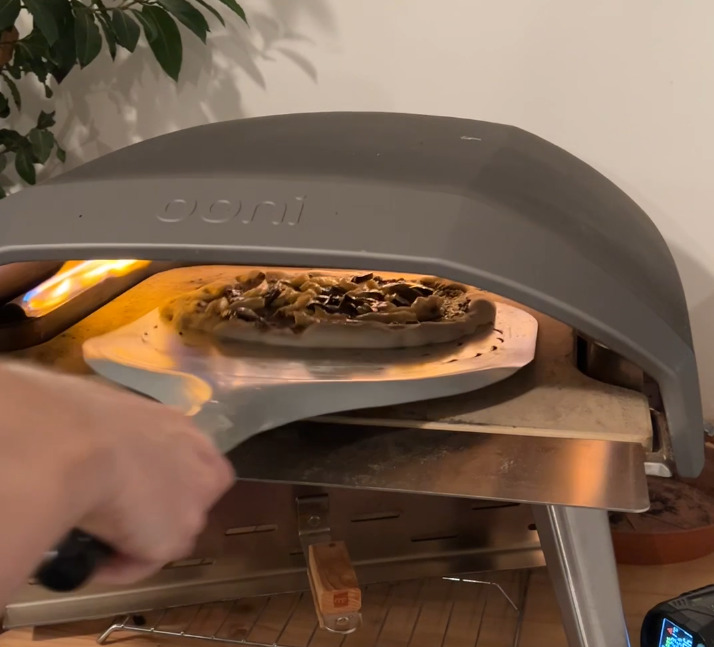


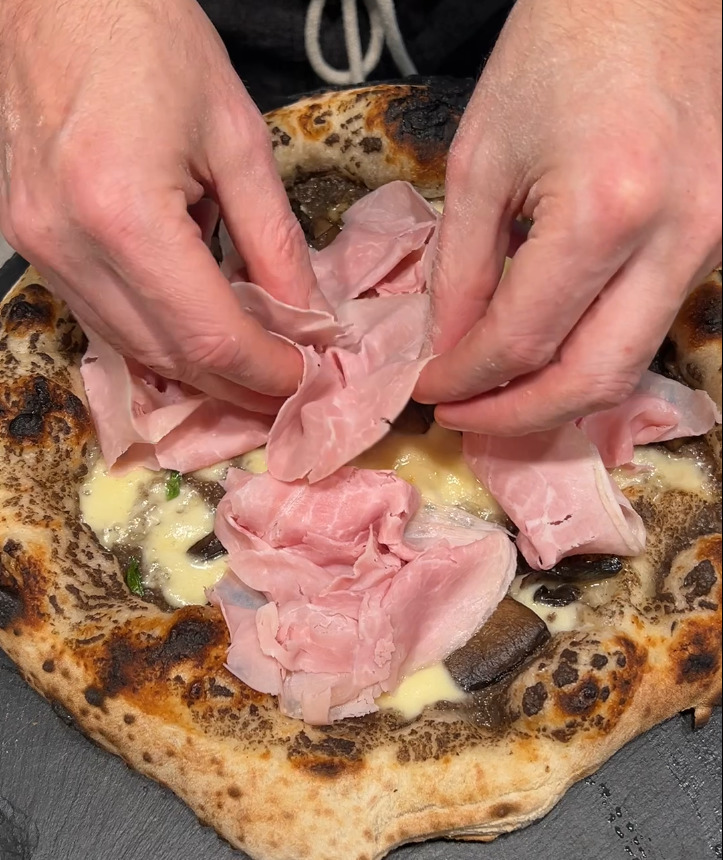
I really hope you enjoyed this Neapolitan pizza recipe with all the details shared! If you like this content please consider to buy me a coffee or buy from the affiliate links of this website. It means a lot for me.
Kitchen Tools for Neapolitan pizza dough recipe
Here is a list of the tools I recommend to buy to act like a Neapolitan Pizzaiuolo and reproduce the Neapolitan pizza recipe I shared in this article.
Note that all the following are affiliate links. It means that if you buy from them I will get a small percentage from the seller. For you is totally for free and your final price will not change. Your help is much appreciated and is contributing to the growth of this website. At the end it means that you will also benefit from more pizza technical contents!
- Proofing box for bulk fermentation
- Proofing box for Neapolitan pizza
- Pizza Peel
- Turning pizza peel
- Infrared Temperature measurements
Last but not least, if you are searching for a pizza oven for your Neapolitan pizza then I strongly recommend the Ooni Koda 16. I use it for very long time and is one of the best when it comes to ration between price and effectiveness.


2 Comments
Can you freeze this dough prior to baking it?
Hi, I do not normally work with frozen dough. In theory everything is possible 🙂