
Best biga pizza recipe for home oven
Last updated on November 12th, 2023 at 07:17 pm
The web is full of Neapolitan pizza recipes with biga. That’s unfortunate that to prepare them you need a dedicated oven. But if you want to try a pizza recipe with biga preferment I got your back! It’s time to prepare the best biga pizza recipe for home ovens. It’s not a Neapolitan style but a pizza in sheet tray you are going to love as I do.
You will see, this is an incredible versatile pizza recipe to make at home. In fact if you have a pizza stone or a pizza steel you can avoid stretching it in the baking tray and you can directly bake on your favorite surface. You will get an amazing result, no question.
If you are not familiar with what is biga then I suggest to read my previous article that explains a bit more technical details about it. In this article we are going to prepare a recipe straight away.
Here topics we will cover:
- Overall process of pizza making with biga
- Ingredients for biga pizza recipe
- First: prepare biga for pizza
- Second: knead the final pizza dough
- Third: pizza dough portioning
- Biga pizza baking
It looks to be a long process. But in reality it is not. From a certain point of view I find it even easier than a pizza prepared with the direct kneading method.
Overall process of pizza making with biga
Let’s turn out this one into the best biga pizza recipe for home oven looking at the process.
Calculating ingredients for biga
is probably the most confusing part of the process.
First of all you want to get used to ingredients calculation. Consider that we are doing an initial dough (biga) that will use part of the ingredients foreseen for the final pizza dough. It means that if your pizza recipe requires to use 1000 grams of flour, some of it will be taken for biga according to the percentage of biga we want to use in our final pizza dough.
And the same will be for all other ingredients.
I know this sounds confusing at first. But no worries, thanks to the table in the next paragraph the ingredients calculation will be a bit easier for you.
One more information to keep in mind is that we will prepare the biga and let it ferment at controlled temperature (18 C). The remaining process is all arranged at room temperature. In total you should consider that the pizza dough will be ready to be baked in 20/24 hours.
Ingredients for biga pizza recipe
In this biga pizza recipe we are leveraging an high amount of biga: 80% on the total pizza dough. Moreover we are going to prepare a high hydration pizza dough. In fact we will be reaching a final 75% hydration.
The reason to use such an important amount of biga is that this type of pizza allows us to do so. Especially the pizza dough structure will have a great help from the properties brought by biga.
In any case, looking further into the pizza dough ingredients, you will realize that the majority of the flour goes into biga. While a big chunk of the water is added in a second stage. Sounds confusing? No worries, here are the tables with ingredients already split.
First we have ingredients for biga:
| Ingredient | Quantity |
|---|---|
| Flour | 280 gr |
| Water | 126 gr |
| Yeast (fresh) | 2.8 gr |
Then we have ingredients for the second dough:
| Ingredient | Quantity |
|---|---|
| Flour | 70 gr |
| Water | 135 gr |
| Yeast (fresh) | 0.5 gr |
| Salt | 8 gr |
| Malt* | 3.5 gr |
Those pizza dough ingredients will be perfect for a 40×30 cm pizza baking tray. I am personally using an iron sheet tray to bake, but you can use also other materials. However, never use a coated pan for pizza. And especially this pizza. Always remember that non sticky pans don’t like high temperatures. Pizza baking temperature is normally on the higher side.
Now that we have all biga pizza ingredients, let’s move to the next chapter: how to prepare biga.
First: prepare biga for pizza
The very first step of this biga pizza is to in fact prepare the biga. If you read my previous article about biga you know that you don’t want to knead. So, please make sure you pay attention to this phase. Otherwise you will alter the fermentation that biga should have. But more on this a bit later.
Now let’s prepare our ingredients: a strong flour (300W or 12.5/13 gr of proteins), yeast and water. Regarding the latter we need to spend a few words. For a good biga, you want to finish your ingredients mix at a specific temperature of 20/21 C. To achieve this you can use a simple formula that helps you calculating the water temperature to use:
55 - room_temperature - flour_temperature = water_tempUnder normal circumstances the flour temperature is 1 degree less than the room temperature, so keep that in mind when you use the formula above.
Now that you have everything clear, put all your yeast in the water and let it dissolve properly:
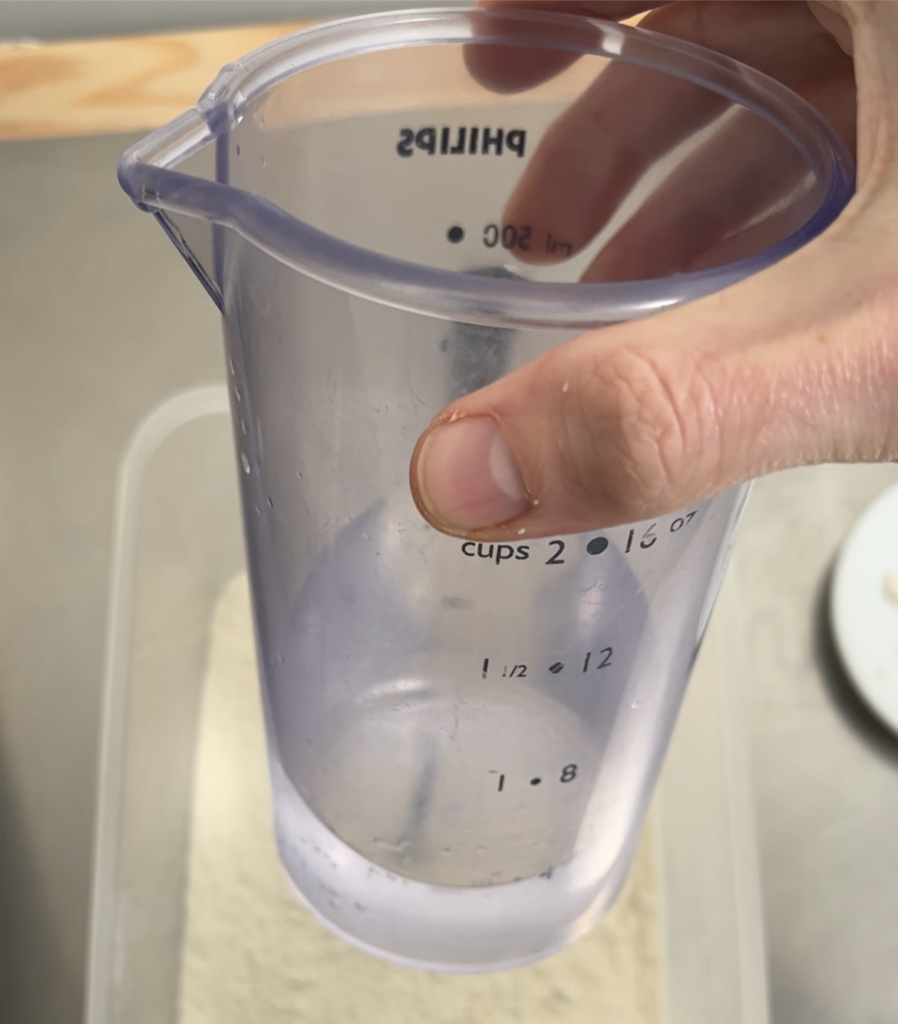
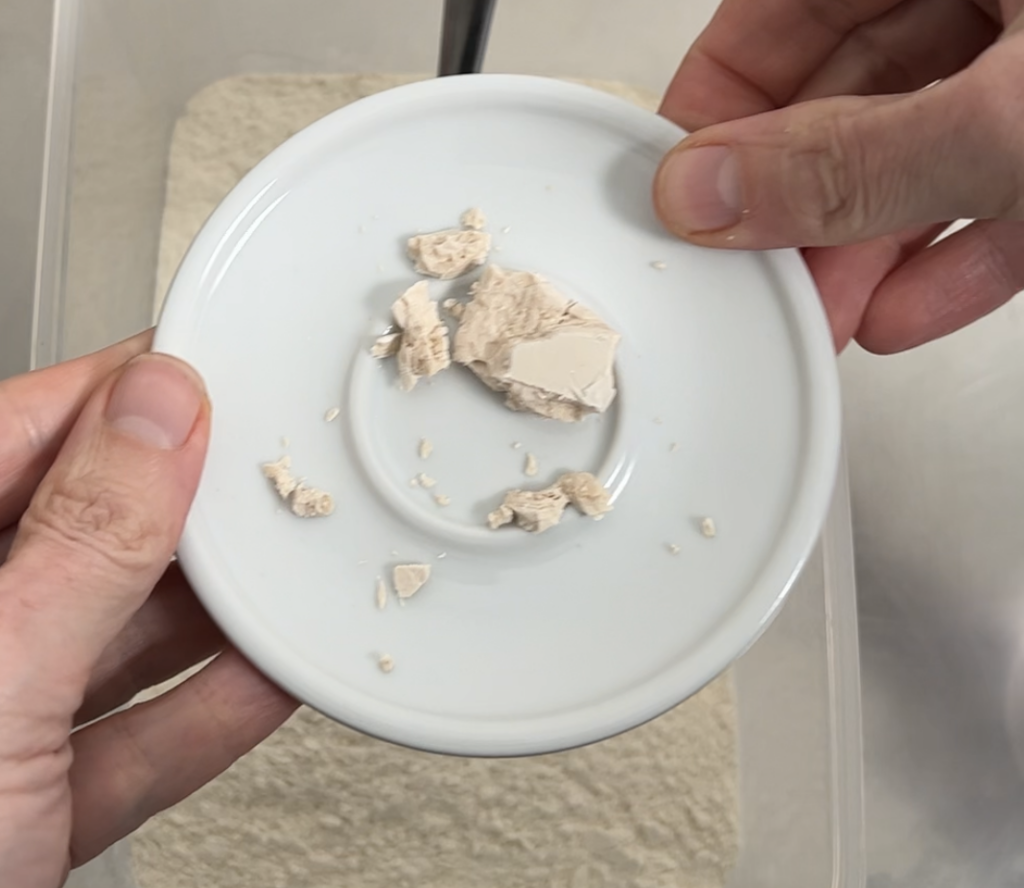
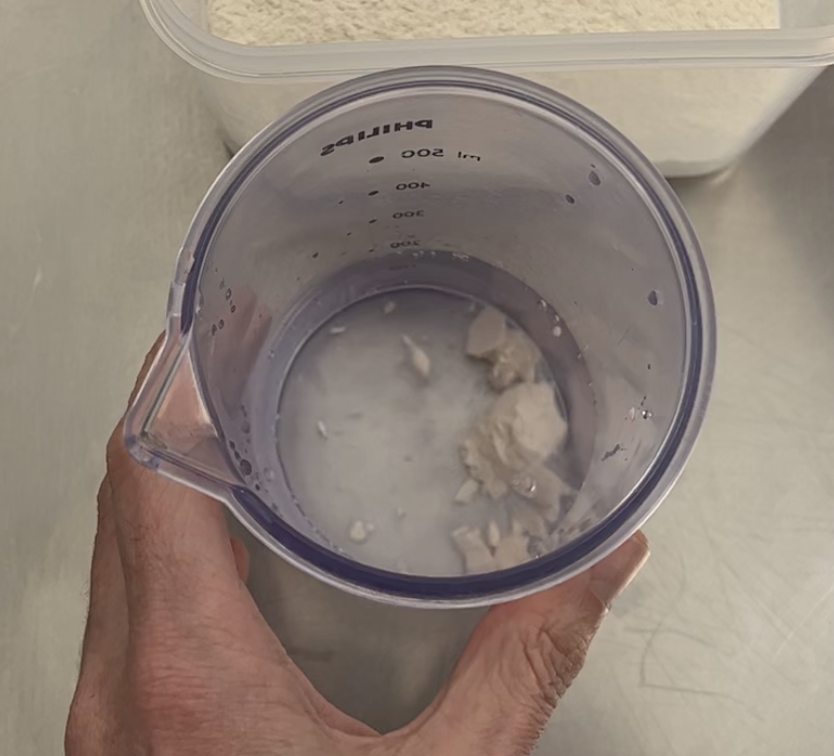
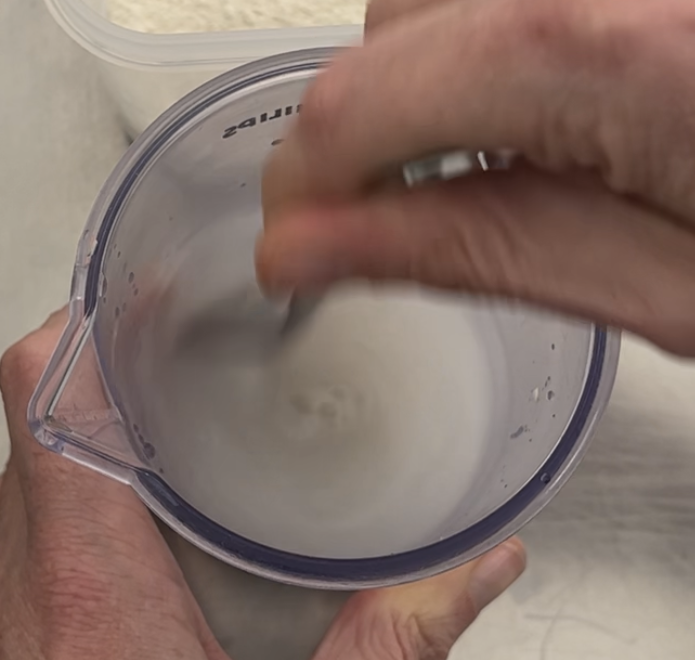
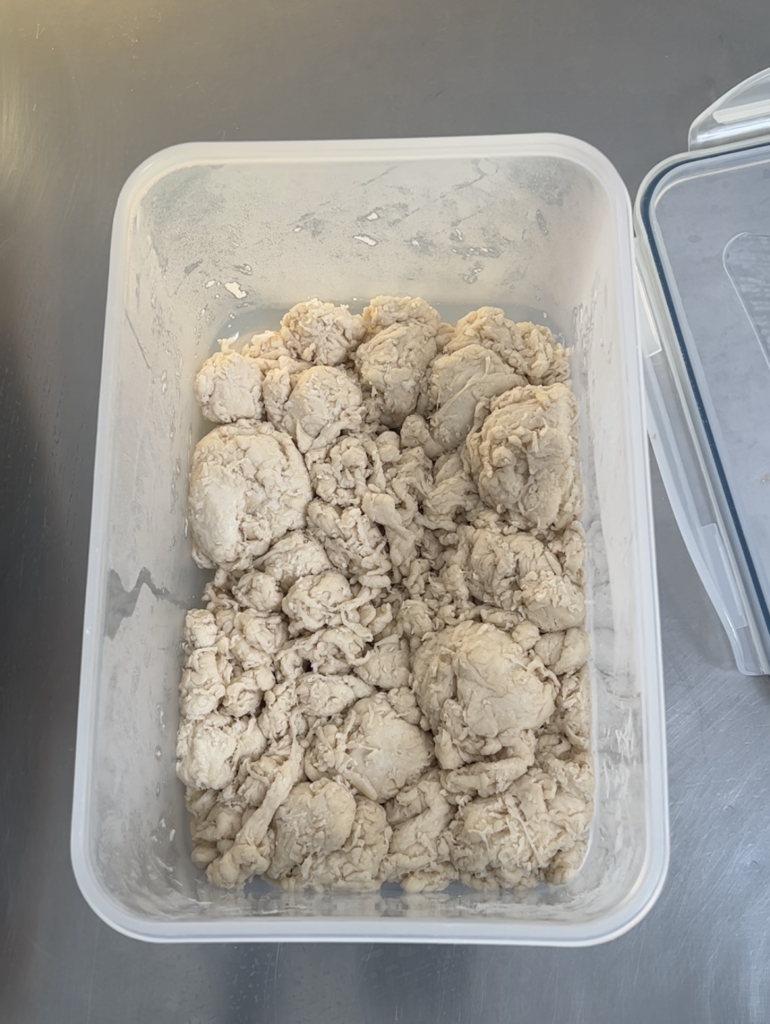
Then make sure that flour is in a container where you can easily move your hands in. I always use a rectangular plastic box like the one in following pictures. Once flour is ready drop the yeast/water mixture in one shot:
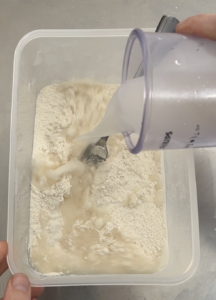
You can use a fork to start distributing the water and have the flour starting absorbing it. Again: don’t knead here! As soon as you don’t see anymore the water floating, clean the fork and with your hands keeping fingers well open move the flour from below to the the top.
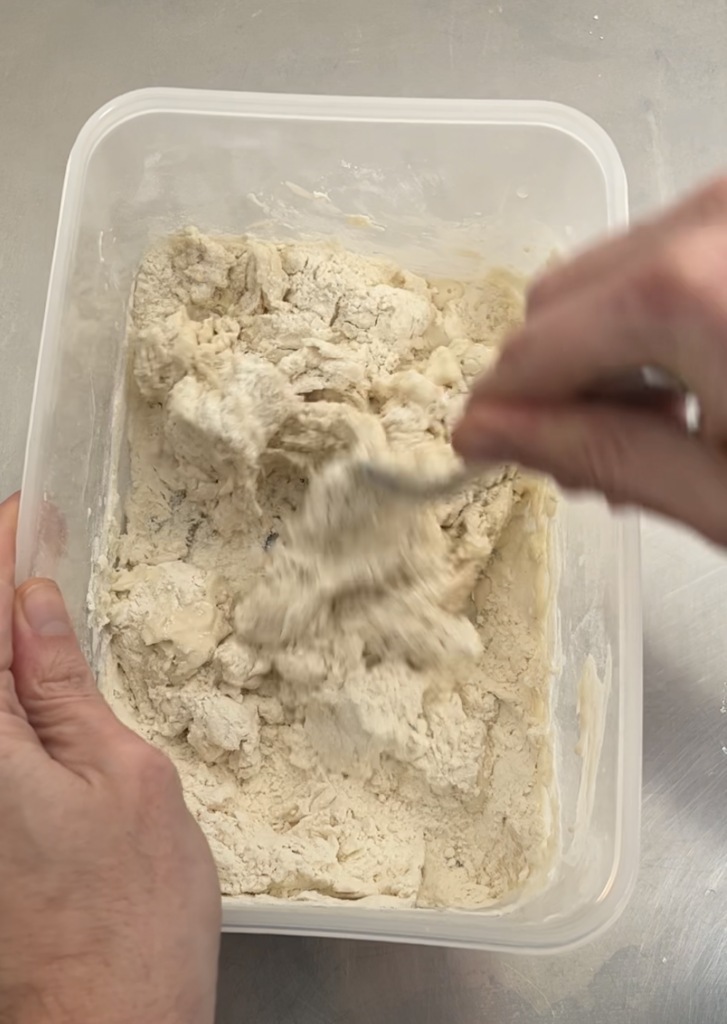
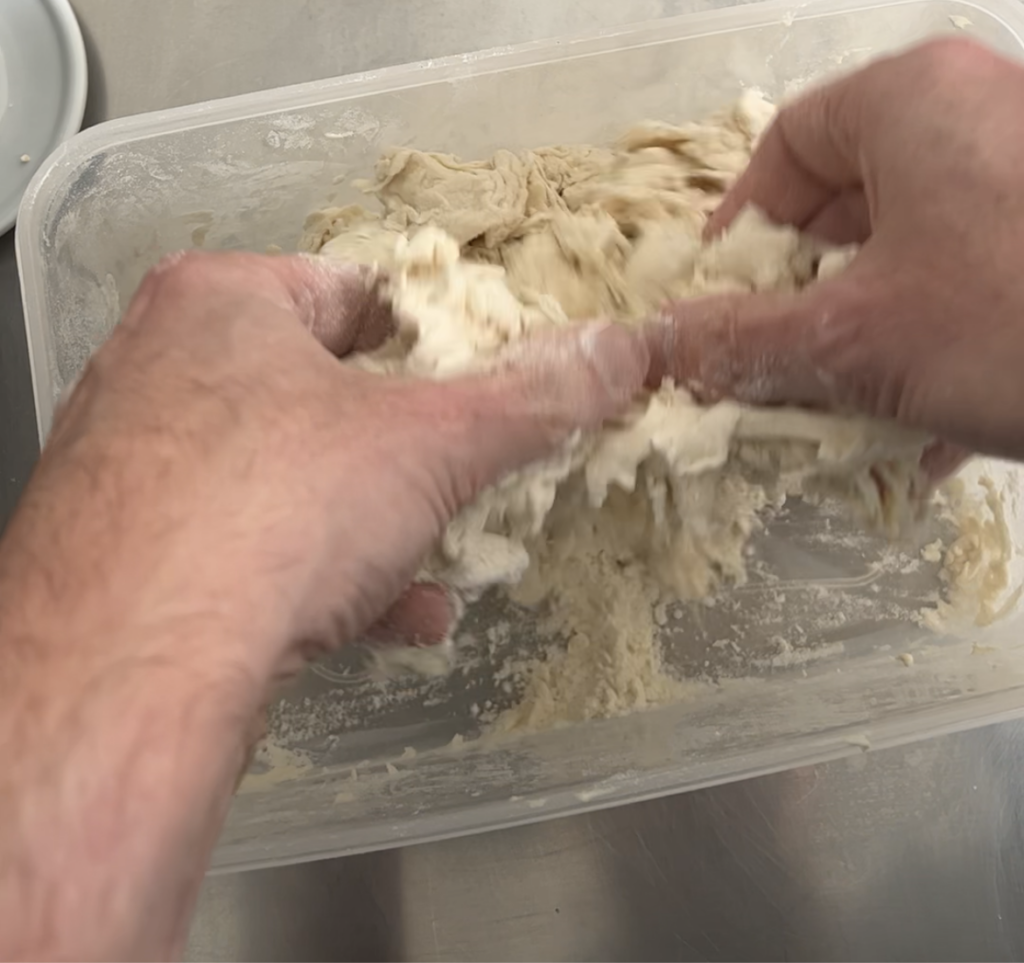
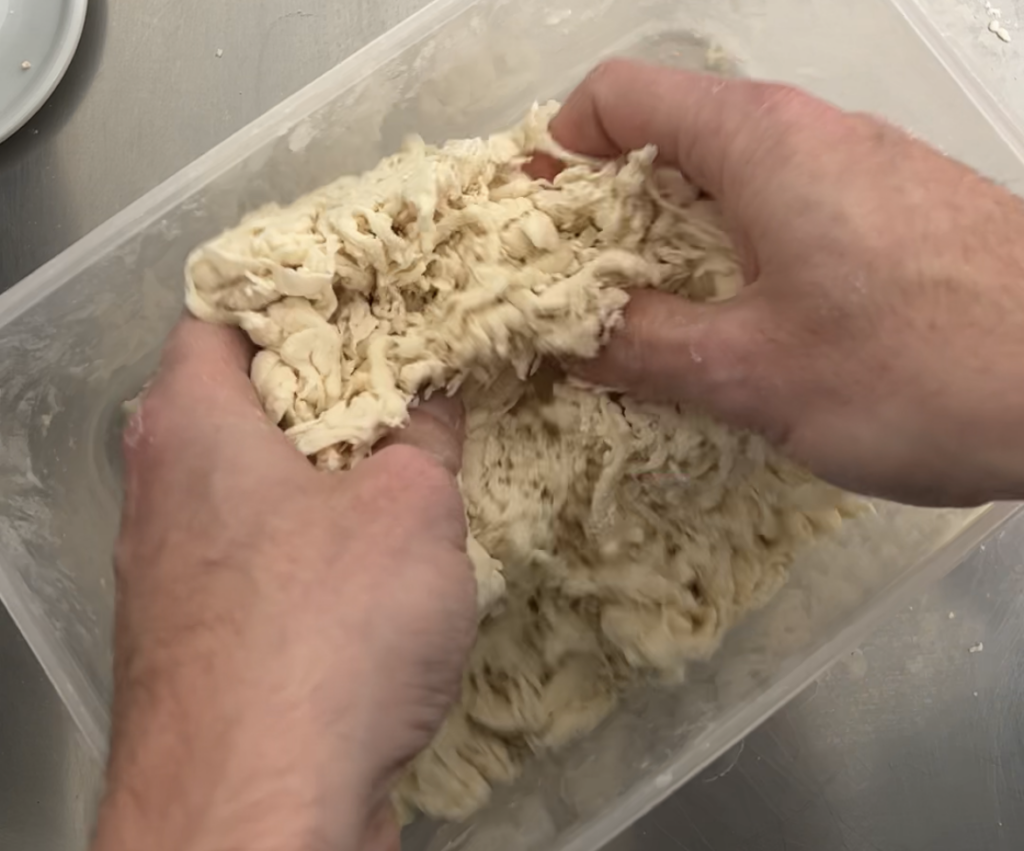
The entire process should take about 5 minutes. Definitely you don’t need to use a mixer to prepare biga. I think is even counterproductive, especially if you are not very familiar with this pizza preferment. Better to practice first by hands, also considering how easy it is. This is how your biga should look like:
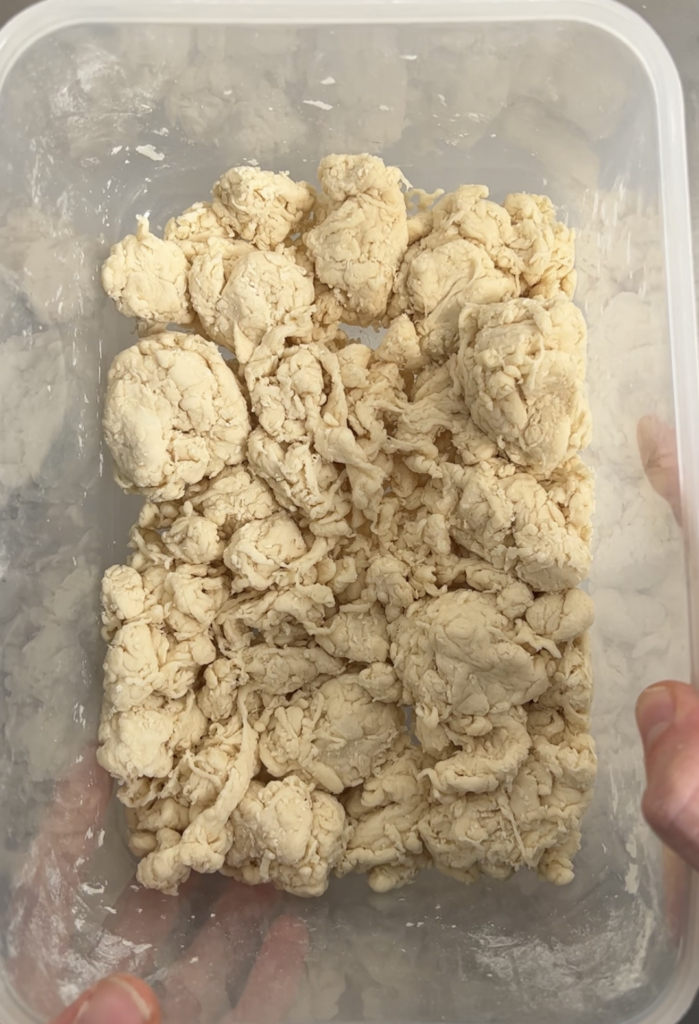
Once finished you can use the same container for the fermentation. Just close it with a lid or with cling film. Then wait 20/30 minutes at room temperature before going to a place that keeps 16/18 C degrees. In my case I use a wine cellar. Here biga needs to mature for 16/18 hours.
If you can’t get those temperatures feel free to contact me for a version of biga that can be matured in the fridge at 6 C degrees. Even though the process will be slightly different you can still make a great biga for your pizza.
Second: knead the final pizza dough
After 16/18 hours you are ready to move to the second step of my best biga pizza recipe for home oven.
Prepare all ingredients of the second dough I mentioned in the table above. It is always better to have them all prepared before starting the pizza kneading. It will be much easier, less error prone and less time consuming.
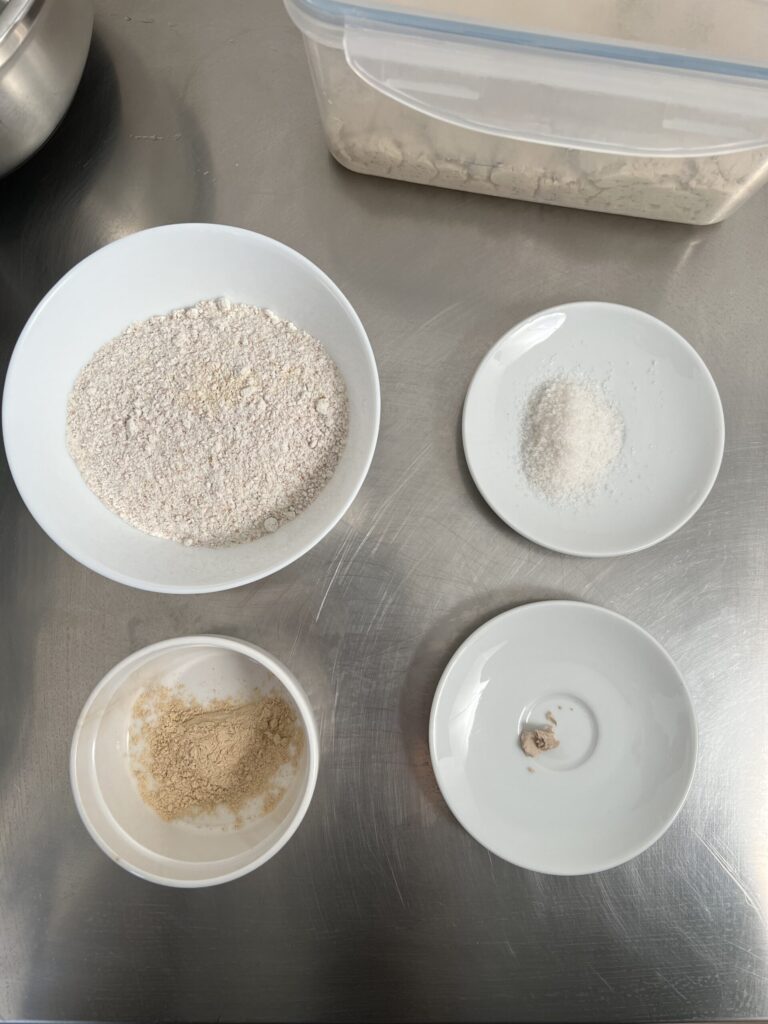
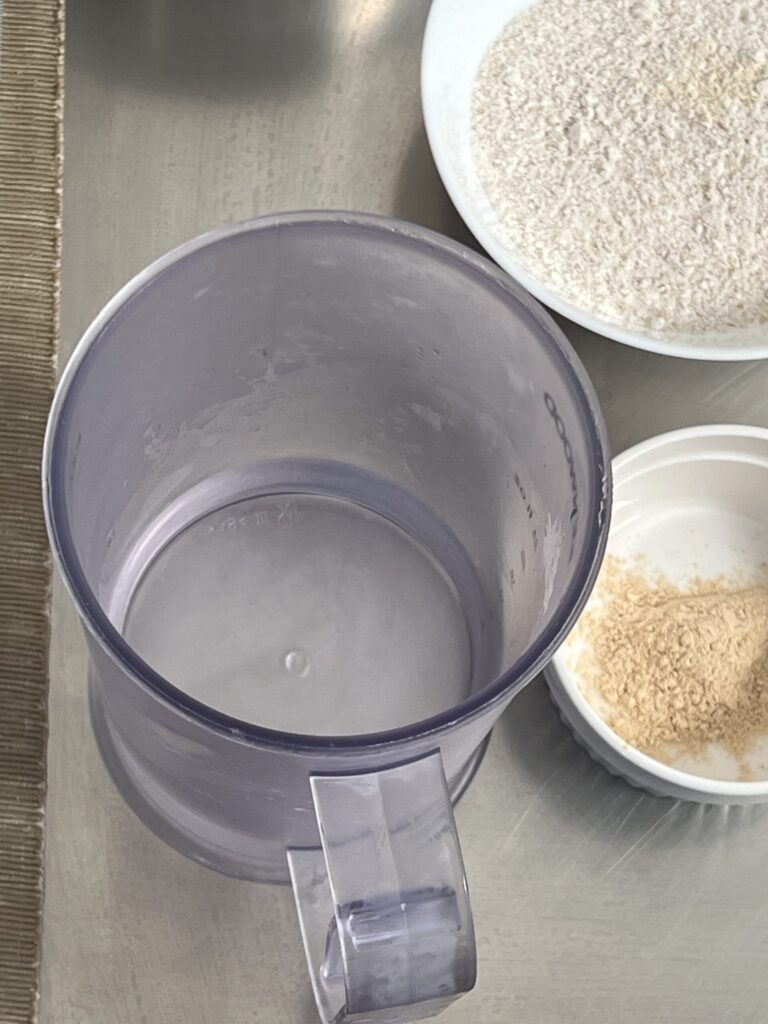
In my case I am going to prepare the dough in a spiral mixer. This makes everything much easier and I can add majority of the ingredients since the first second. In case you have a stand mixer the process will be slightly different. But no worries, I share later what to do. If you don’t have any of them you can still try using a hand mixer. Otherwise by hands is a pain the neck and I strongly recommend against using biga when hand kneading pizza.
What I do is pretty easy. I add mature biga, yeast, malt and flour in the mixer. Then I slowly add water to reach an already high hydration around 65/68%
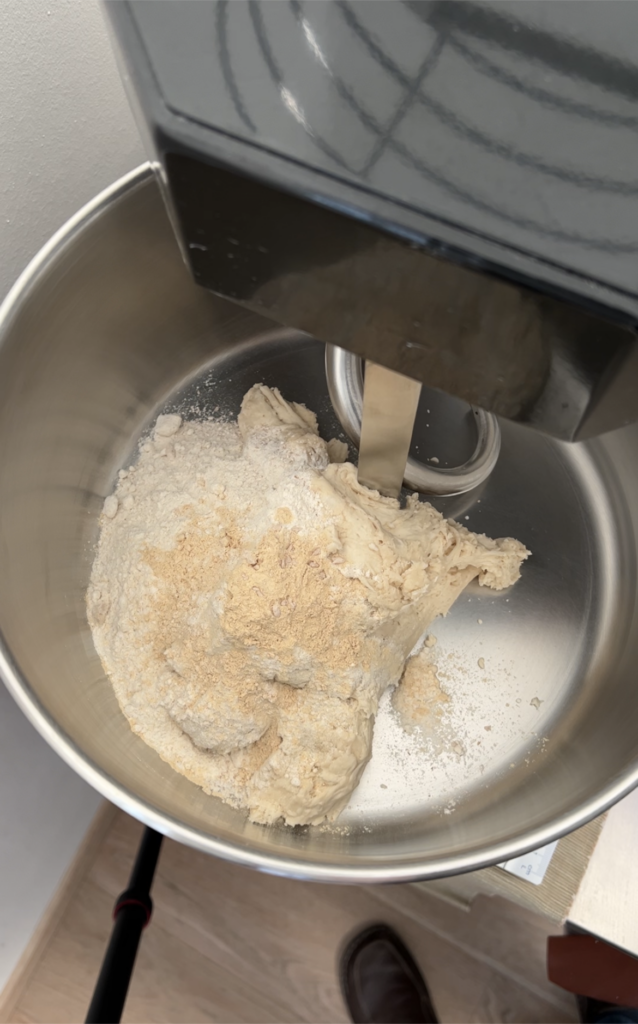
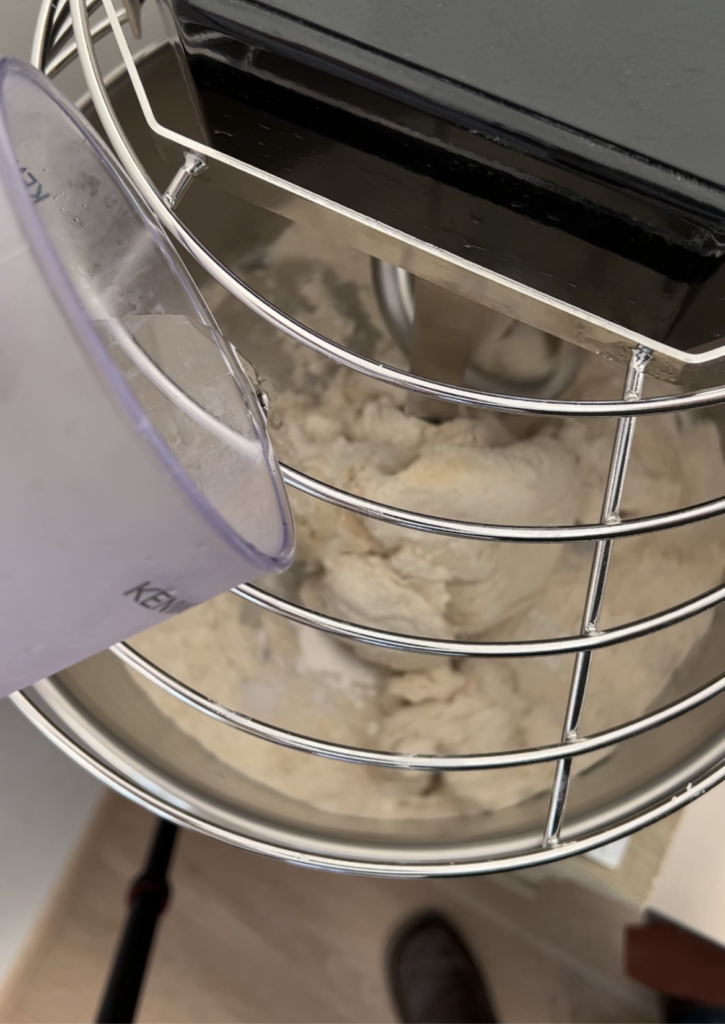
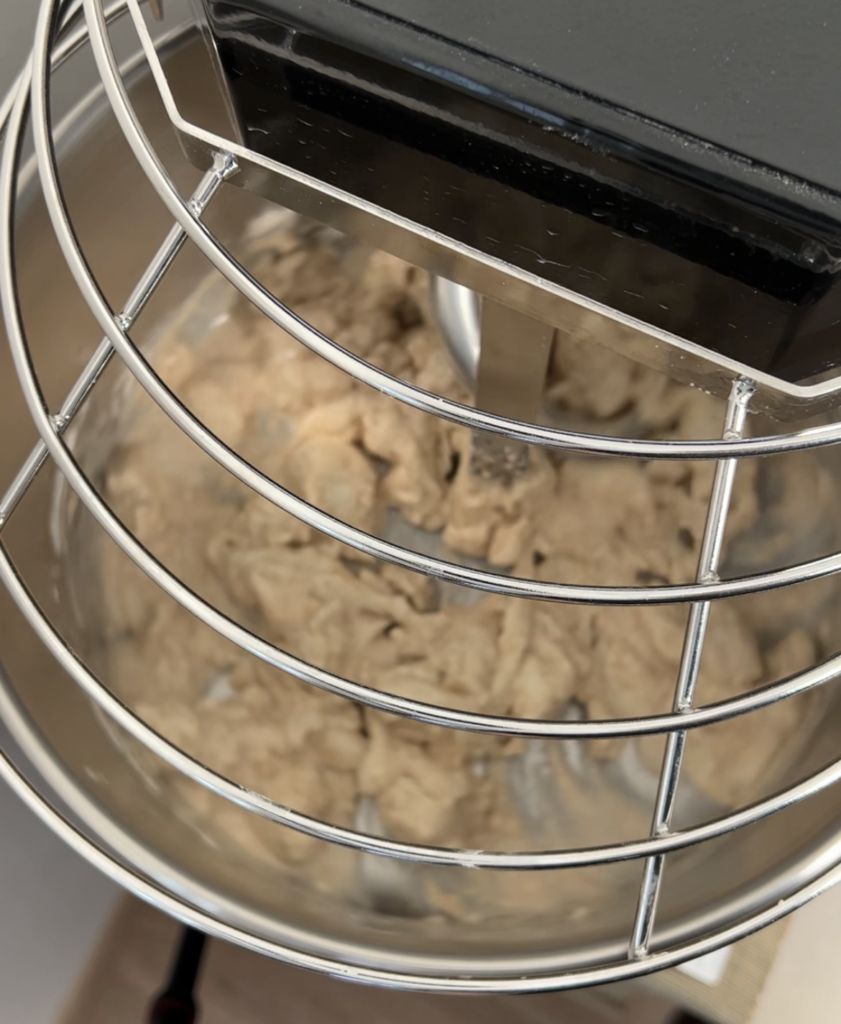
Then I let the spiral mixer go for a few minutes until I see the gluten mesh starts to be there. And once I see that I add salt and a bit more water:
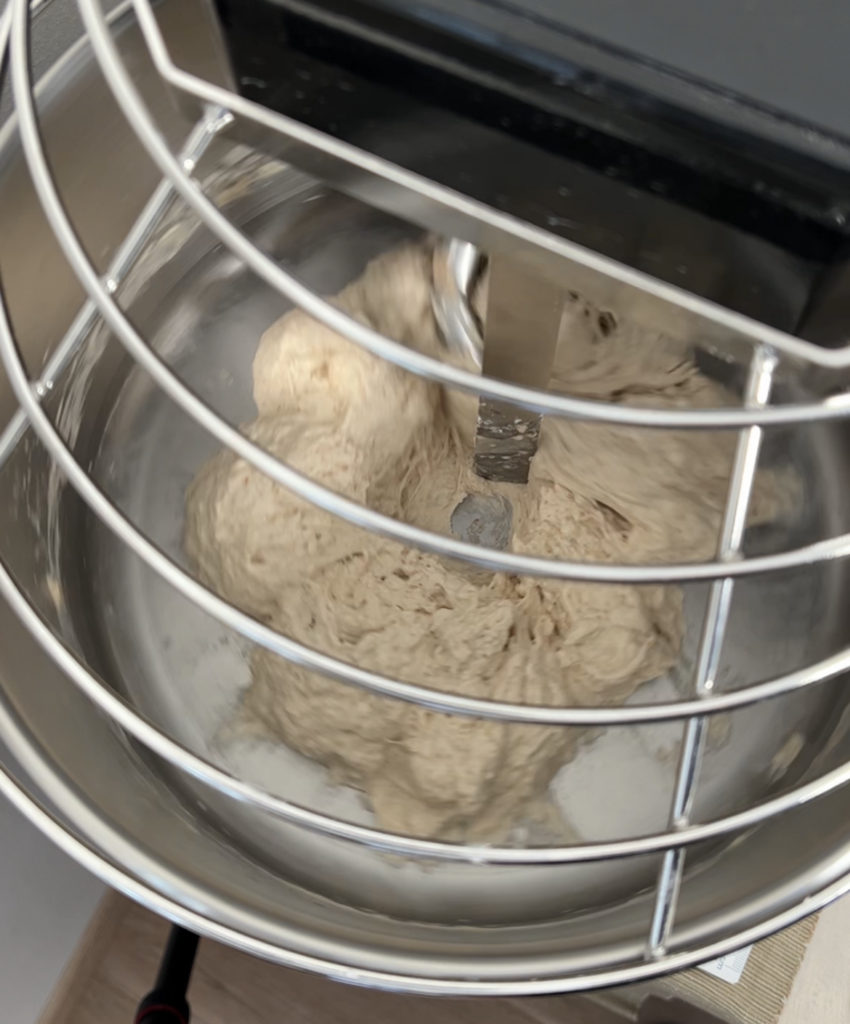
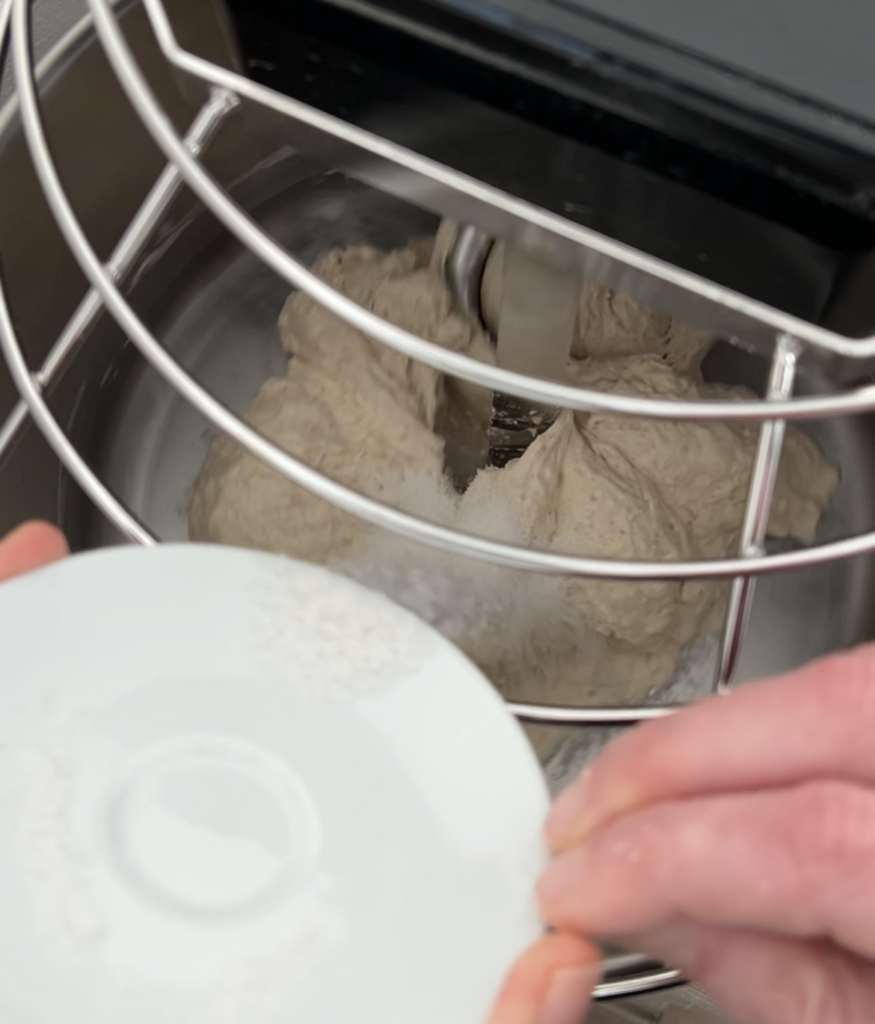
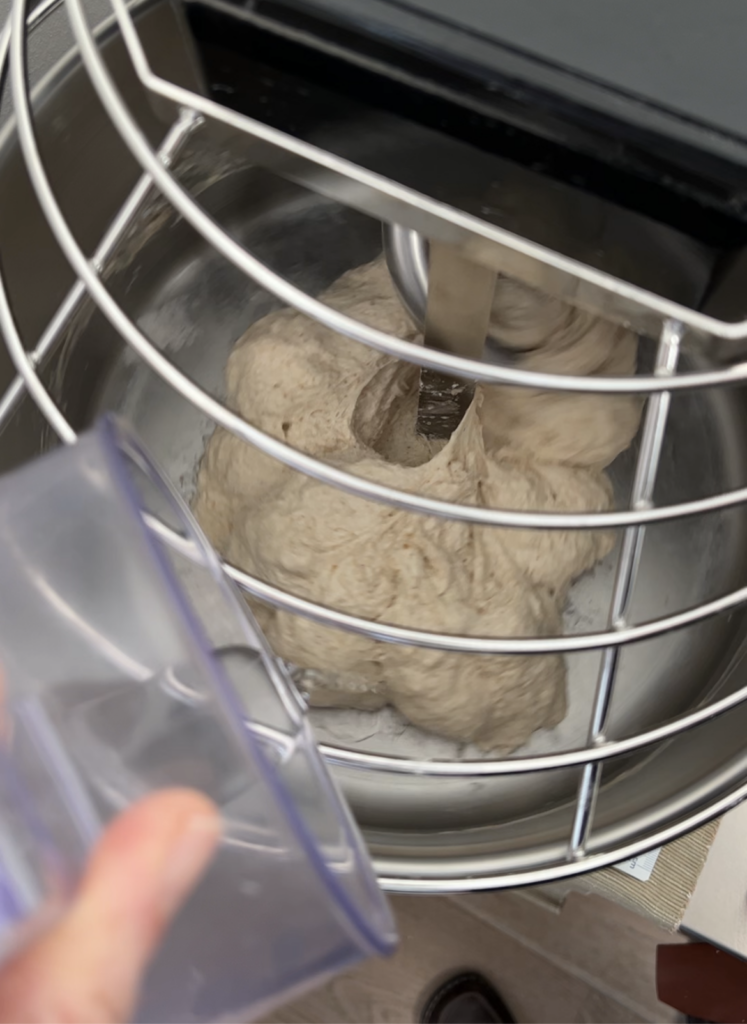
Until now we should be already working with a pretty high hydration. But still we have a few grams of water left. So we increase the speed of the spiral mixer (second speed), we wait that the gluten mesh gets stronger and we finish adding the water in 2 or maximum 3 steps.
Of course make sure to add water only when the previous one is perfectly absorbed! And at the end you will have a strong and elastic gluten mesh!
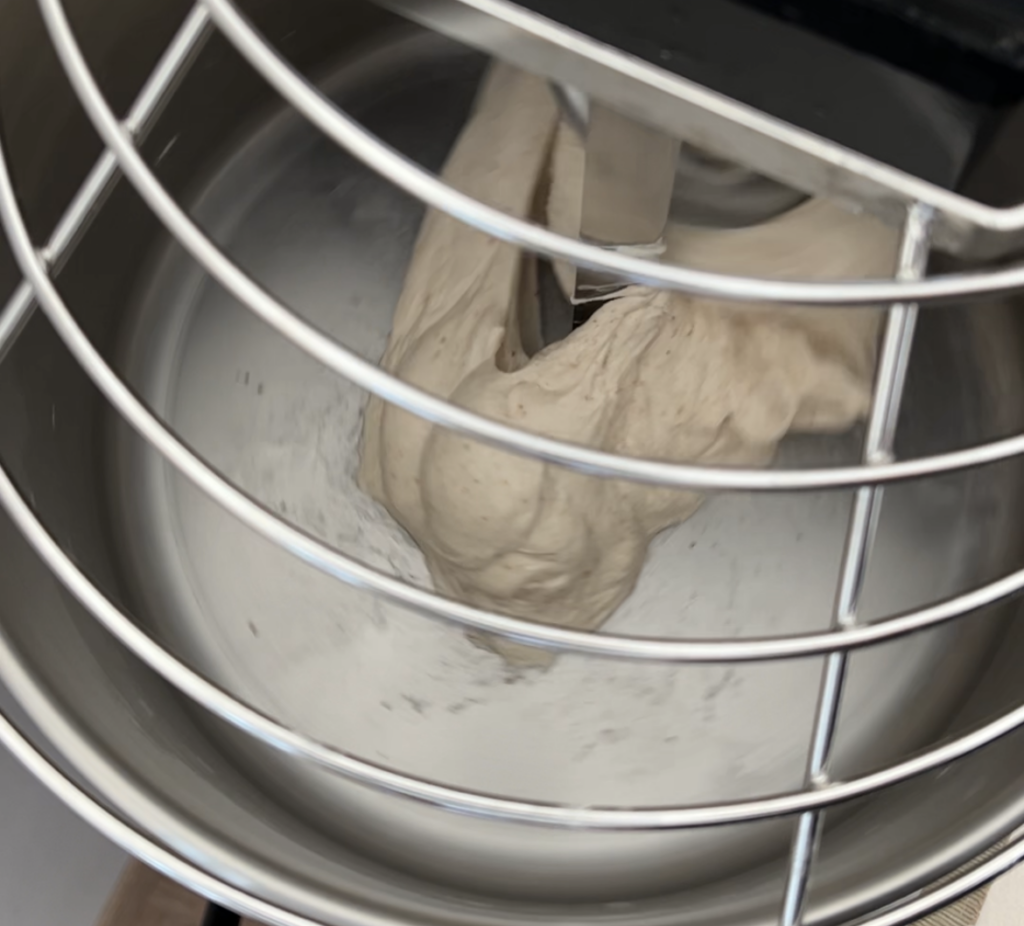
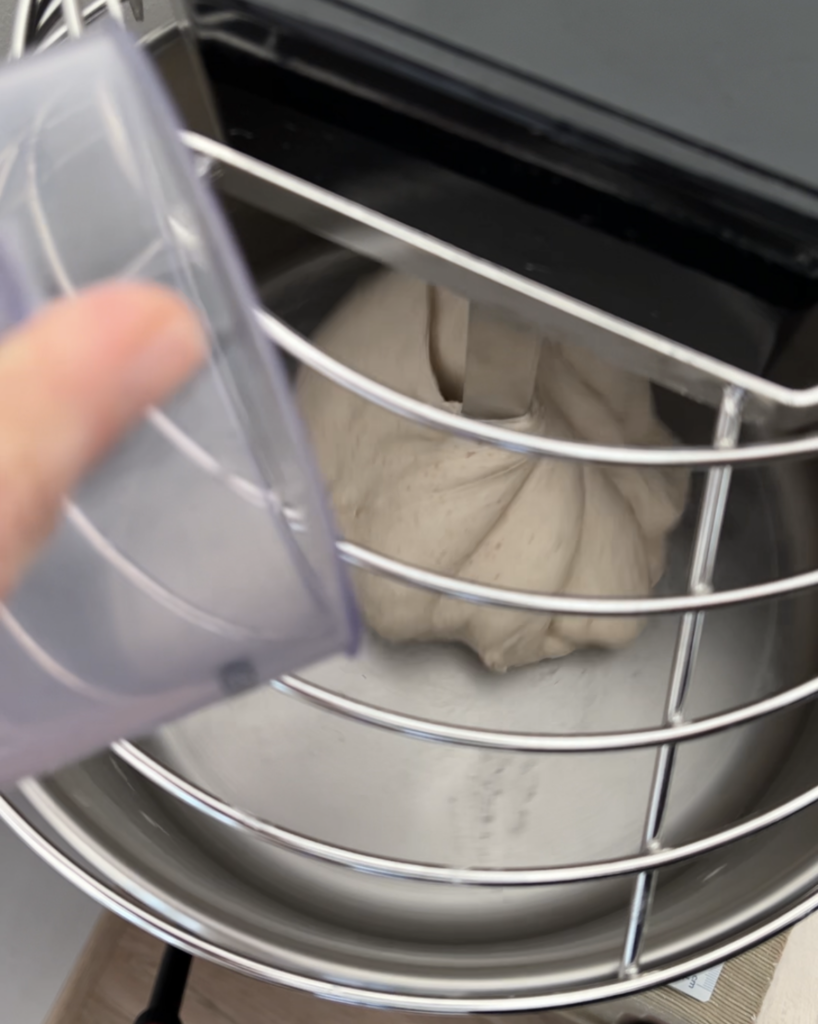
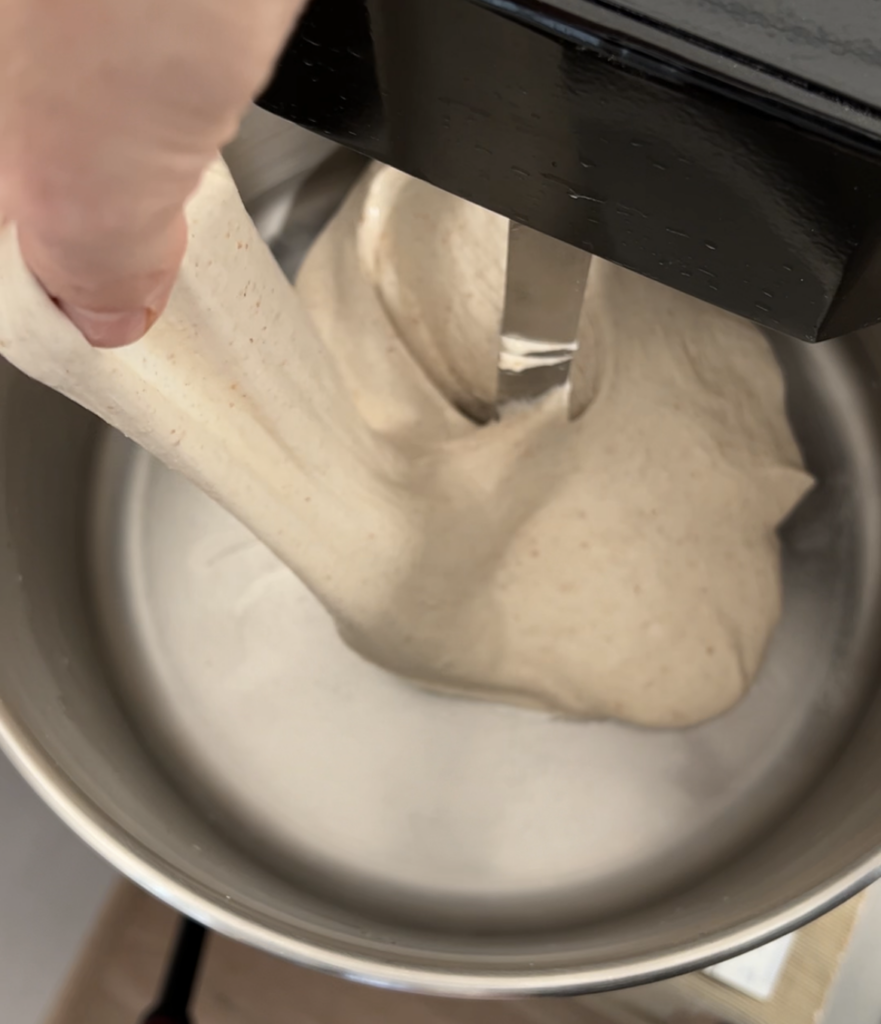
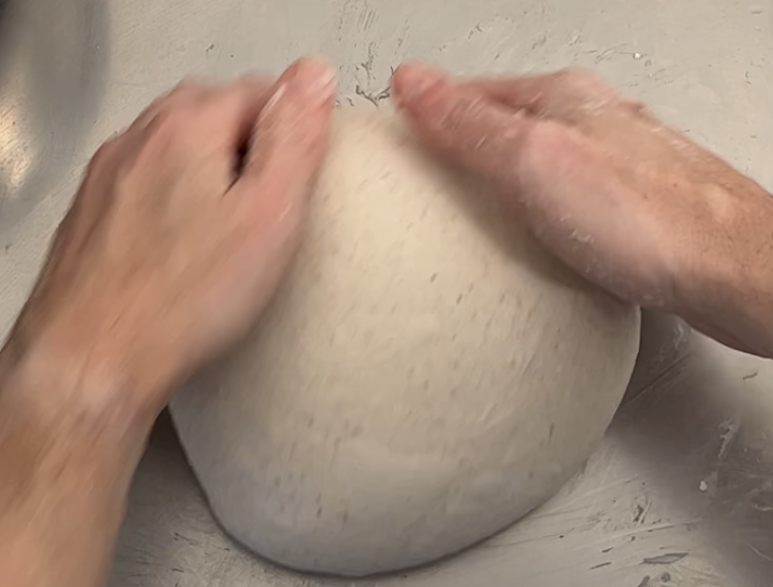
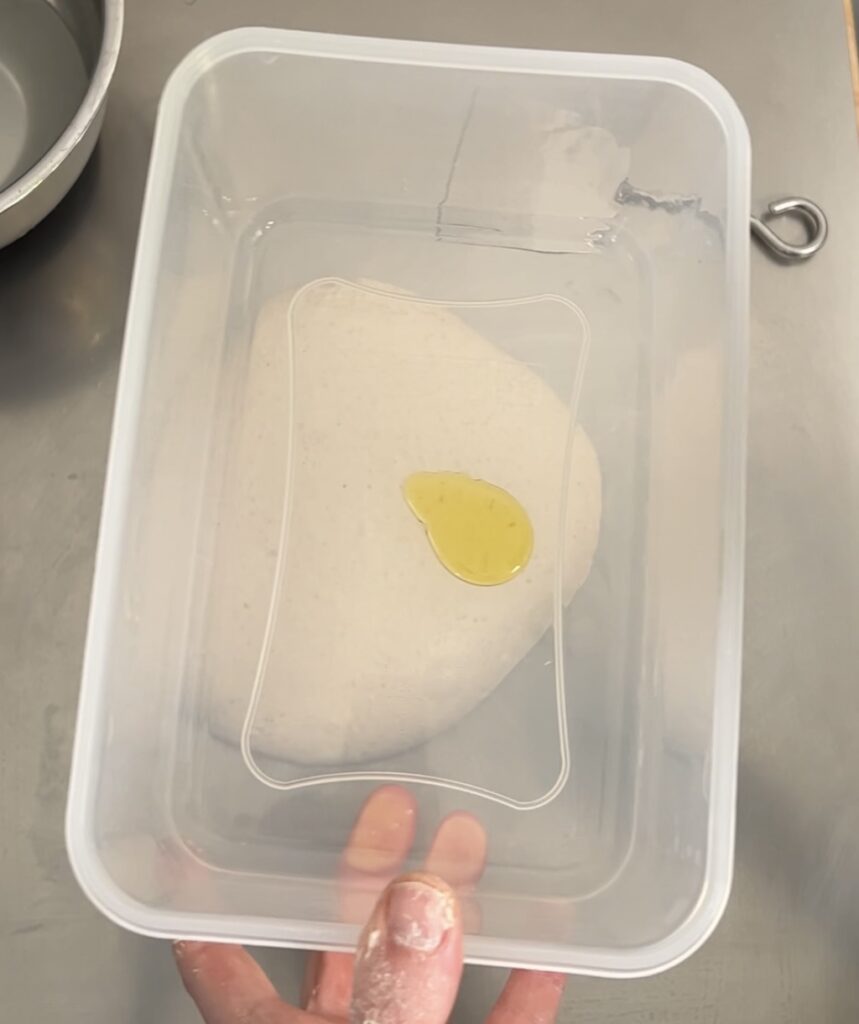
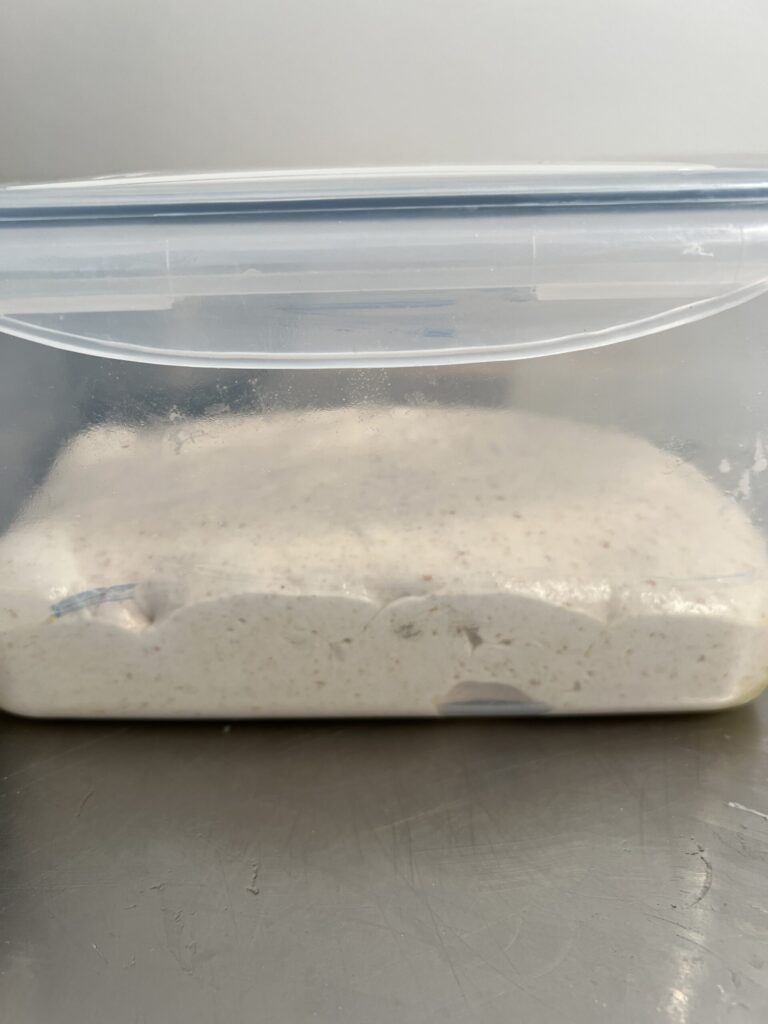
Now it’s time to move the dough on your countertop, do a bit of slap&fold and rounding so you can store the biga pizza dough in a oiled proofing box where you want to have it resting – covered with hermetic lid – until it doubles (at least) the volume:
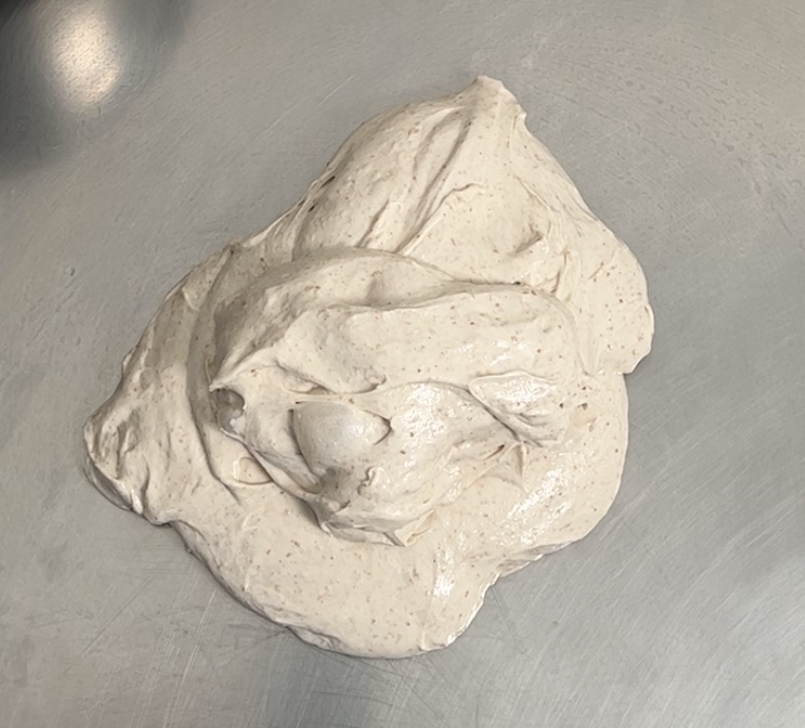
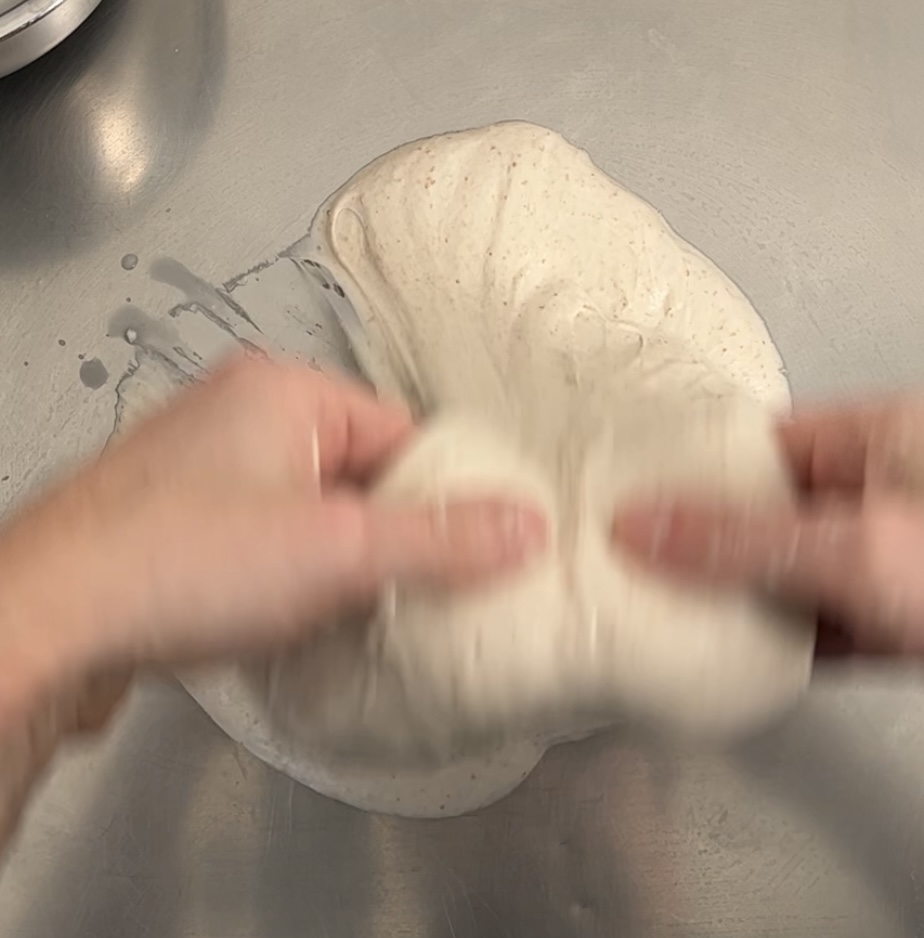
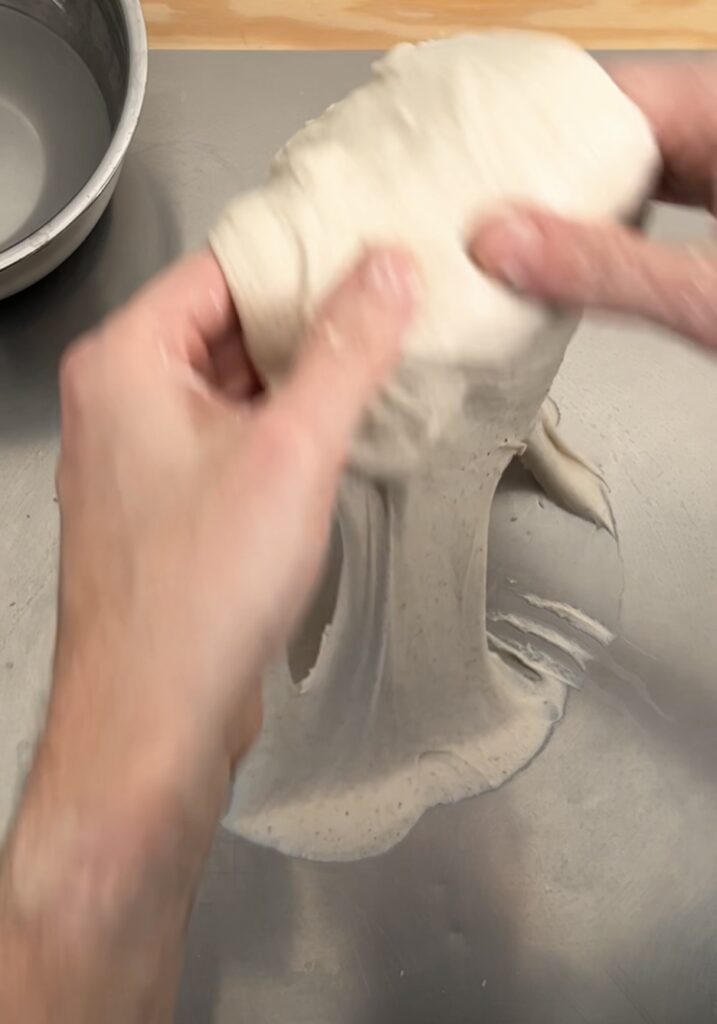
The next step will be to portion the pizza dough after its first proofing. But before explaining you when and how to do that, I wanted to share how to knead biga pizza dough when using a stand mixer instead of a spiral mixer.
How to knead biga with stand mixer
Now, as promised, let’s review what to do in in case you use a stand mixer.
The process changes only for the kneading. Once you move the pizza dough to the countertop everything is the same.
The difference though in the kneading itself. In fact in the stand mixer the process is much longer, because you need to make sure biga is well softened and does not have lumps.
So we start adding only the biga in your mixer. Then drop a bit of water and start the mixer at slow speed. Continue adding water until you reach about 60% hydration. You want to more or less melt biga.
After that, add the remaining flour, malt (if you have it) and yeast. A bit more water and continue kneading for a couple of minutes. Finally add salt and water a bit at a time until you finish it. In my stand mixer it takes about 20 minutes to complete the kneading process.
Third: pizza dough portioning
The biga pizza dough recipe I provided above is for one single pizza in a 30x40cm sheet tray. However maybe you wanted to prepare more than one pizza. In that case I believe you at least doubled the ingredients, if not more.
If this is the case, after the first bulk proofing, it’s time to cut the dough in the amount of portions equal to a pizza. This phase, for this pizza dough is pretty critical. My recommendation is: do not touch the dough too much and to be gentle.
But before explaining what to do when portioning, remember that you can move to the next phase (baking) in case you only prepared one pizza using ingredients provided before.
That, said let’s move to pizza portioning. We are not going to remove the full amount of dough from the container to the countertop as we normally do with Neapolitan Style pizza. On the contrary we will use our hands and a knife operating directly in the container. So prepare a kitchen scale, a dish or anything else to use on the scale, put semolina flour (or rice flour) in it and get a good knife. Then follow instructions.
Create pizza dough balls or portions
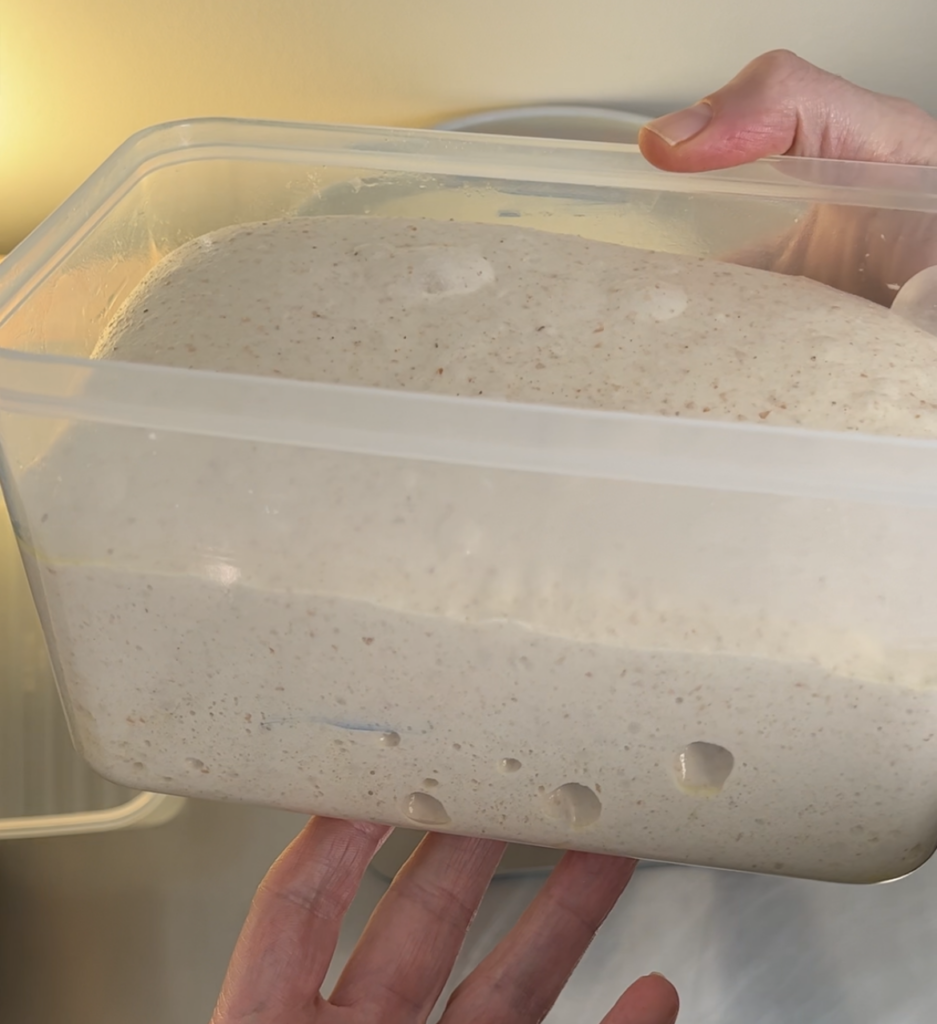
Open your pizza proofing container and with wet hands take the dough from the below of the container until you think you are close to the weight you need for a single pizza (about 620-630 gr). Then with a knife cut the dough and put it in the dish with semolina flour:
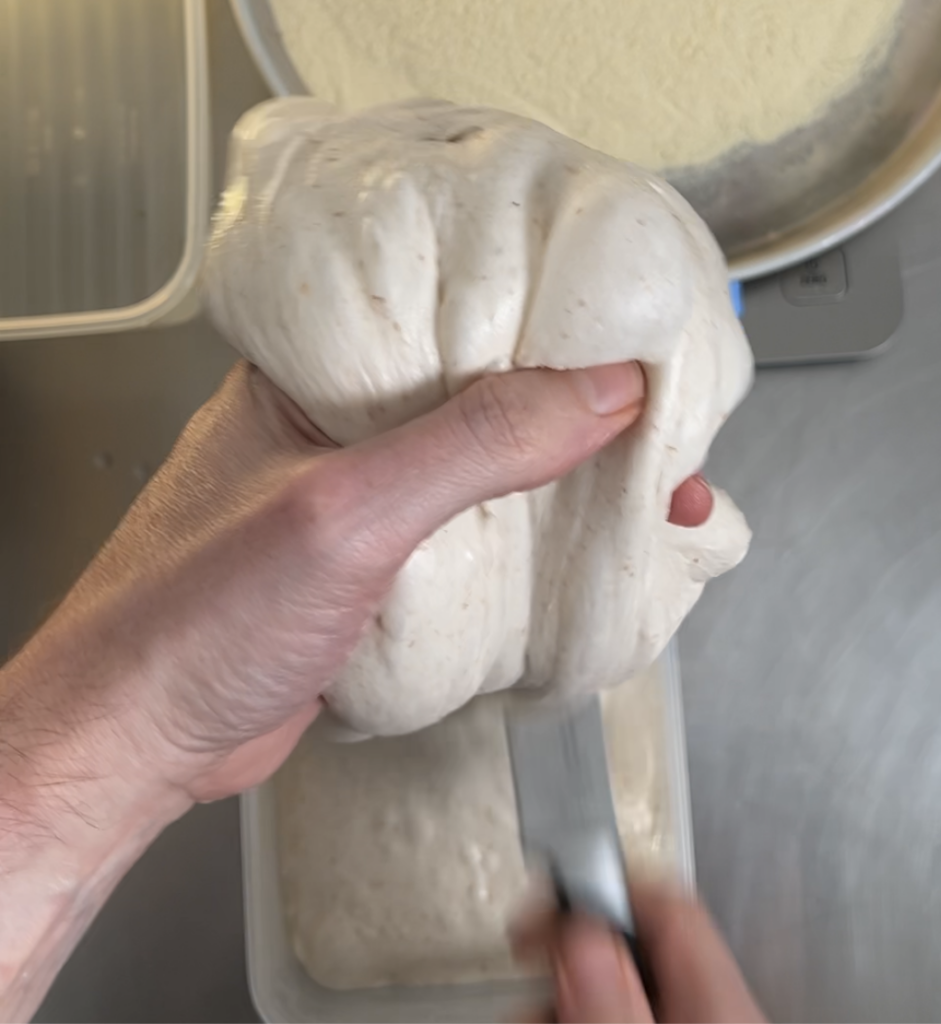
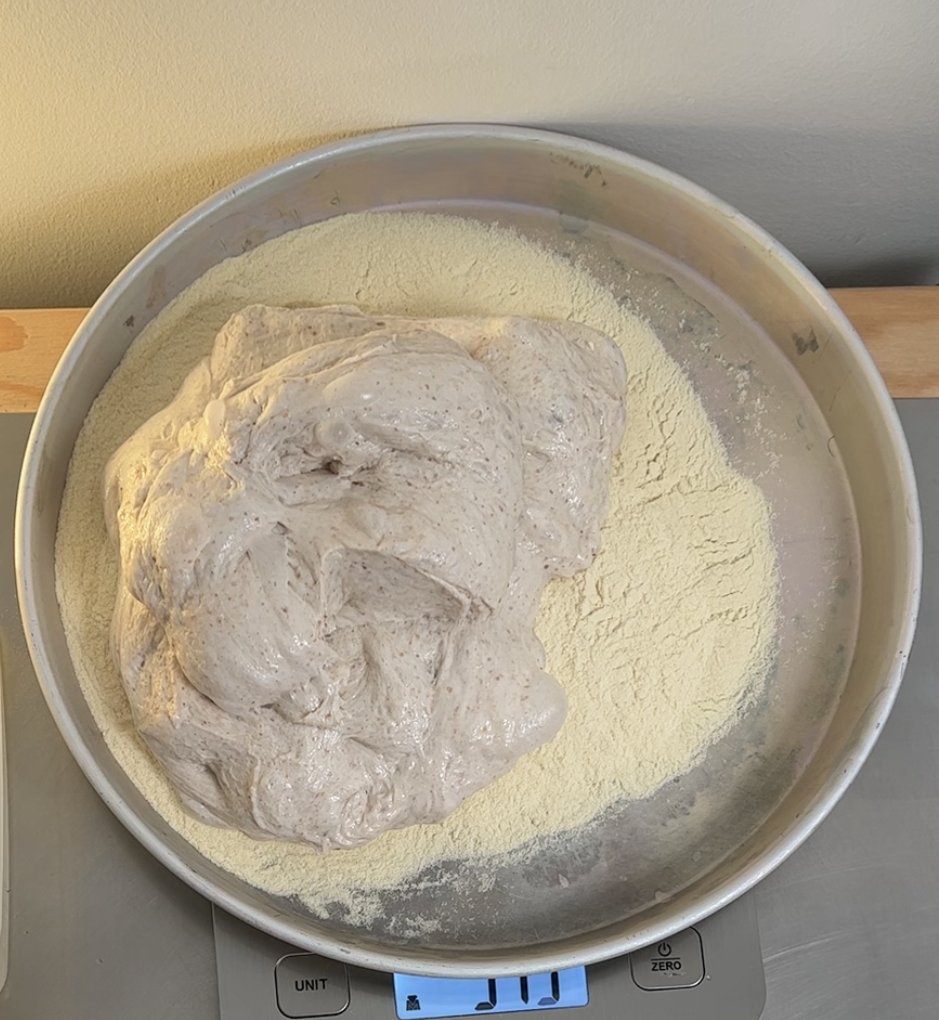
Don’t worry if you don’t guess the weight immediately. Keep adding a bit of dough at a time until you reach the desired weight. Also, make sure to add the dough on top of the previous one.
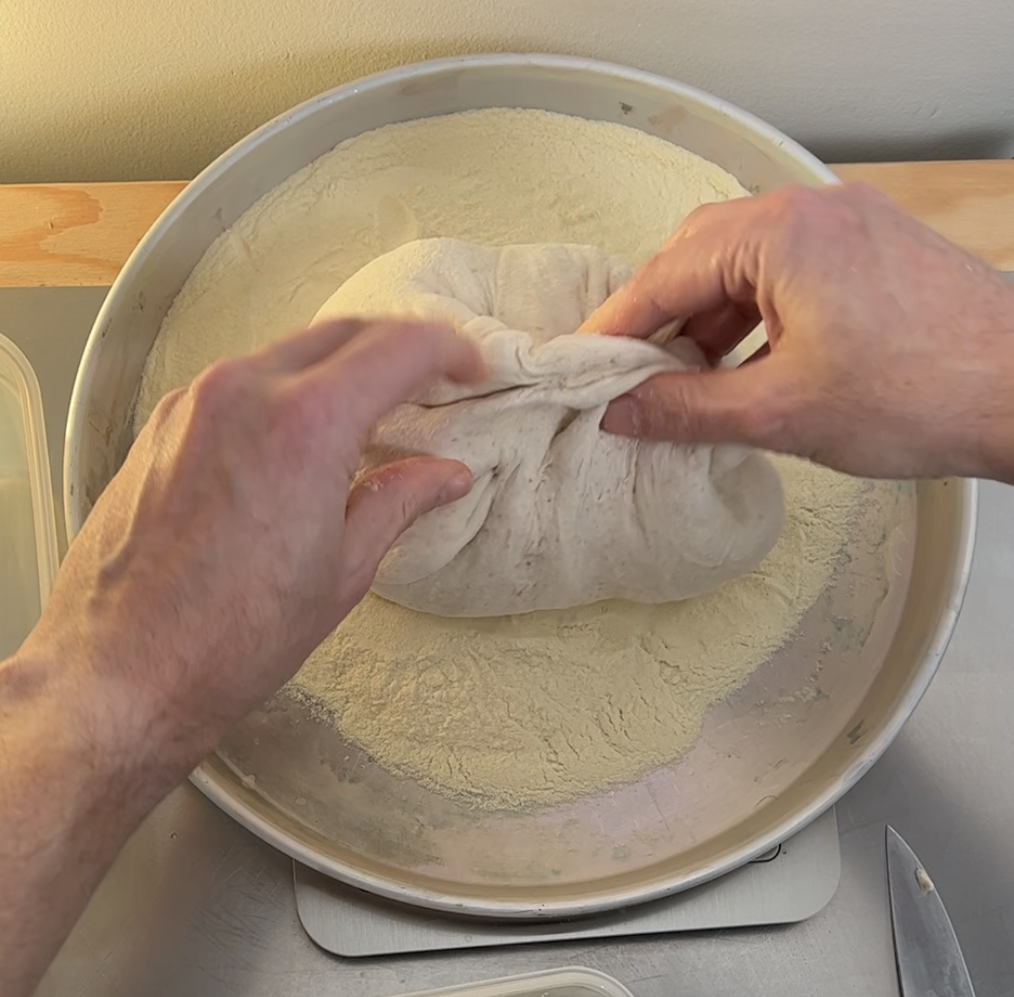
Next step is to compose the dough you just weighed in a portion of an almost rectangular shape. We want it rectangular because this will ease later on during the stretching. But it’s not mandatory.
To form the pizza dough portion you just need to take the dough from the side and fold it toward the top center:
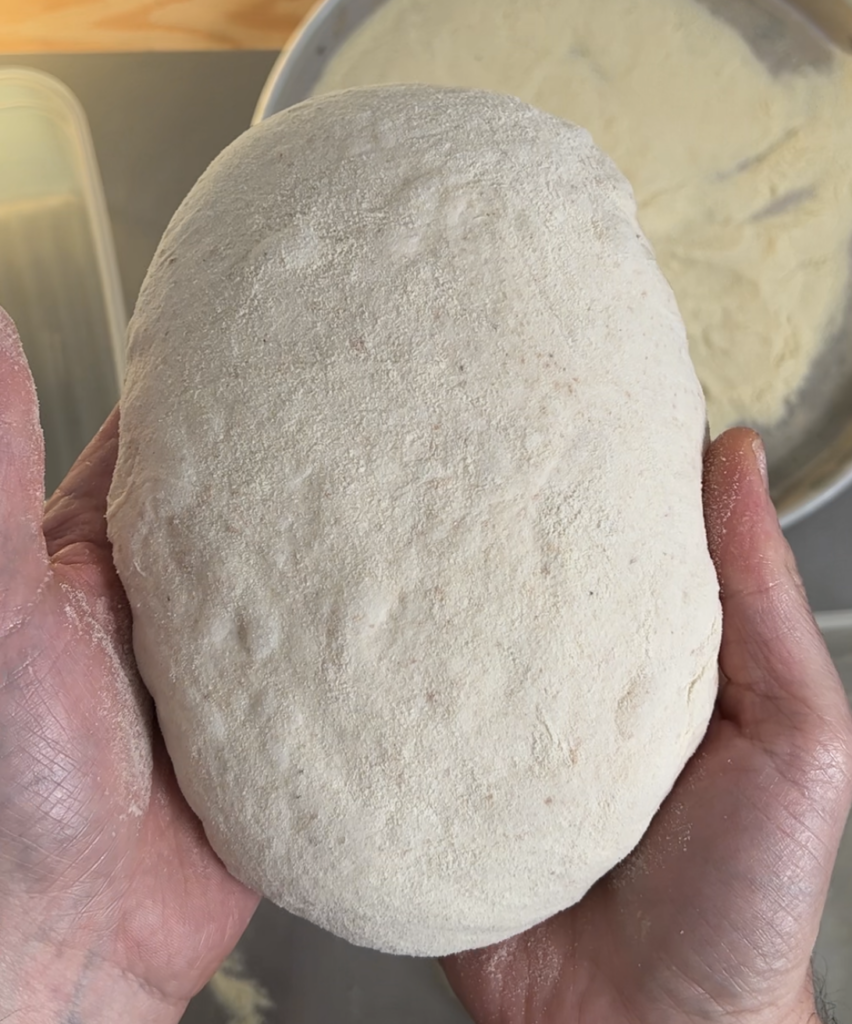
Now that you have the portions you want to prepare smaller proofing containers for the second fermentation. Also in this case I always add a thin layer of extra virgin olive oil in them to help the pizza dough removal once ready.
Second proofing of the biga pizza dough
So, I assume you already have your dough proofing container ready with a thin layer of oil. If so, you simply move your portioned pizza dough into them:
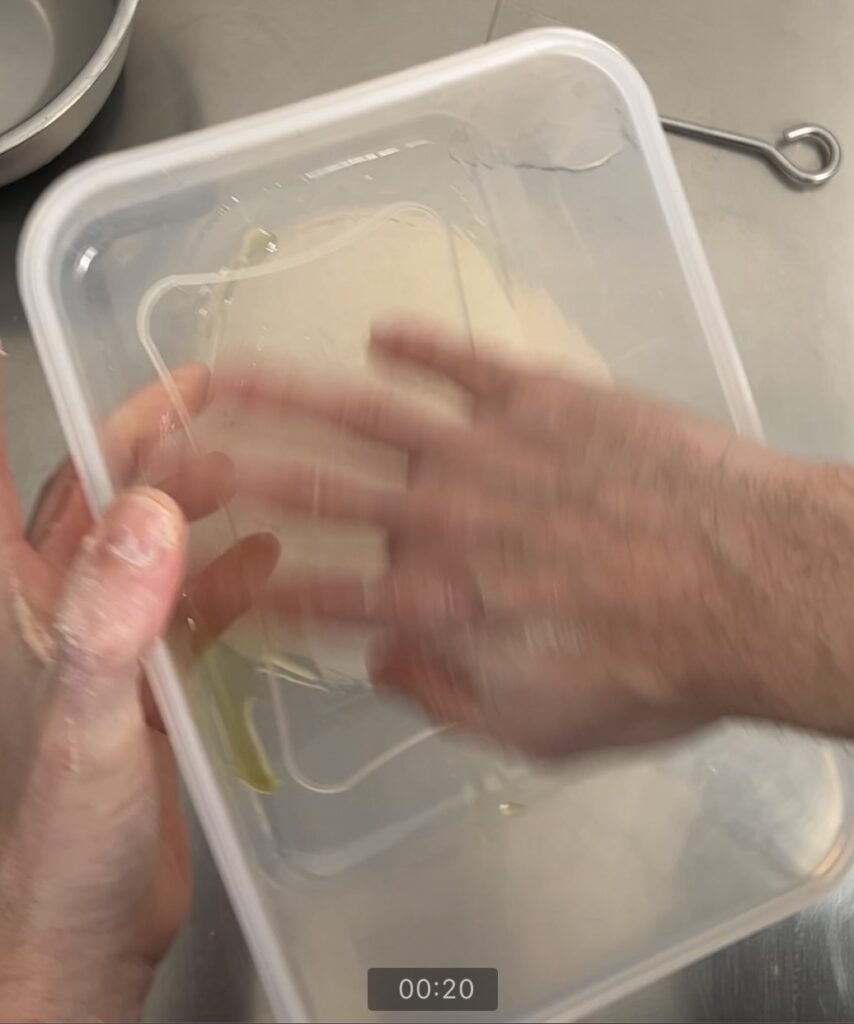
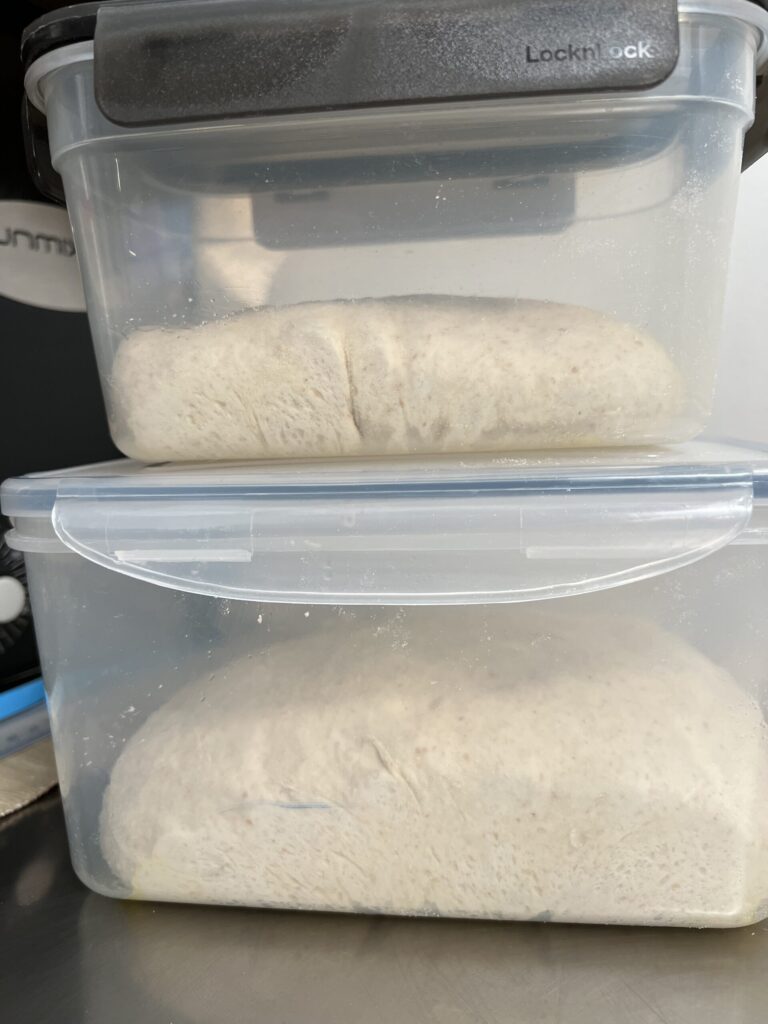
In my case I prepared an entire portion plus a smaller one for a smaller baking tray.
Now you just need to wait until the dough doubles again before you can move to the next phase: pizza baking.
Biga pizza baking
The first step is to prepare everything we need to stretch the pizza and then bake it. That means we can get ready a baking tray (30x40cm), semolina flour to stretch the pizza and of course a place where we can stretch. I am using a wood pasta board, but you can also use your kitchen countertop.
The process starts turning on your oven at its maximum temperature (whatever is in your oven). Make sure you don’t use convection.
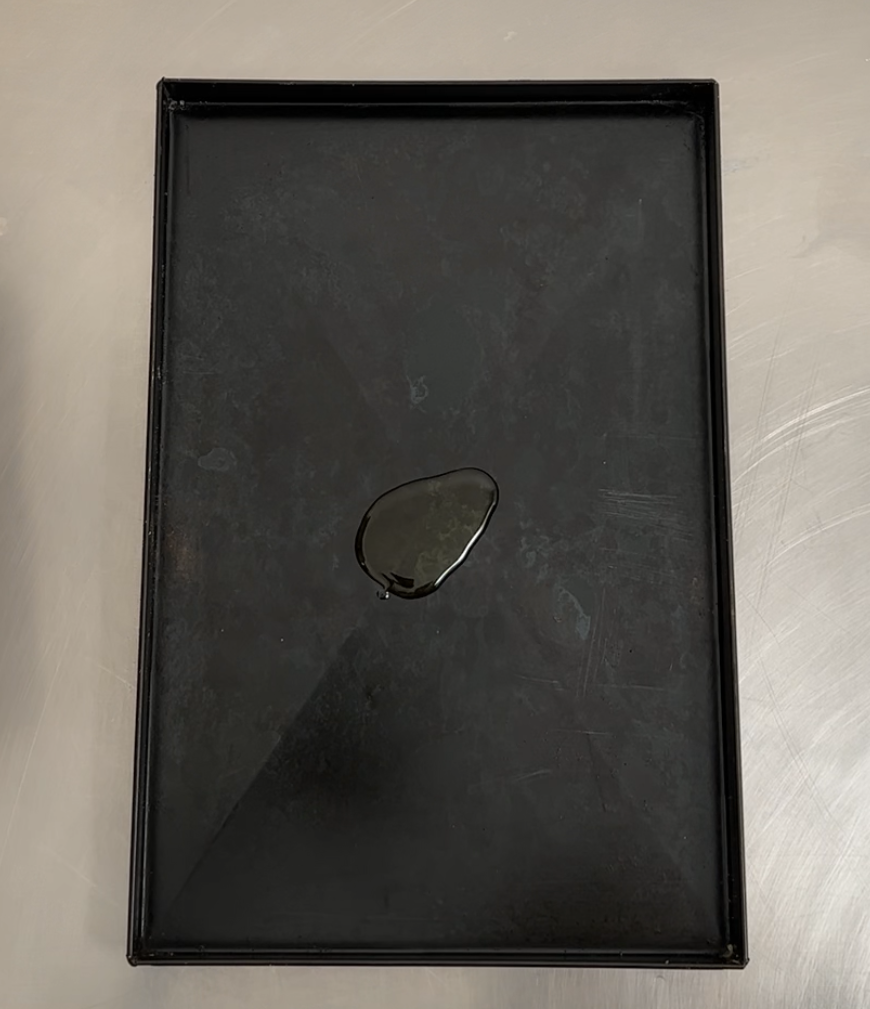
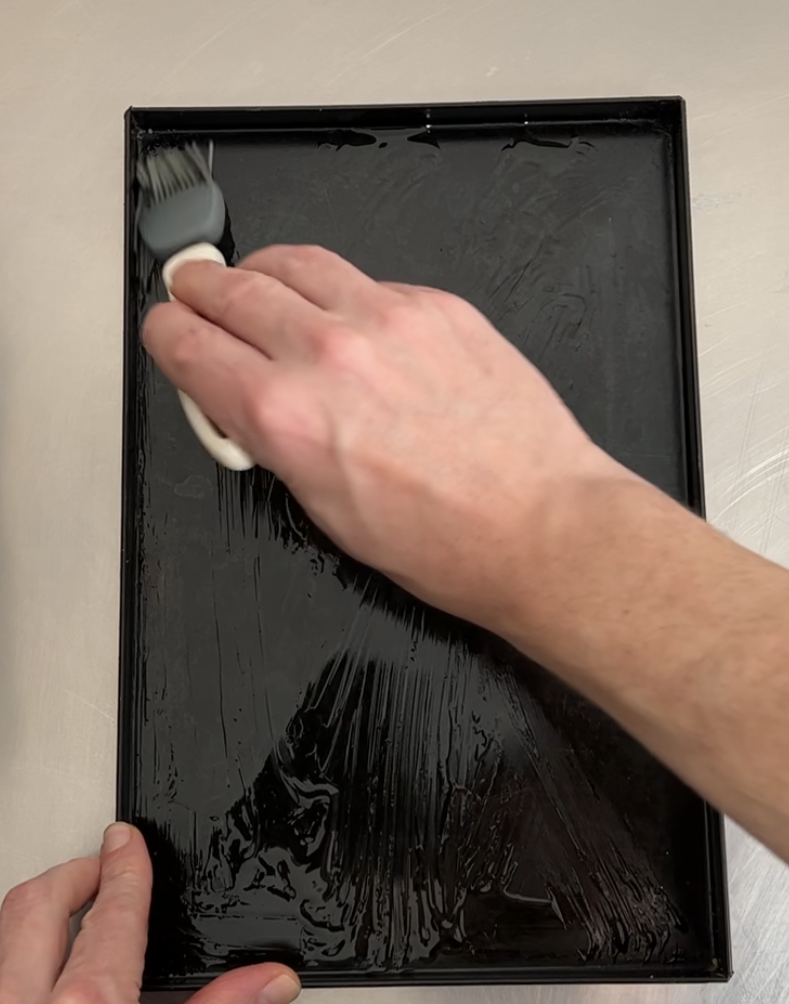
While the oven is heating, let’s start preparing our sheet tray with a thin layer of extra virgin olive oil:
Then, let’s prepare a “bed” of semolina flour on our countertop (or in my case on a wood board). We then open the proofing container where our pizza dough doubled and we let the dough fall into the semolina flour:
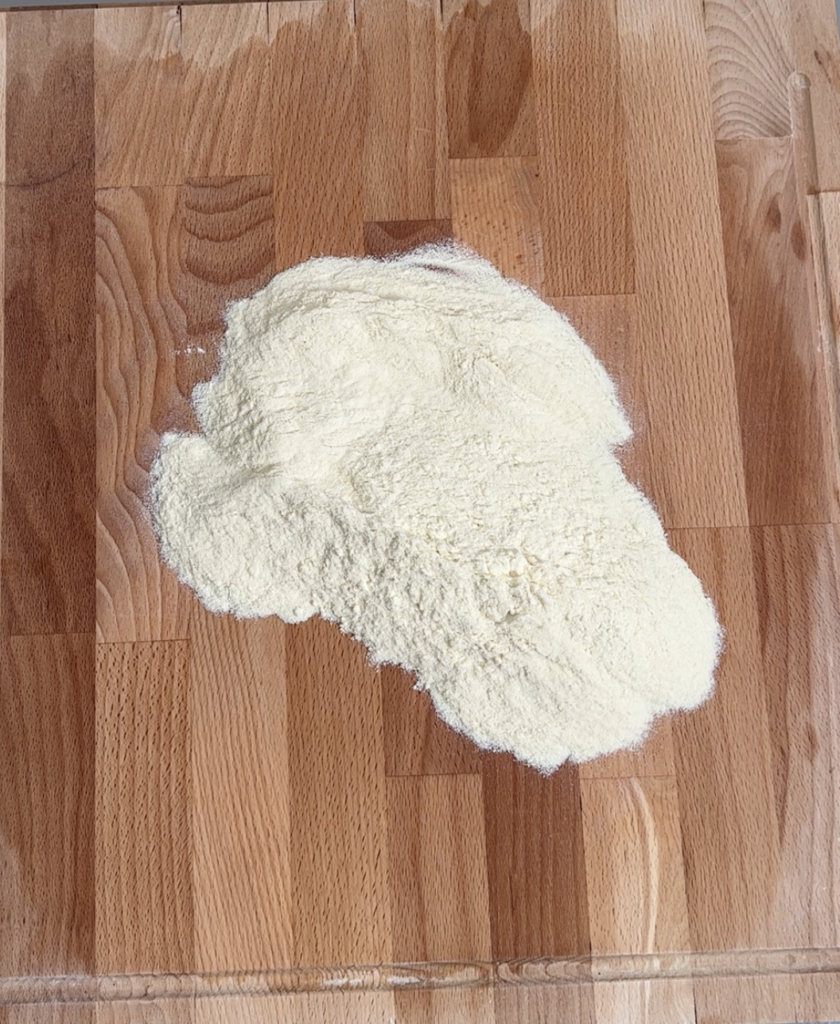
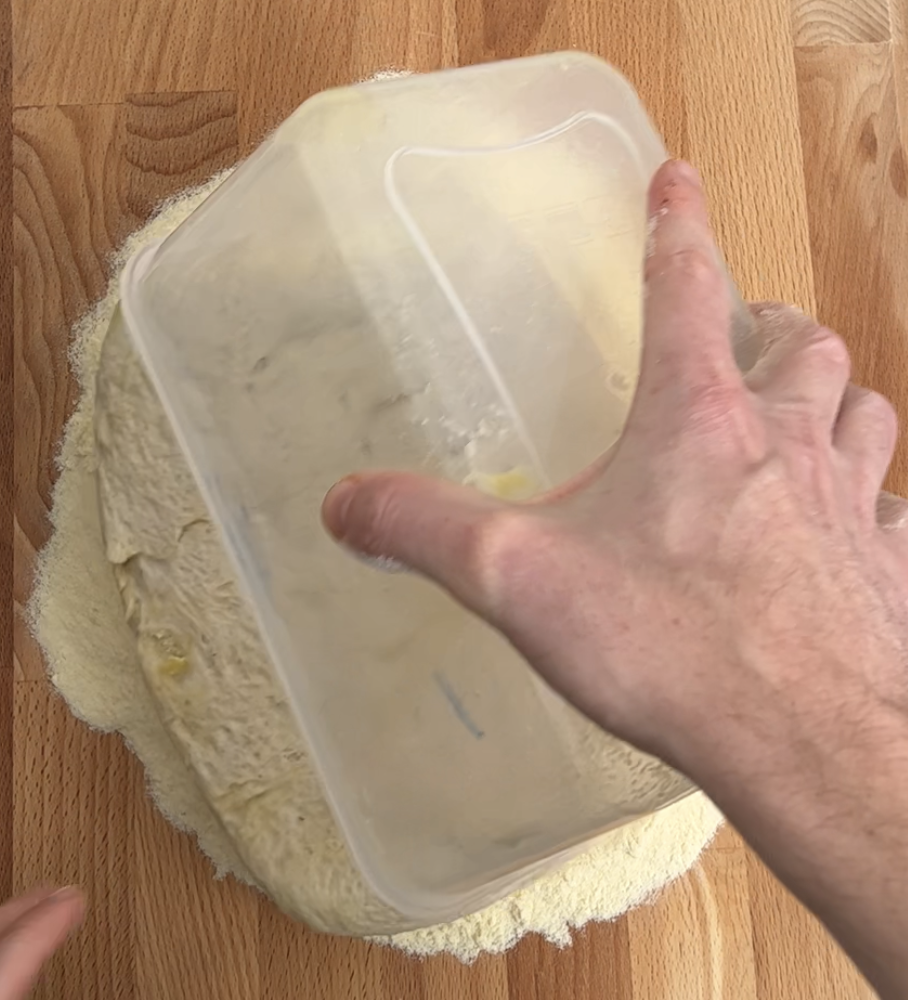
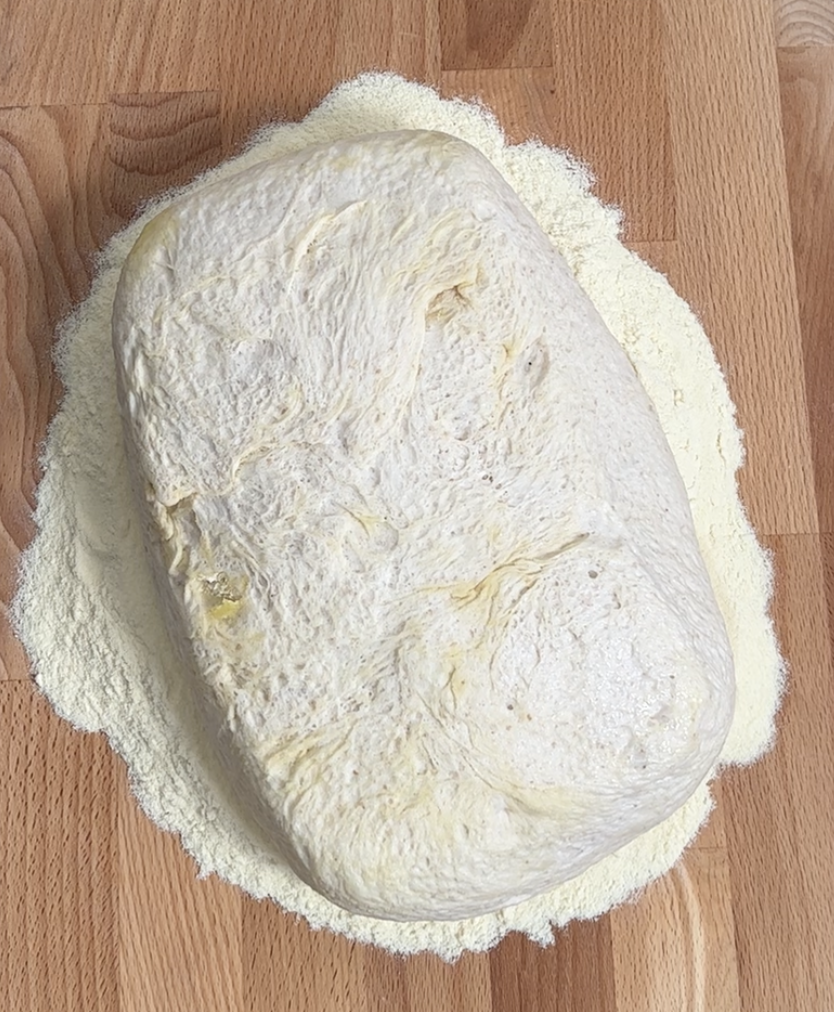
Now, take more semolina flour and let it fall on your pizza dough. You need to add enough for it so that when we stretch the dough our hands will not be sticking.
As soon as pizza dough is covered by a layer of semolina flour, we can start the stretching process. For it we will only use the finger tips. You start from the borders of the dough and then continue in the center with a movement that goes from down to top:
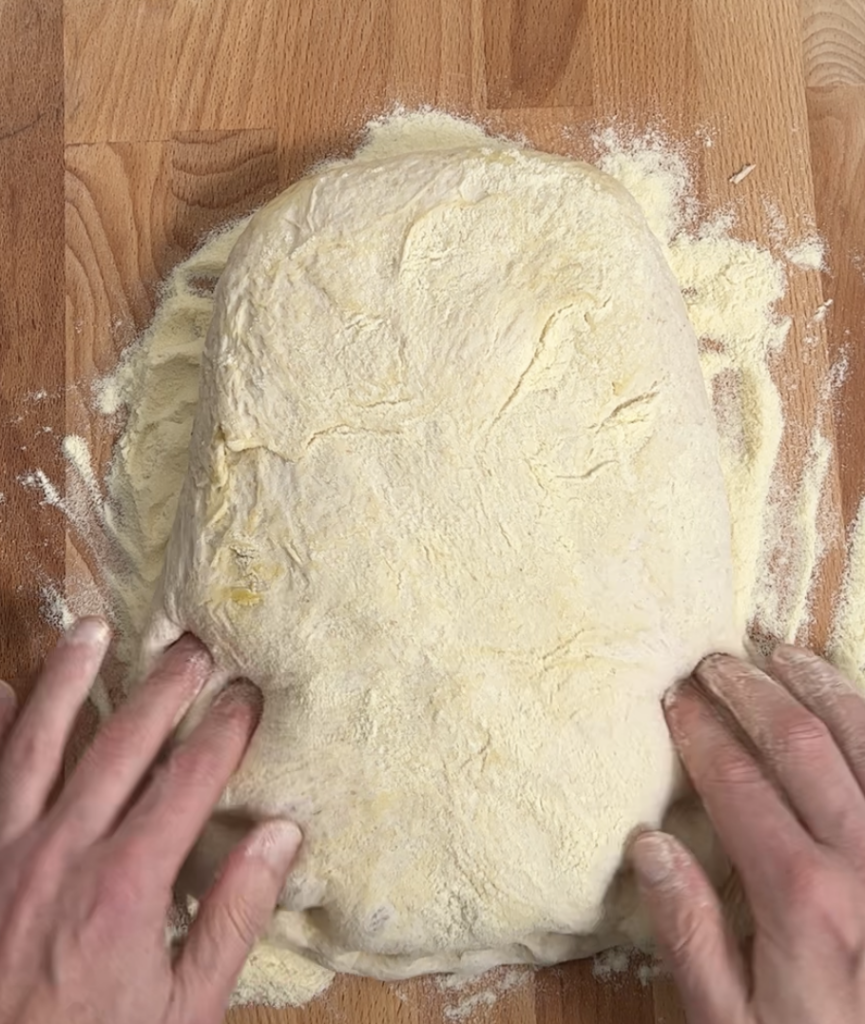
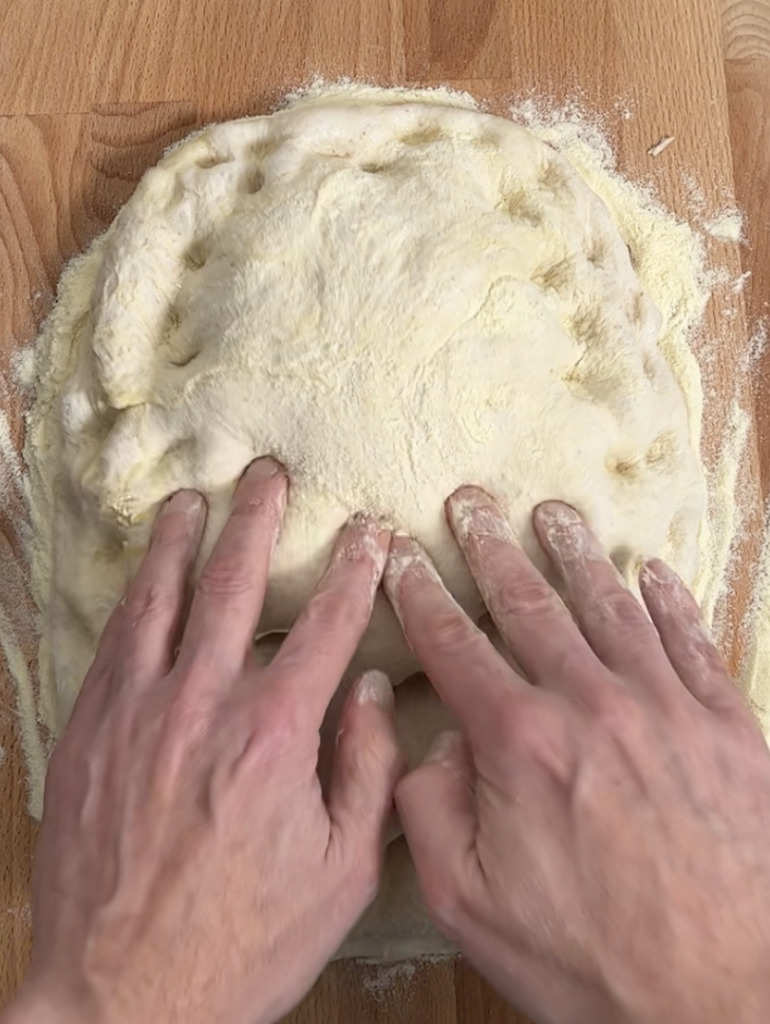
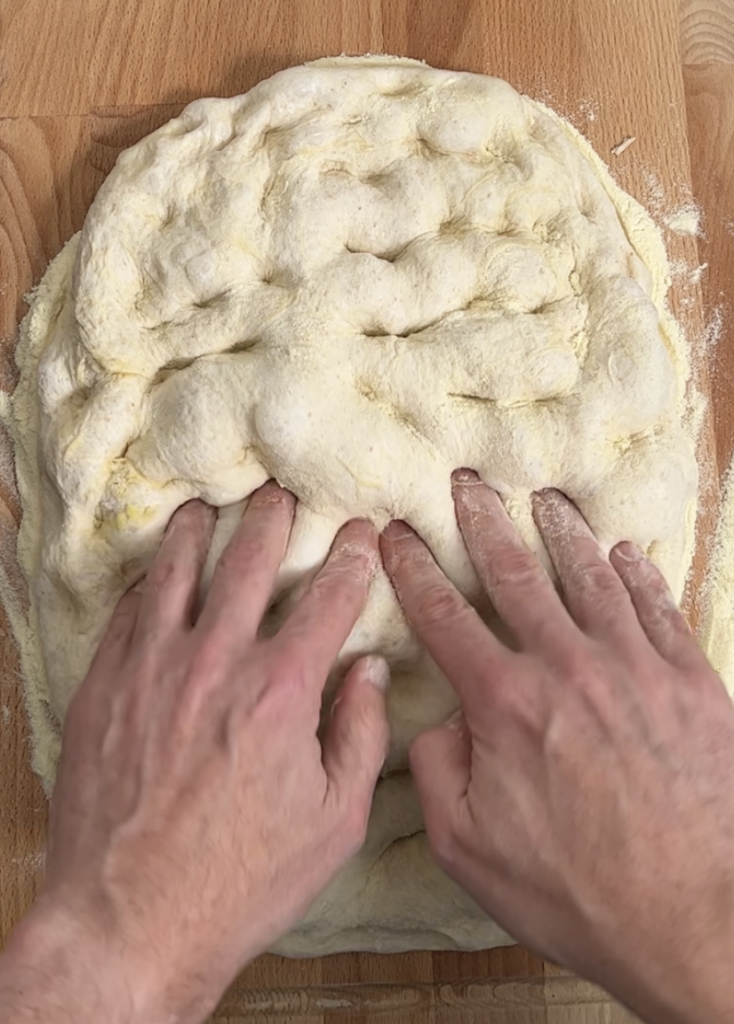
Next, let’s turn the pizza dough upside down and repeat one more time the stretching with the finger tips:
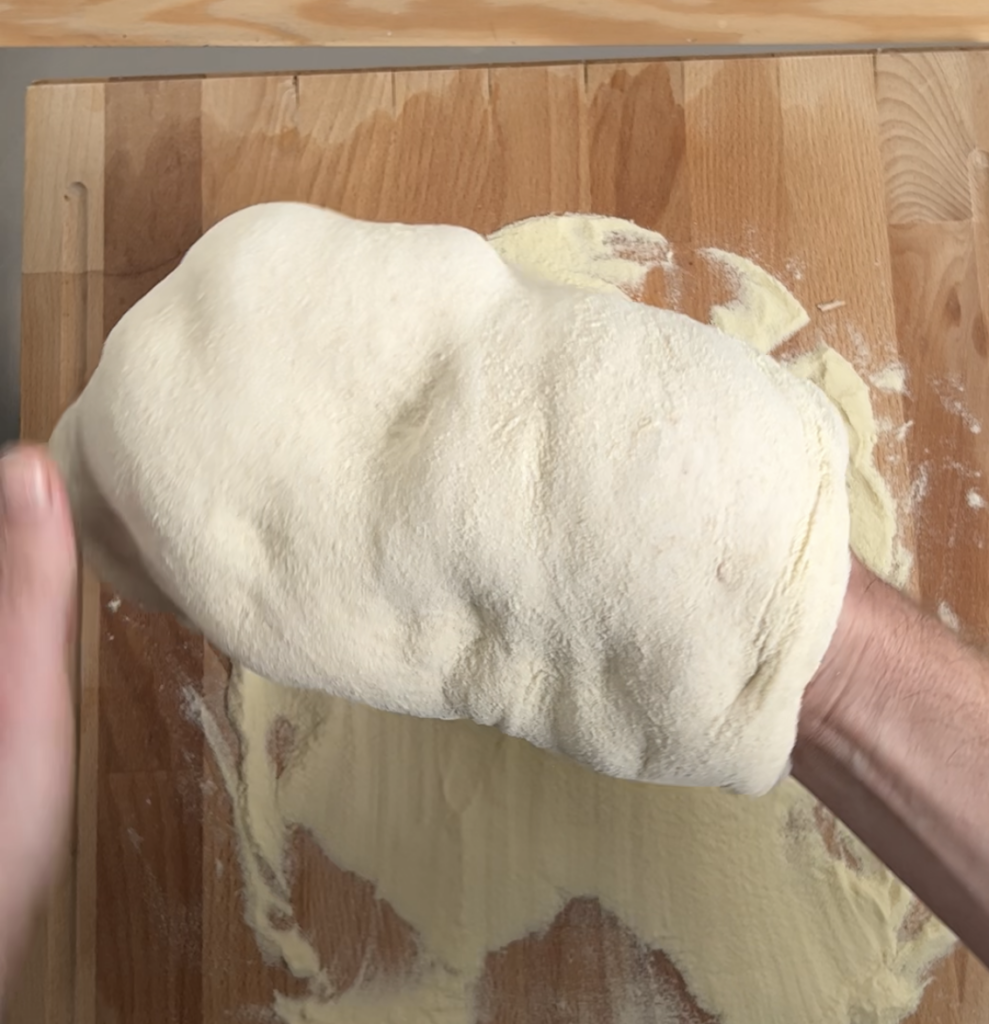
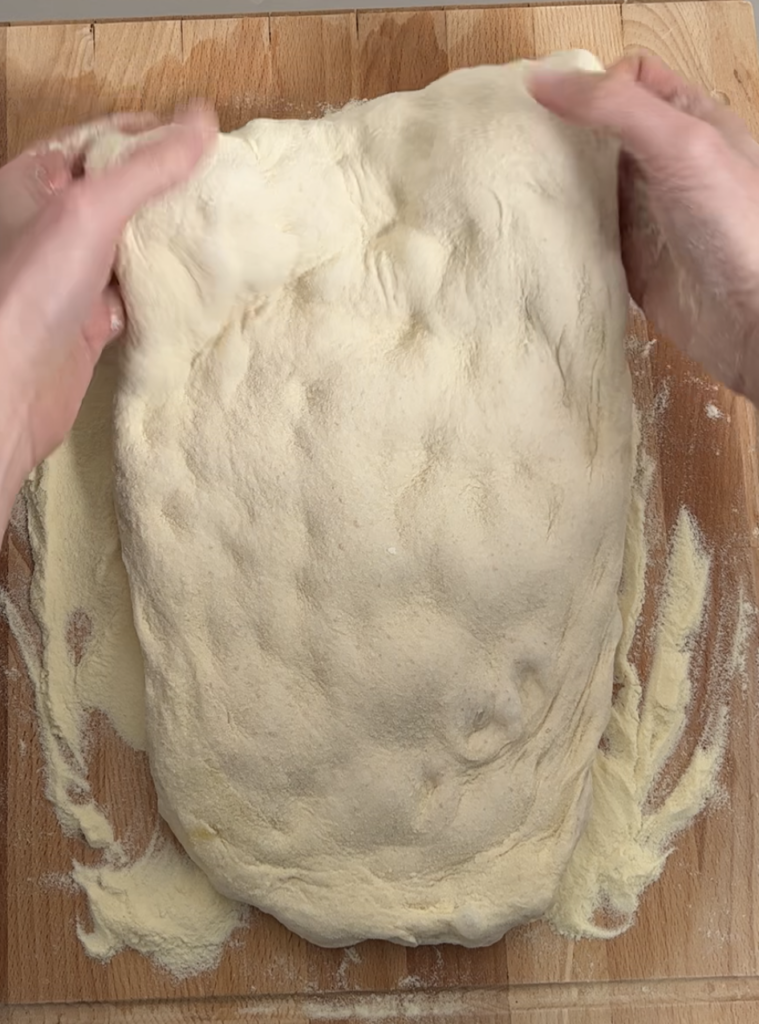
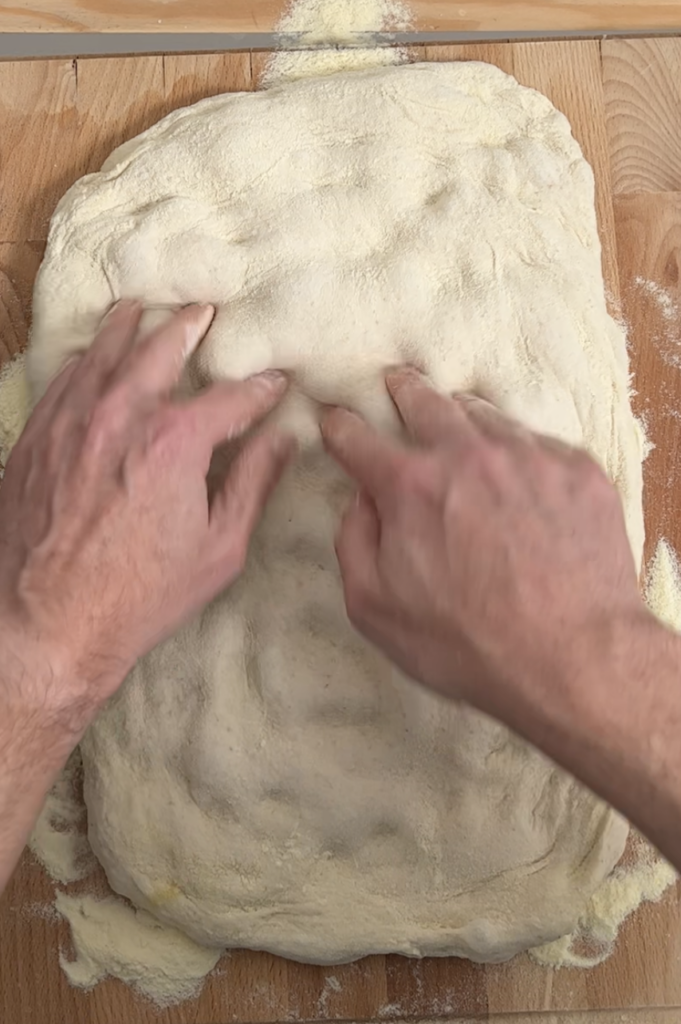
You should now have a pizza dough that has more or less the same dimensions of your sheet tray. And in fact we are now ready to move the dough there.
Put dough on your forearms and let the flour in excess drop. Then move in the sheet tray:
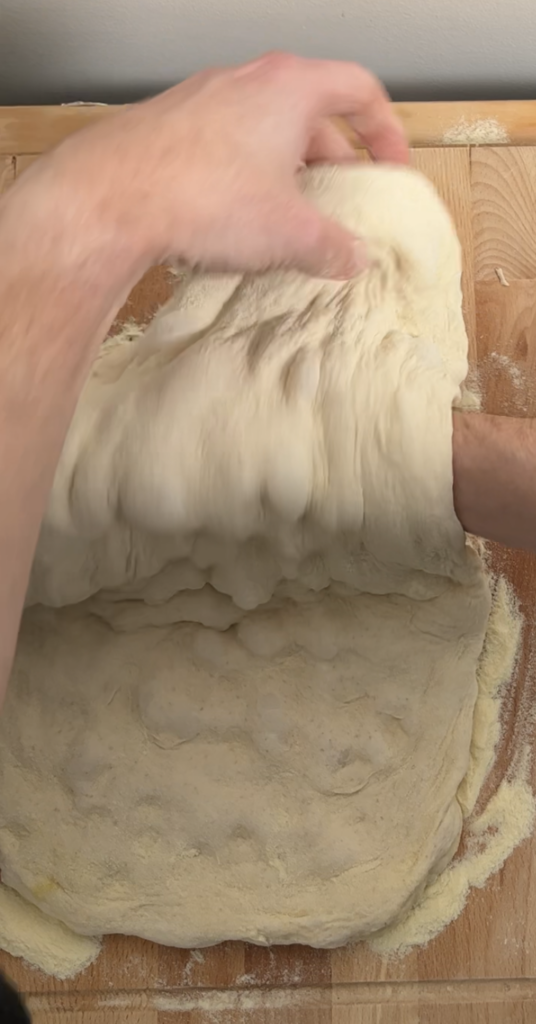
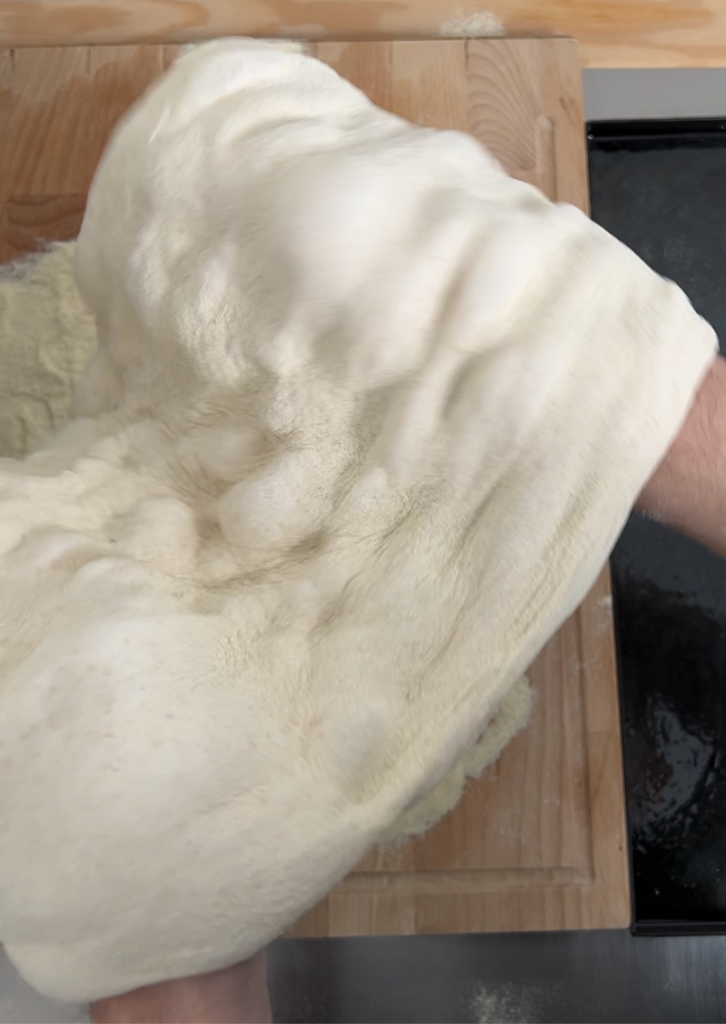
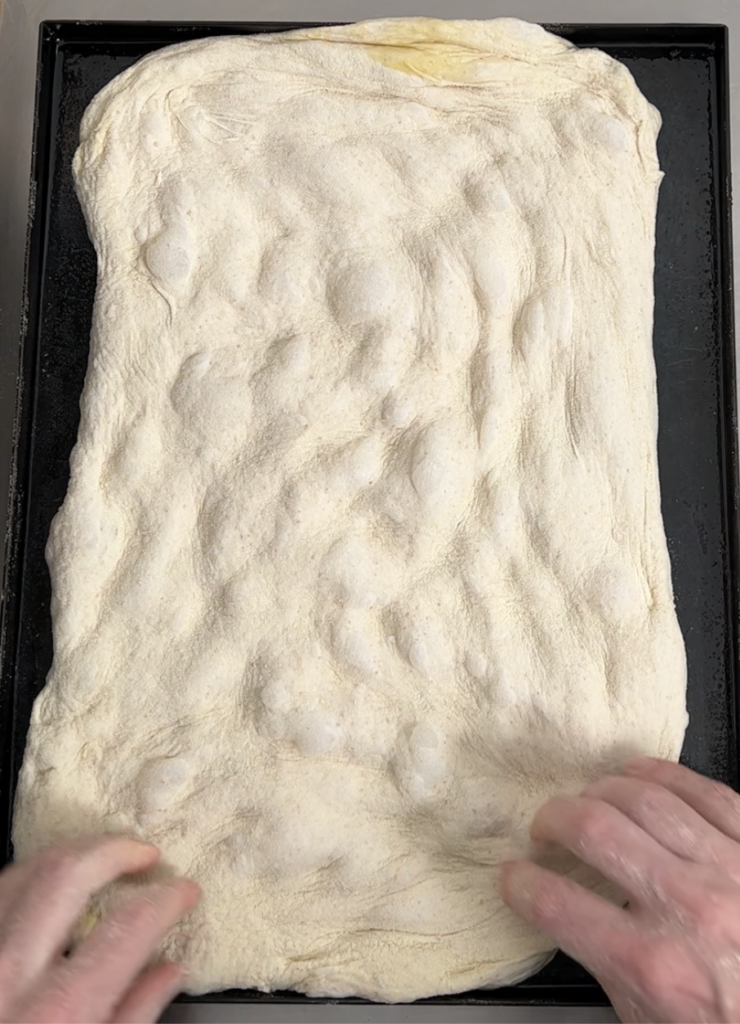
Now, adjust the dough to have it covering the entire surface of the sheet tray and then cover it with pizza sauce:
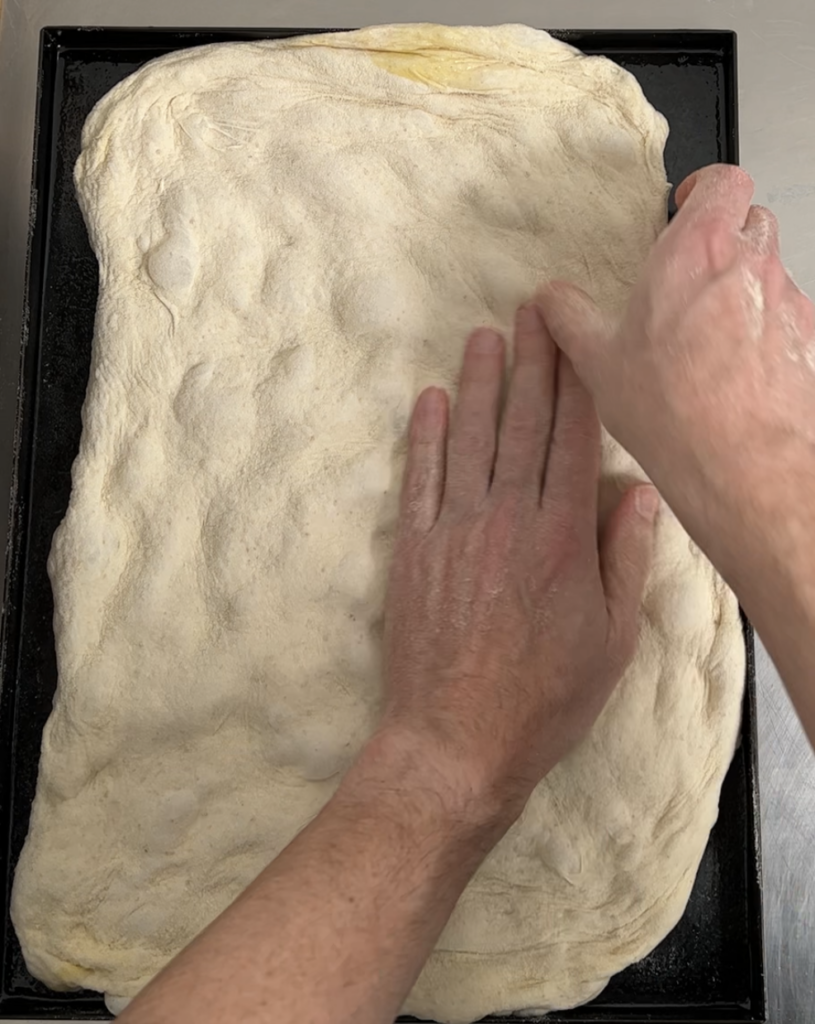
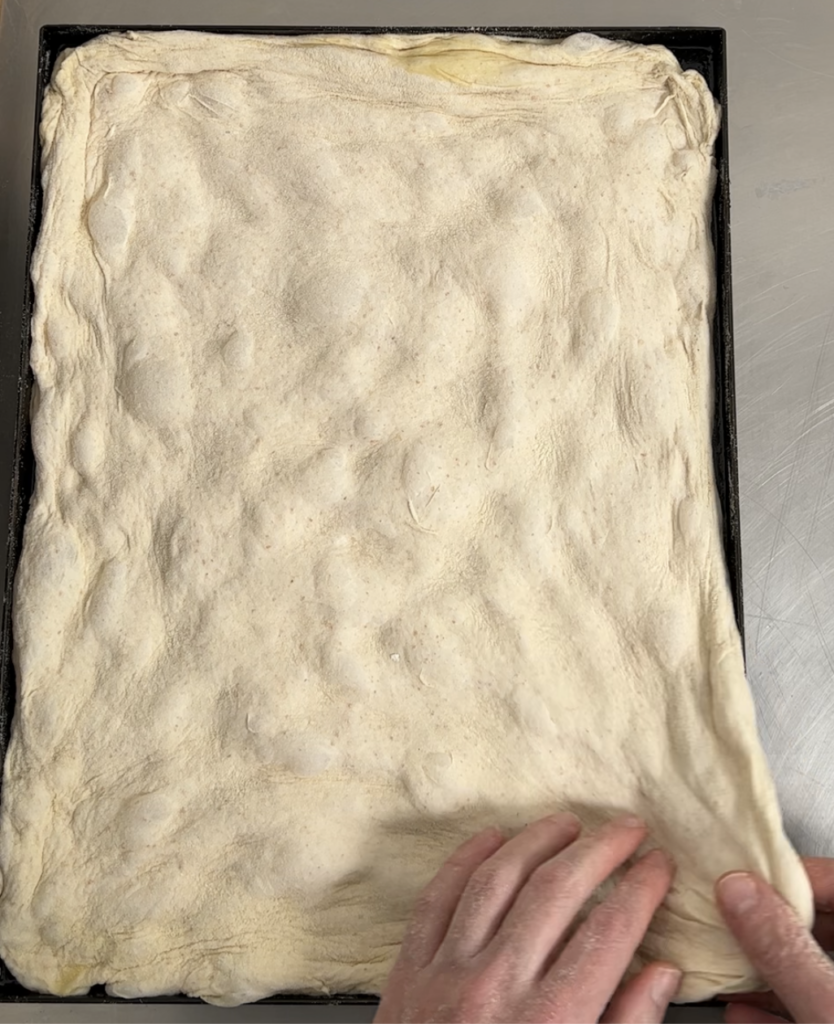
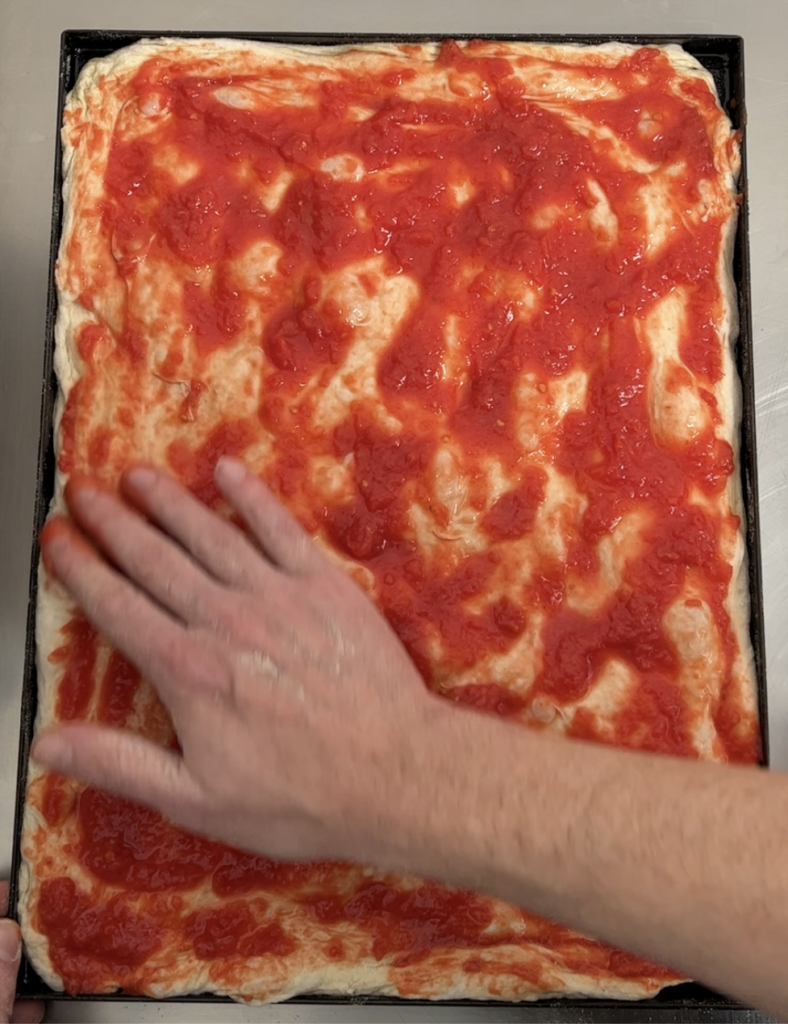
Finally we cover pizza with a layer of extra virgin olive oil and we go straight into the oven where we will do a first baking without mozzarella:
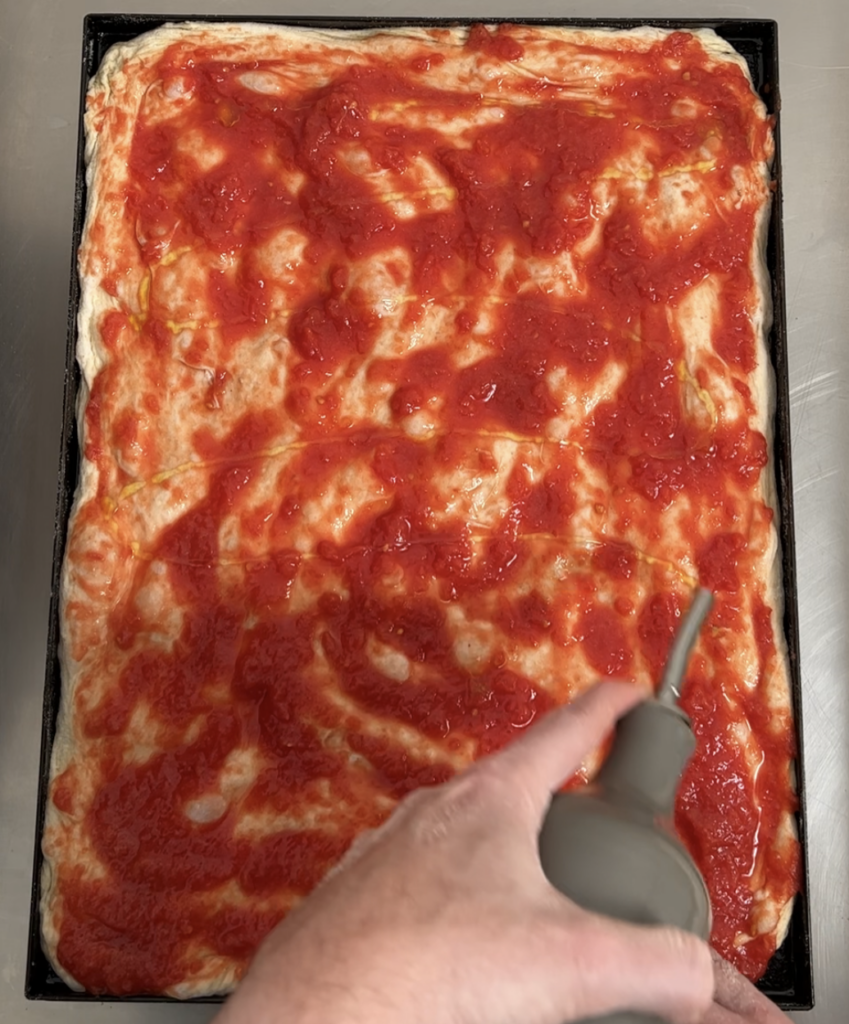
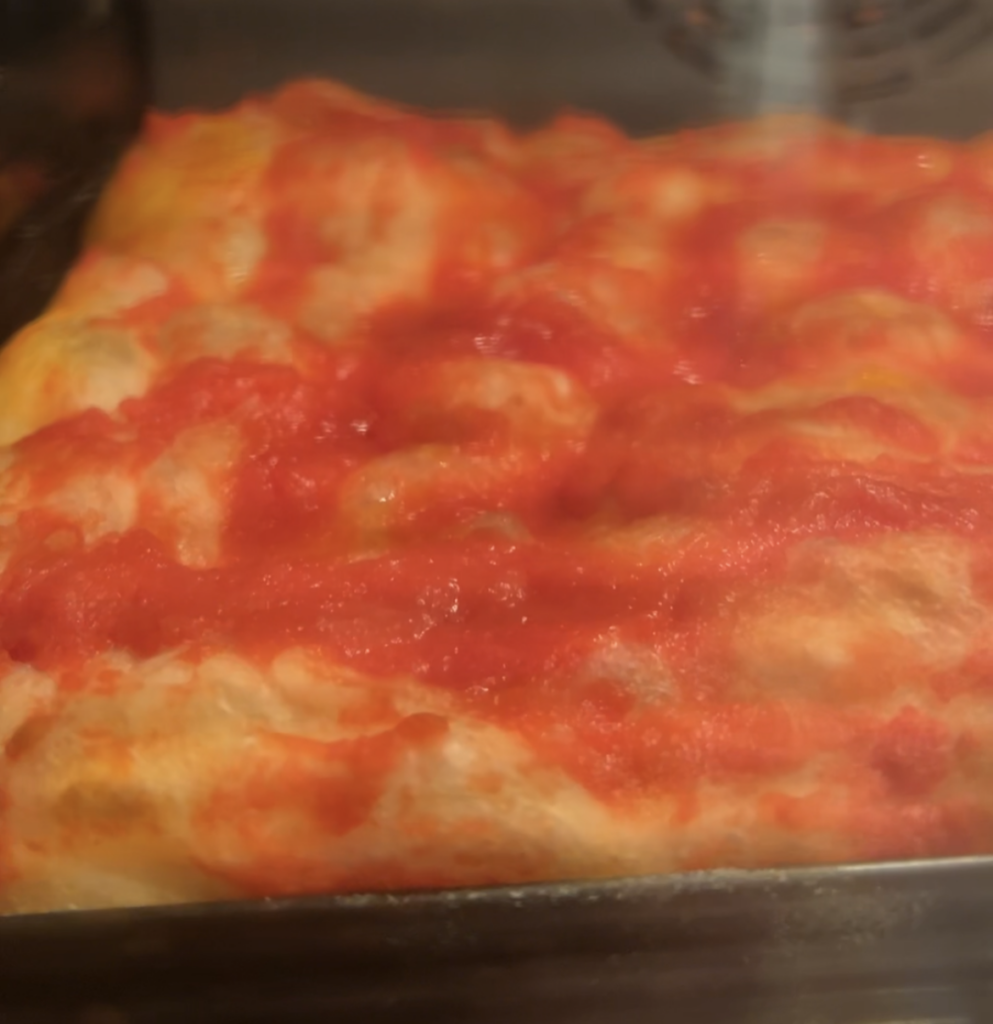
After about 8-12 minutes (it depends on the oven temperature: 12 minutes if temperature is lower) our pizza is ready to be taken off the oven to add mozzarella. Immediately after go back in the oven until mozzarella is completely melted:
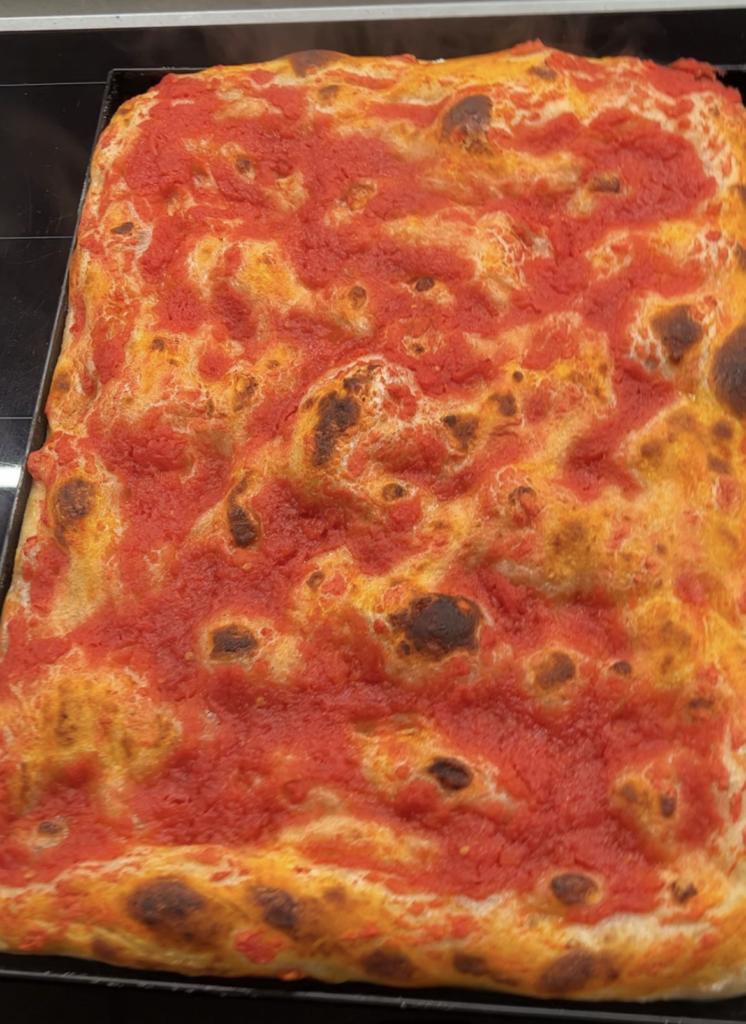
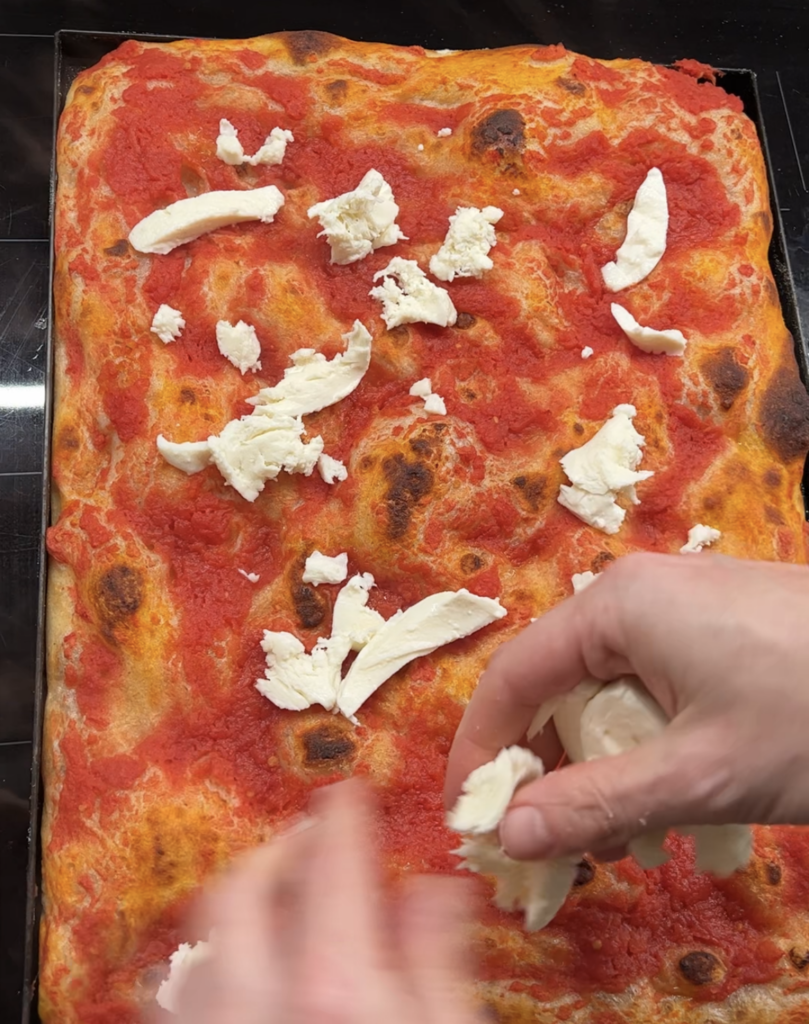
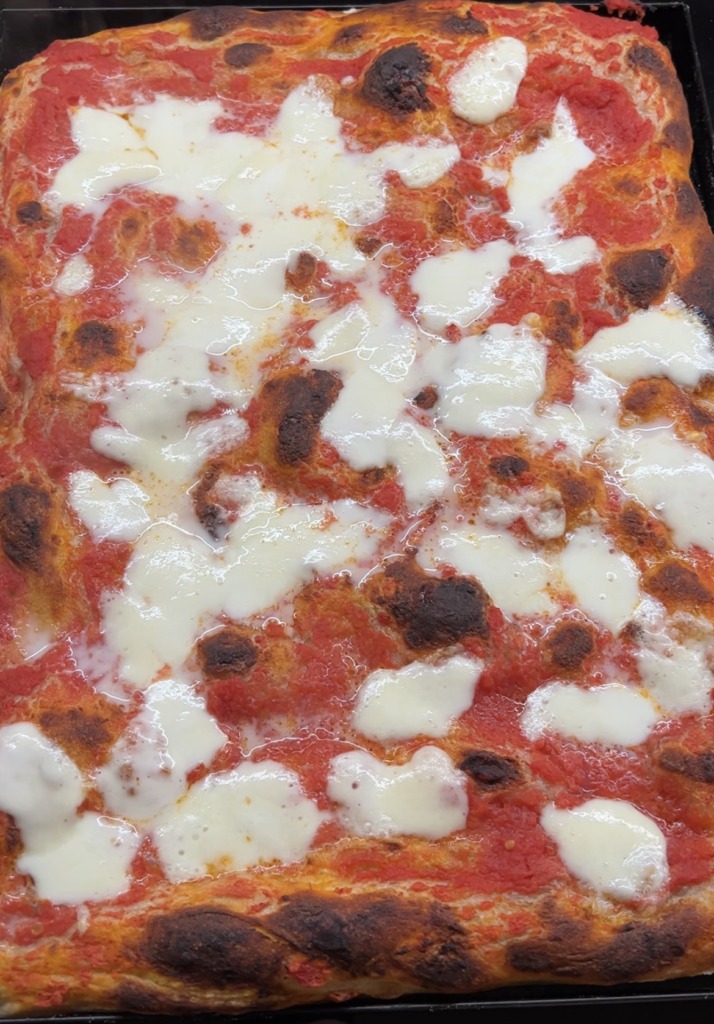
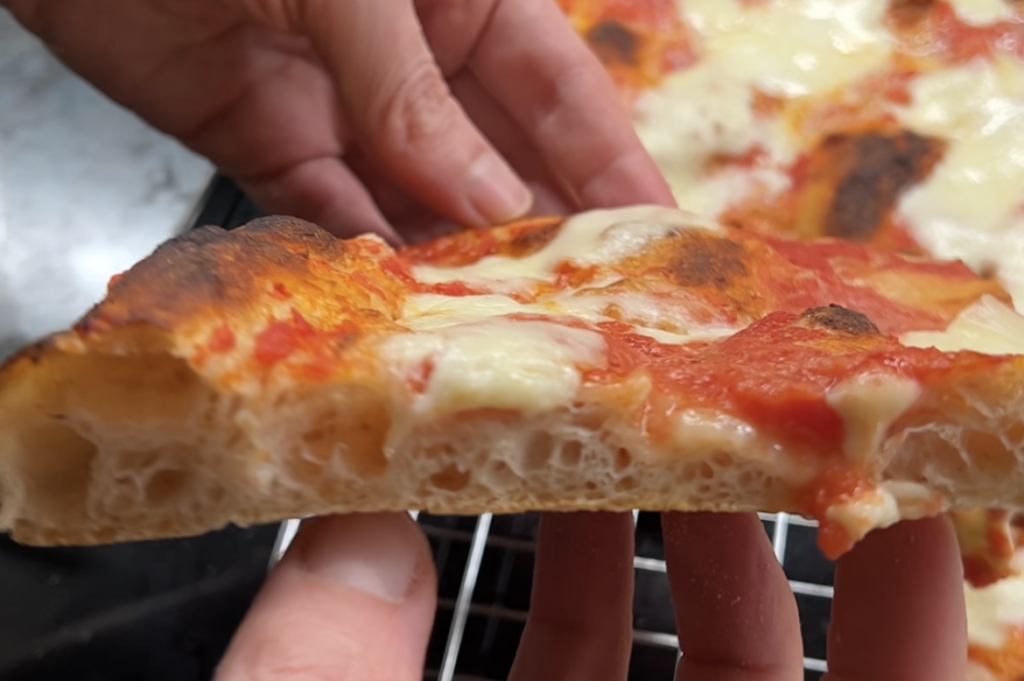
And the final result is a slice of the best biga pizza recipe for home oven:
I hope you enjoyed this biga pizza recipe and don’t forget to spread the word about this pizza! Follow me for more!


7 Comments
I live in AZ and I could get this to ferment the biga at 16 degrees Celsius in my garage in the winter months, which isn’t long but in the summer forget it . It would have to go in the fridge. How would I adjust this recipe. And to fit my big tray I use about 700 grams total flour. How would I adjust this recipe. Thank you for your advice
Hi Bob.
Biga in fridge will be very much different. I am actually experimenting with one that has different hydration than the standard one as well as different amount of yeast. When I will be ready to share because I am sure it works then I will prepare an article 🙂
amazing instructions and very easy to follow. thanks a million. in case of freezing extra dough. when is best time to take dough to freezer?after second proofing? Thanks in advance.
Thanks Ahmed!! I am not really a supporter of dough freezing but I think it may work moving to freezer after you make dough balls 😉
A small styrofoam cooler with a few ice cubes on one side should provide about the right temperature. Easy and cheap.
never thought about it and I quite like the idea 🙂