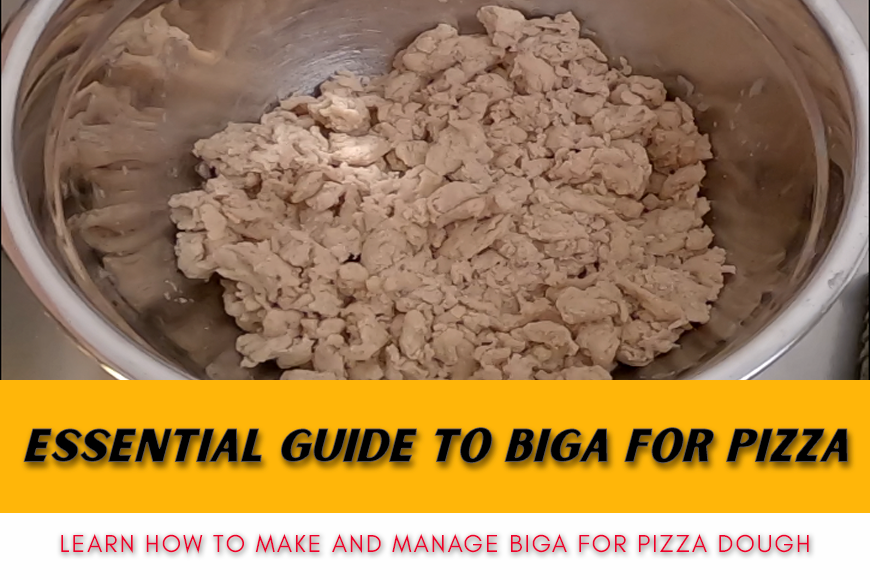
Essential guide for perfect Biga pizza dough
Last updated on November 12th, 2023 at 07:13 pm
Let’s be honest: making biga is probably the best way to improve your pizza. In this essential guide to biga for pizza I will provide you everything you need to understand how to prepare biga and what challenges you will have to face. No worries, everything will be perfectly clear and you will see that is not that much complicated.
Just a few days back I was writing another article about the best alternatives to sourdough. And I mention specifically Biga as a preferment that brings some of the advantages of Stiff Sourdough without the hassle of maintaining it.
Indeed I think that Biga and Poolish pizza dough are an incredibly valid way to improve your pizza without too much efforts. Especially if you are interested in improving the taste and the crumb texture.
In today’s article I will share with you:
- Ingredients and recipe for biga pizza
- How to prepare biga
- Challenges when making biga
- When is biga ready?
- How to use biga for pizza?
- Biga in different italian pizza styles
- 100% Biga or less?
Are you ready to enjoy this essential guide to biga for pizza? Let’s start and once you get familiar with biga you can prepare my best biga pizza recipe I prepared for you!
Ingredients and recipe for biga pizza
As I described in my other article, biga is a preferment. The idea here is to prepare the biga dough and then use it as part of the pizza dough that we will knead one or two days after. As such we need to somehow knead a few ingredients to build the preferment. Actually you will soon realize that biga does not really require a real knead, more on that soon.
We are going to talk about a classic biga, the one that is also known as “biga Giorilli“, from the name of biga’s father. To prepare it we only need 3 ingredients:
Make sure to use high proteins flour and fresh yeast to prepare biga
- Flour (280-380 W – 0,50/0,60 P/L)
- 1% of Fresh yeast calculated on the flour
- 44/45% of Water calculated on the flour
We always want to make sure we use high proteins flour (it should be >300W/13 gr of proteins) as well as fresh yeast and not dry one. For the latter, I tried using the dry yeast but I did not like the result at all. In fact the maturation of the biga was not satisfactory.
As soon as we have prepared/mixed the ingredients we need to give time for maturation of the newly created dough.Here we have two options:
- short term maturation:
- 1816/18 hours at 16/18 celsius degrees
- Long term maturation:
- 24 hours in fridge at 4/5 celsius degrees
- plus 24 hours at 18/20 celsius degrees
Before moving to the preparation you may have noticed that I did not share exact quantity of ingredients but just percentages. This is on purpose. In next paragraphs I will share how you can use biga and the percentages of it in a pizza dough.
How to prepare biga
Making biga is incredibly easy. You don’t need to use a mixer. On the contrary it is even recommended to prepare biga by hands. I would say that even for 1 kg of biga it will be fairly easy to just use your hands.
Everything starts selecting a good recipient. It has to be big enough to manipulate the ingredients. If it is of the right size you can also use it to ferment the biga. To understand if that is the case, you only need to be sure that is not too large. You want that the prepared biga is touching the borders and having a kind of pressure from them.
For the preparation of biga, put all the water in the container and start dissolving the fresh yeast in water. Consider that you want biga to be ready at a temperature of 20/21 Celsius. So depending on your room temperature you may need to adjust the water temperature.
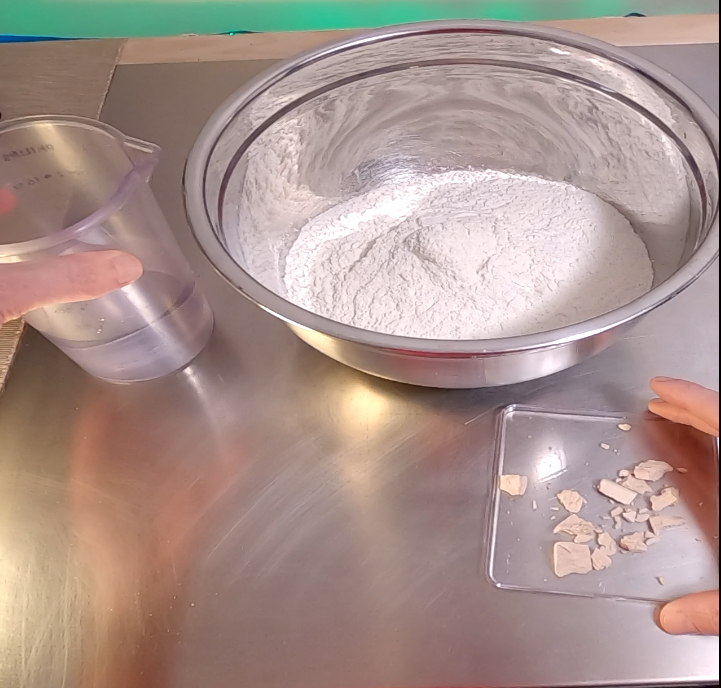
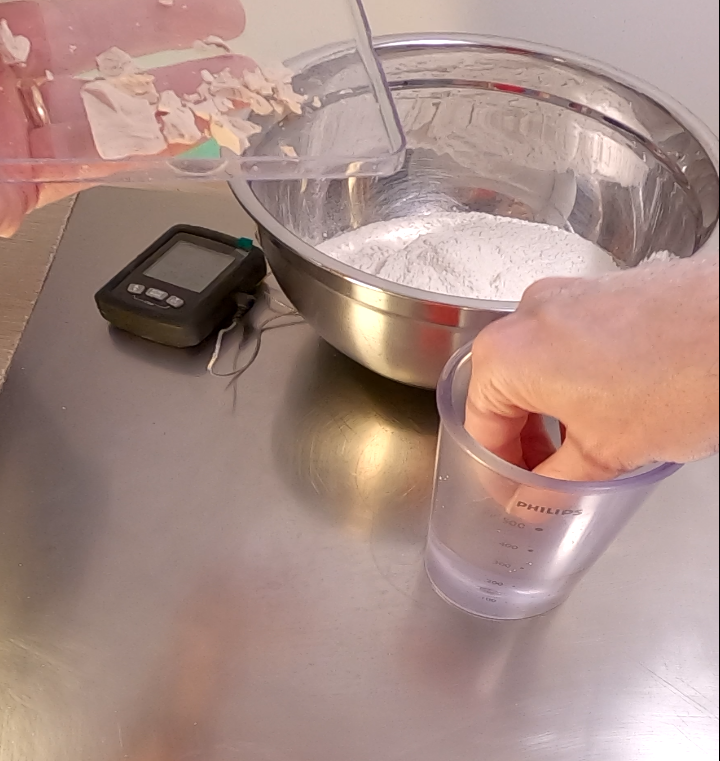
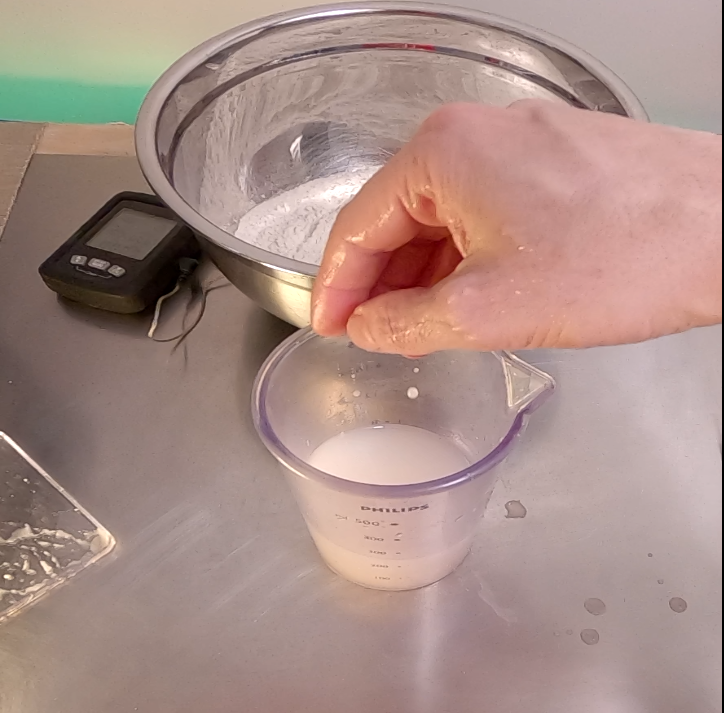
Once yeast is dissolved you can add all the flour.
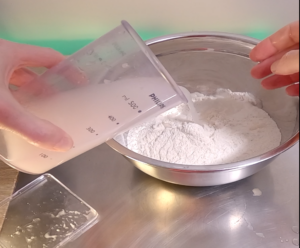
Now the tricky part. We don’t want to knead. We only want to mix ingredients so that there is not more flour not integrated with water. To achieve that we have two options. First option is to use a fork and mix the flour until it absorbed all water. The fork will help in avoiding yuo to knead and create the gluten mesh. Second option is to start shaking the recipient. When shaking the recipient water will naturally absorbe water .The final part will be done again by hand.
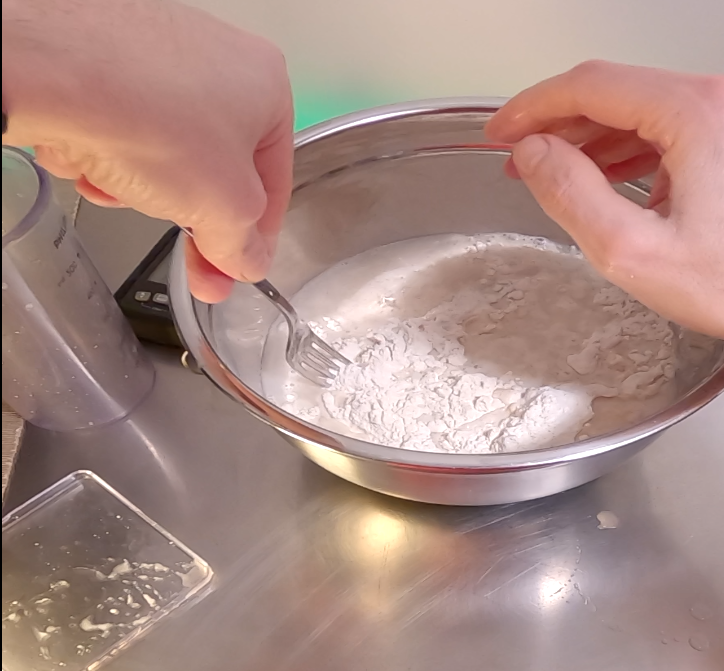
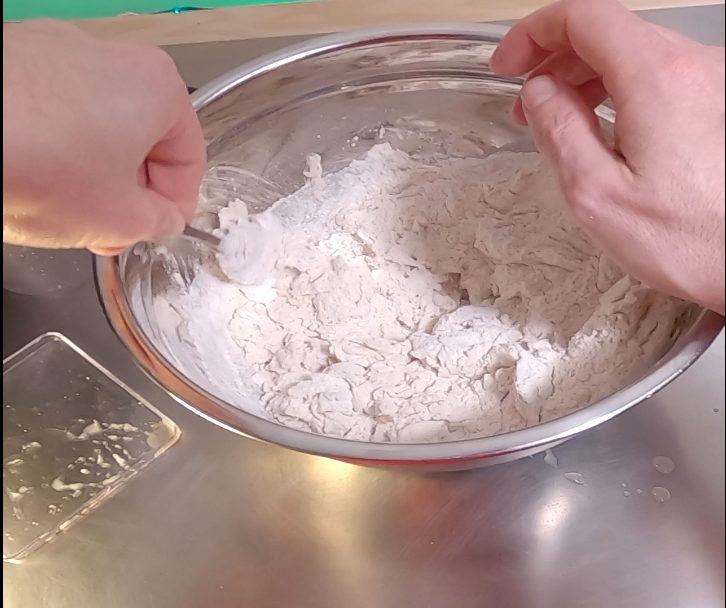
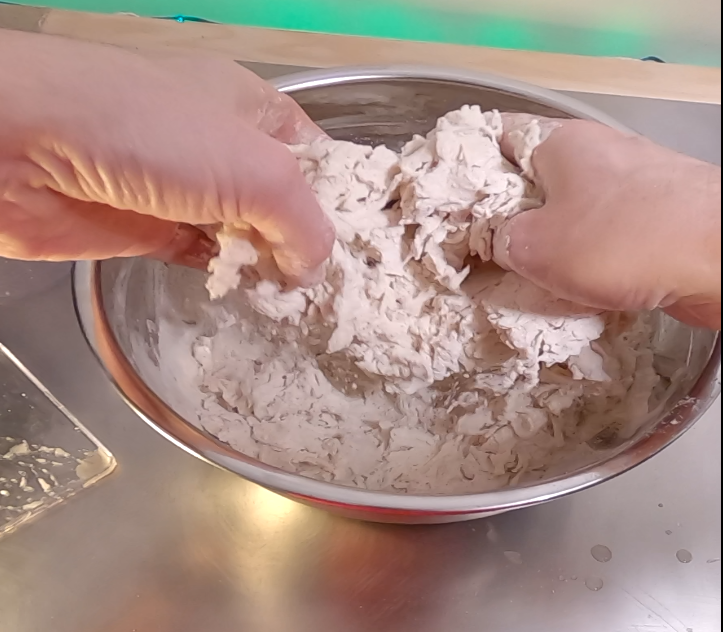
No matter what method you use, the final result has to be like this:
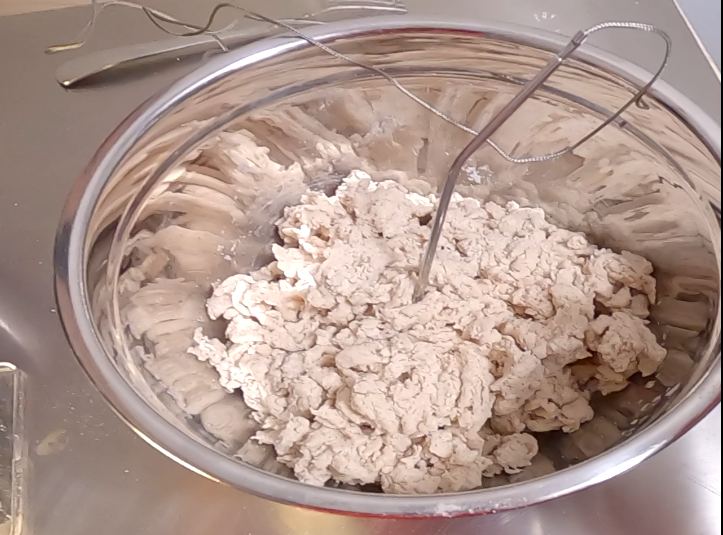
Challenges when making biga
I want to share a few challenges that you will face when making biga.
During the creation phase you want to pay attention to temperatures. As said before we want biga ready to start the fermentation at 20/21 Celsius. In this way we can be quite sure that the maturation will happen in the expected 16 hours.
The second challenge is also linked to temperatures. This time however, to storing temperatures. In both the short and long term biga there will be a moment where you need to store it at controlled temperatures. I am specifically referring to the 16/18 degrees of the short version or the 18/20 of the longer version. It is clear that if you don’t have the privilege to have a cooler able to keep such temperatures the situation will be complicated. In fact you may end up with a preferment that is different than the original Biga Giorilli. You can still do it maybe during winter when you can store biga in a colder part of your apartment/house.
Consider biga not as another ingredient of your pizza, because it is a pre-ferment or pre-dough
Another challenge will be the management of the recipe. Actually the ingredients that you will use with biga need to then be “removed” from the main recipe. I will explain with an example later on. But keep in mind that you have to consider biga not as another ingredient of your pizza because it is a pre-ferment or pre-dough.
Last but not least: biga will change the way the pizza dough will “act” when fermenting before you stretch it. It will be fermenting faster and will be much more explosive when you bake. Moreover it will influence the extensibility of the pizza dough, making it less easy to stretch/toss. With that goes that you will need to change the way you manipulate the dough so that you don’t create too much tension.
When is Biga ready?
I could have mentioned this in the challenges. Because it can be a challenge if you are new to it. Even more challenging if you can’t be sure about stability of temperatures. That is also why I think is important to learn the Biga Giorilli first and then modify it for your own environment. In fact the “coded” Biga Giorilli is very well described in books and articles (included this one) and you should be able to get an idea of what to expect from it.
It is important to learn Biga Giorilli first and then modify it for your own environment
So, let’s consider that the time of fermentation shared before is passed. How can you be sure that Biga is at the point you expect?
Here is a check list:
- as soon as you open the food storage with Biga inside you want to smell something similar to yogurt (believe me when I tell you is very pleasant);
- The color should be solid. If you notice that it goes towards a dark brown it means that it was not properly kneaded and most probably the water was not absorbed appropriately
- you don’t want to see any rise. Biga should stay more or less of the same size as the fermentation started.
How to use Biga for pizza
So in a good essential guide to Biga for pizza I could not miss to talk about how to use this great pizza preferment. The topic is not irrelevant because we will need to take care of a few changes than a normal pizza dough preparation process. What we are going to do, in fact, is to prepare biga as first dough and then we will make a second dough with remaining ingredients after the biga is mature.
The first step that we need to decide is the percentage of Biga we are going to use. The last paragraph of this article will add a piece to the puzzle. For now let’s think that ingredients in biga will then be removed from the second dough we are going to prepare. Let’s make an example; keeping in mind that when we talk about a dough weight we always refer to the amount of flour that we will use for that dough.
If we are using 30% of biga (remember: hydration 44%) on 1 Kg pizza dough (flour) with a 60% hydration we have to make a simple math like the following.
Final pizza dough:
- Total flour: 1000 grams
- Total water: 600 grams (60% total hydration)
Out of it biga is made with:
- Flour: 300 grams (30% of total flour)
- Water: 132 grams (44% of flour for biga)
Finally the second dough (also known as dough refreshment) will be like so:
- New flour: 700 gr (1000gr – 300gr)
- New water: 468 gr (600gr – 132gr)
And don’t worry, it’s easier than you think just reading tables above. Moreover, keep an eye on my pizza ingredients calculator because I will be adding soon an easy way to work with biga.
If you are searching for a full biga pizza recipe you can read my best biga pizza recipe for home oven.
Biga in different Italian pizza styles
It is very common during the recent times to find articles, videos and instructions about using biga essentially in every pizza style. But is this a good practice?
From my personal point of view there are some Italian Pizza Styles that are more indicated to “accept” biga than others. For example I love pizza in baking pan with biga.
In other pizza style like Modern Neapolitan is also good but you need to make sure that the process is adapted for the changes that Biga brings.
For the rest, the right way to go is to get to learn a classic biga. Understand its fermentation and what changes when you move away from the classical Biga Giorilli. After that you can play making your own biga-derived preferment and use several variants in different pizza styles.
100% Biga or less?
The amount of Biga to use for your pizza dough is not standardized. In the recent times, at least in Italy, there is a trend to prepare the pizza dough with 100% biga. It means that you create the pizza dough starting from a biga that used all the flour of the final recipe.
I admit that I am also experimenting quite a lot using 100% biga recipes. However, this is not always a good choice. Sometimes is either counterproductive. Let alone that not all pizza styles are doable with such a big amount of pre-ferment.
Start working with a percentage of 30% of biga. Try to understand the benefits and challenges
On the other end you also don’t want to use a too low amount of Biga. Otherwise the benefits that it brings will be so marginal that the efforts are not paid back.
My suggestion is to start working with a percentage of 30% of biga. Try to understand the benefits. I am particularly keen to notice the taste and structure of dough changes. Maybe you can pay attention to same details.
I would not go with less amount of biga but I would definitely go higher. Maybe you can do that incrementally. Make one pizza with 30% of biga and then for the next one you can go higher to 50% or more. What I am suggesting here is to experiment as much as you can. That is the only way you understand if you like to work with Biga and under what circumstances.
I hope you enjoyed my essential guide to biga for pizza. If you have questions or you want me to deep dive in other details feel free to get in touch.


8 Comments
Hi
Is 60% or 65% final hydration more suitable for bigga based pizza dough? I use various caputo high protein flours.
Thank you.
It depends on what pizza style you want.
For a classic pizza in pan (teglia) With biga and Caputo flour I would start with 65% and then in next batches of dough I would try to bring it at even higher hydration. I normally work with hydration between 72 and 80% 🙂
Stefano