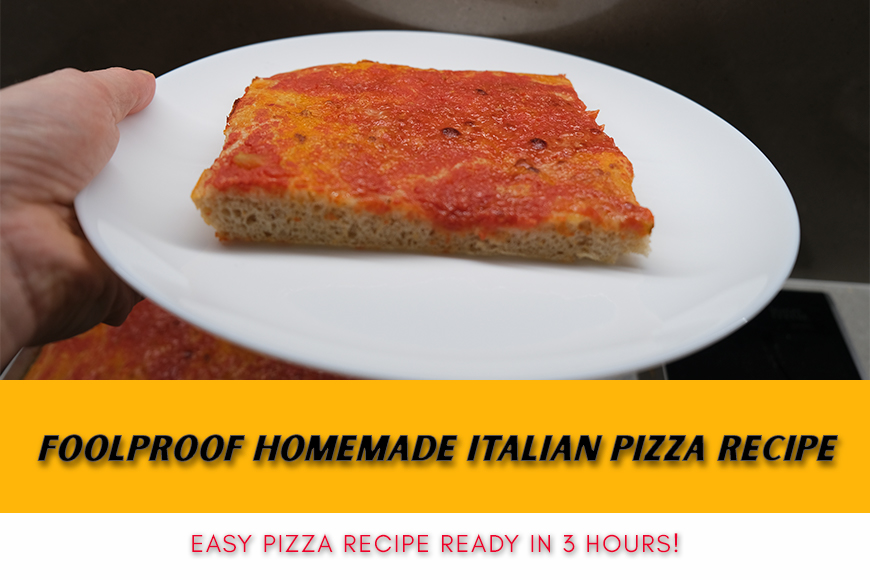
Foolproof Homemade Italian Pizza Recipe
Last updated on March 4th, 2025 at 11:05 pm
I promise you, after reading this article you will never need any other pizza recipe. This is an easy homemade authentic Italian pizza recipe that can be prepared in no time. In fact I believe this is a real foolproof pizza recipe that everybody can prepare, without efforts. No need to have special flours, no need to wait for days before baking. You can prepare this pizza recipe at home and enjoy it with your family and friends without caring of special equipment like a pizza oven.
What I like of this recipe is that it will let you forget the Italian pizza delivery and get control of your pizza dough and topping. Everything by keeping high quality and the satisfaction be an Italian pizzaiolo at home.
But how do you get a fantastic result? Well, just follow the topics in the article:
- Ingredients for foolproof homemade Italian pizza recipe
- Kneading our handmade pan pizza
- How to proof pizza
- Pizza dough stretching
- The best pizza topping
- How to bake this easy Italian pizza at home
- A secret to get always best results
- What pizza making tools I used for this pizza recipe
I strongly recommend to read entirely the article before you start. It will help getting familiar with all the steps to prepare your pizza and will make the journey much easier.
Ingredients for foolproof homemade Italian pizza recipe
For this handmade pan pizza we are going to use the classic four ingredients for pizza. Find in the table below the exact amount to cover a rectangular pizza pan of 30x40cm (or 16×12 inch).
| Ingredient | Quantity |
|---|---|
| Flour | 400 gr |
| Water | 240 gr |
| Yeast | 6 gr |
| Salt | 9 gr |
The final thickness of pizza will be of about 1/1.5 cm. If you prefer a thicker pizza get in touch with me and I will adjust the recipe for you. As a side note, this Italian pizza in Italy is made quite thin, but it’s up to your preference to have it higher.
One more info. In this recipe we are not going to prepare high hydration pizza. Therefore – in theory – we can use almost any pizza flour. Of course not the one for sweets, as it will be with a very low amount of proteins and very low liquid absorption. I recommend you to buy a less refined flour that has between 11.5 and 12 % of proteins. For example I often use for this pizza a mix of two flours: tipo 0 and tipo 1. If you are not familiar with the mapping of Italian flour with the one sold in your country have a look at my previous article.
Kneading our handmade pan pizza
You are going to love how easy is this homemade pizza making. You don’t need a lot of time and the process is incredibly fast. In just about 3 to 5 hours your pizza is ready to be baked. It will be such an effortless pizza that you will never call again your favorite Italian pizza delivery! I am using a stand mixer to knead
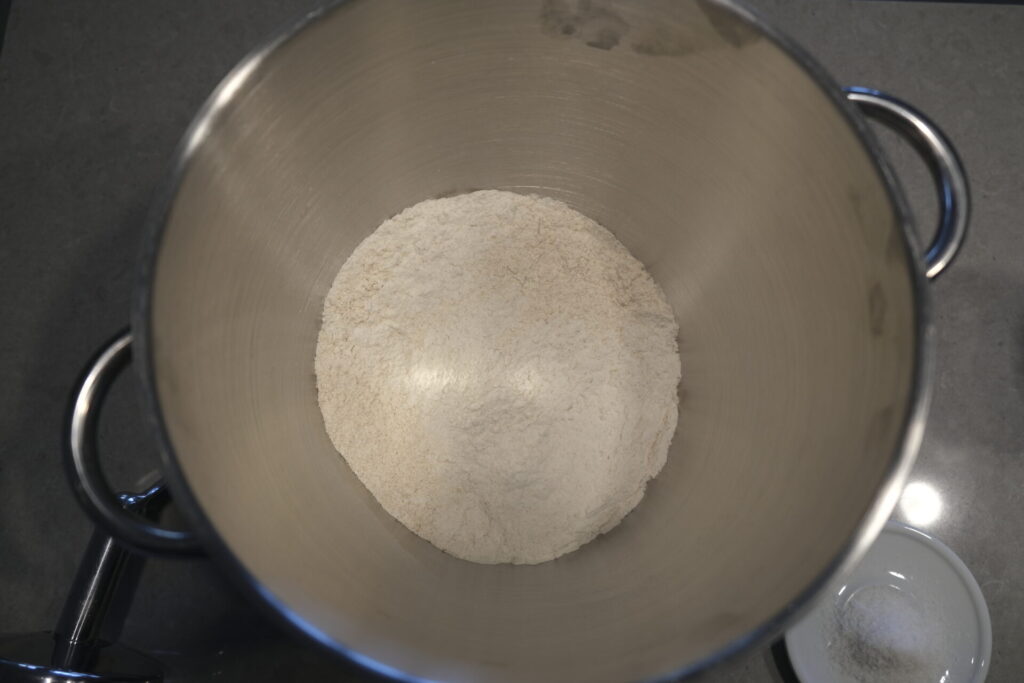
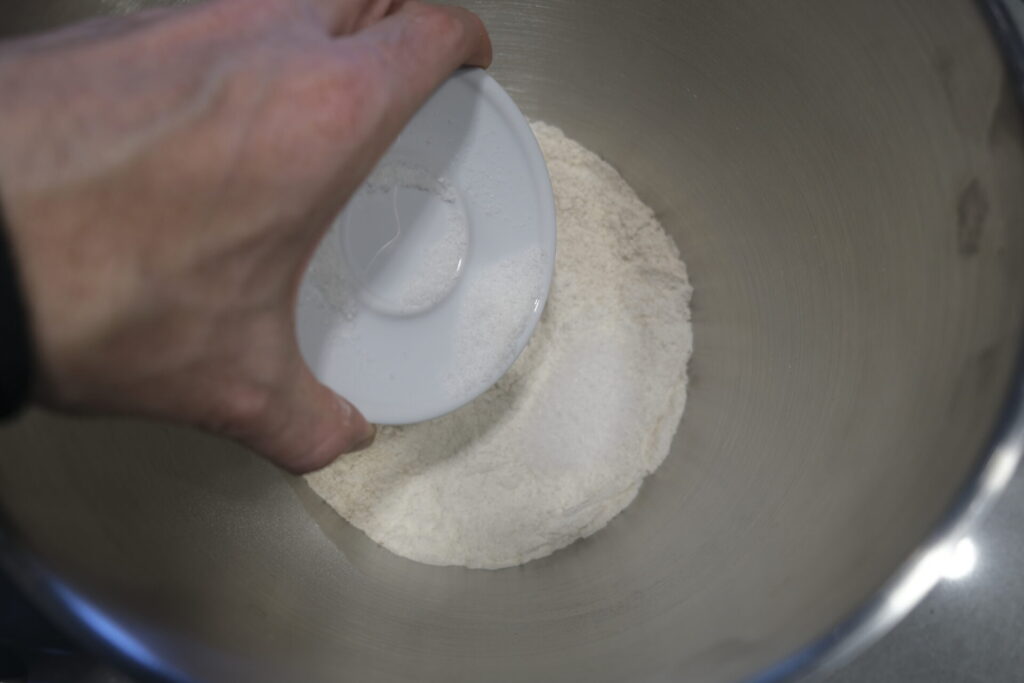
So, everything starts preparing your ingredients. Put all your flour in the stand mixer bowl and add salt on one side:
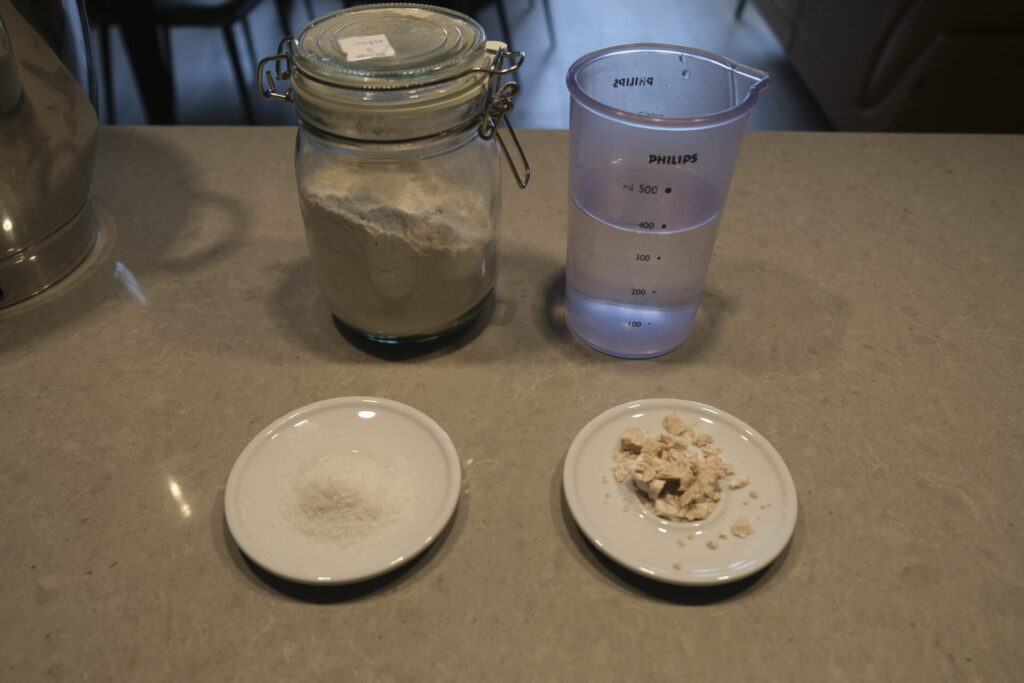
The next step is to mix yeast with water. You need to make sure that all yeast is well dissolved in water. I personally used fresh yeast in this pizza recipe. However, you can use dry yeast. Just divide the amount of yeast indicated in recipe above by 3. Also don’t forget to activate it if required.
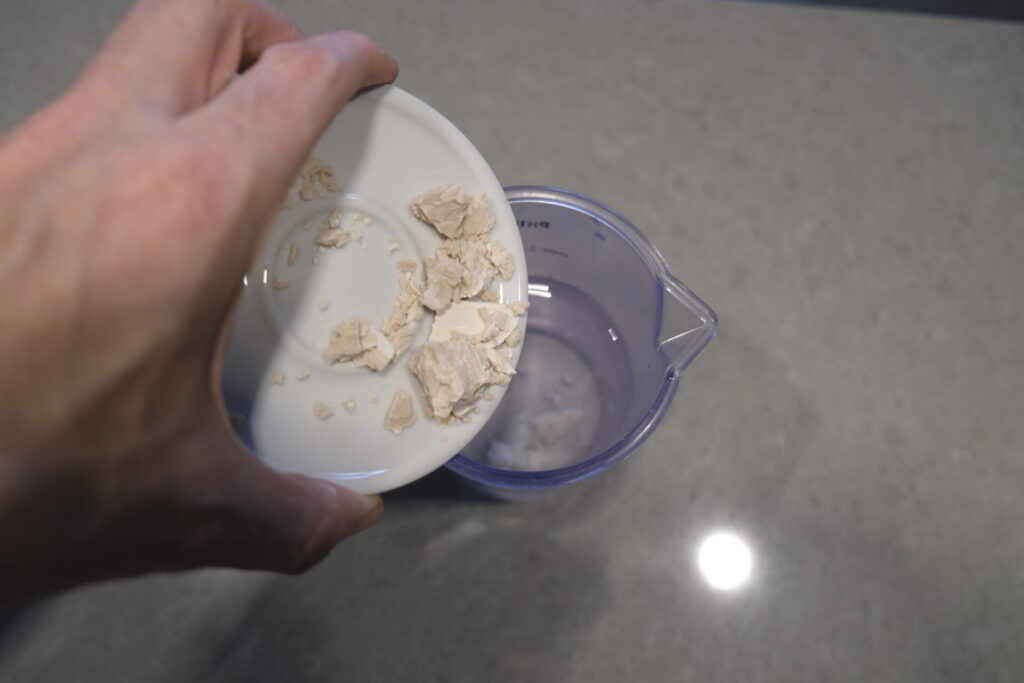
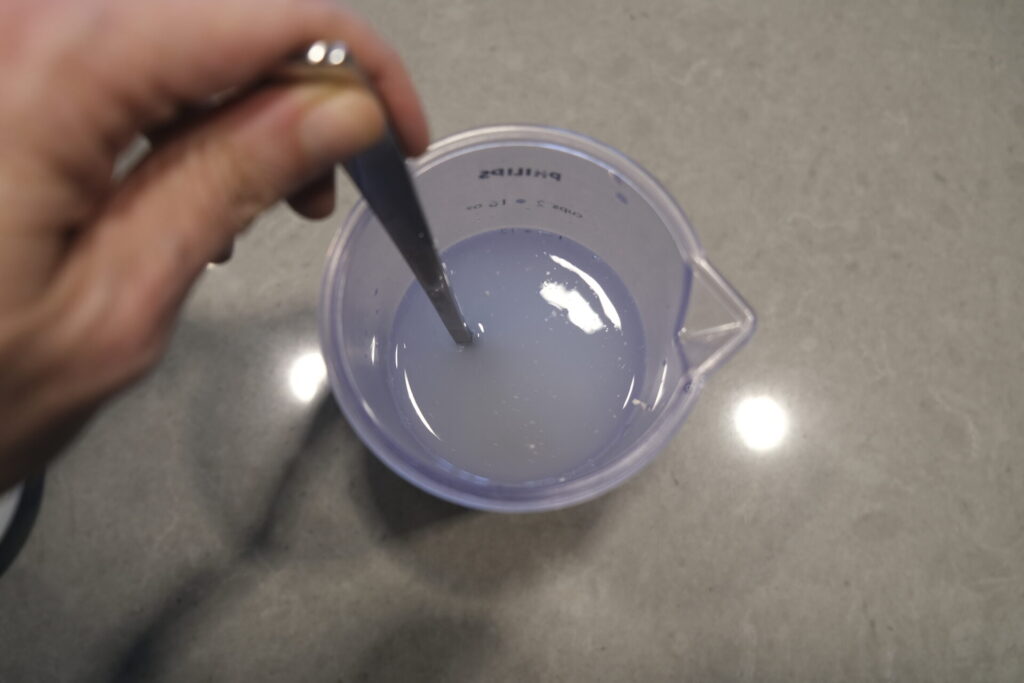
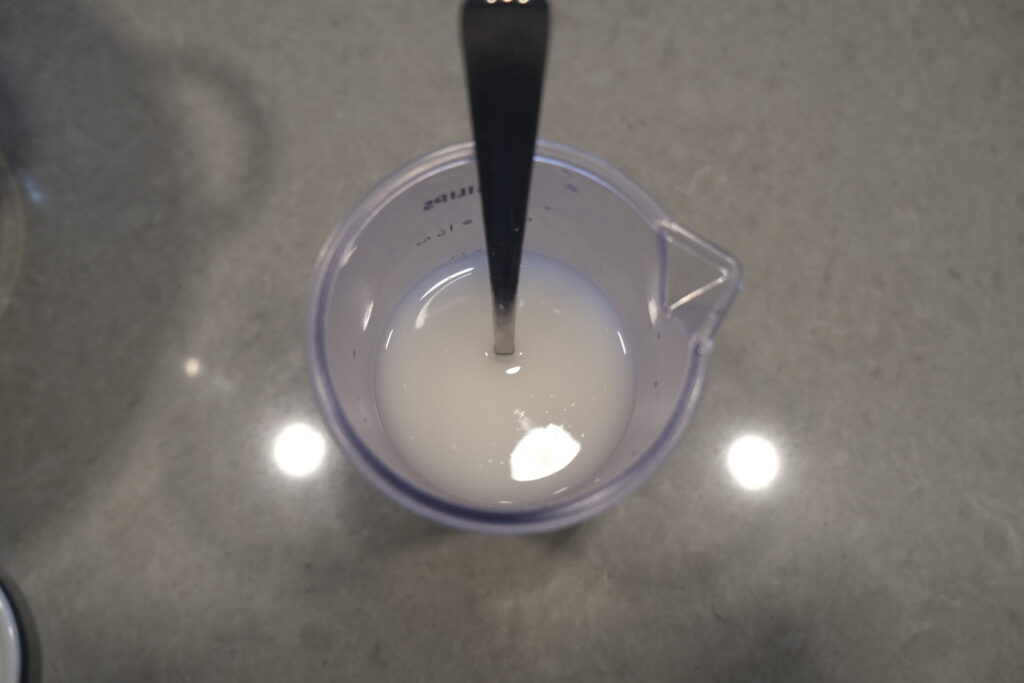
Now install the dough hook of your stand mixer, start the mixer at low speed and slowly pour all water. Please make sure that you pour water slowly. If you notice that the flour struggle to absorb water it is better to slow down even more.
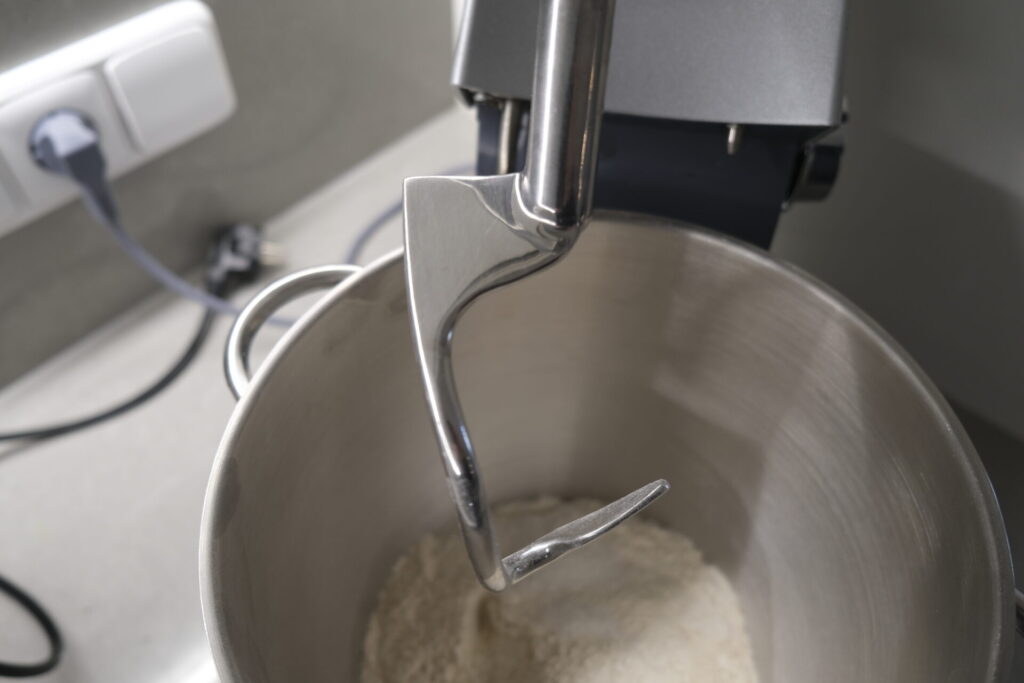
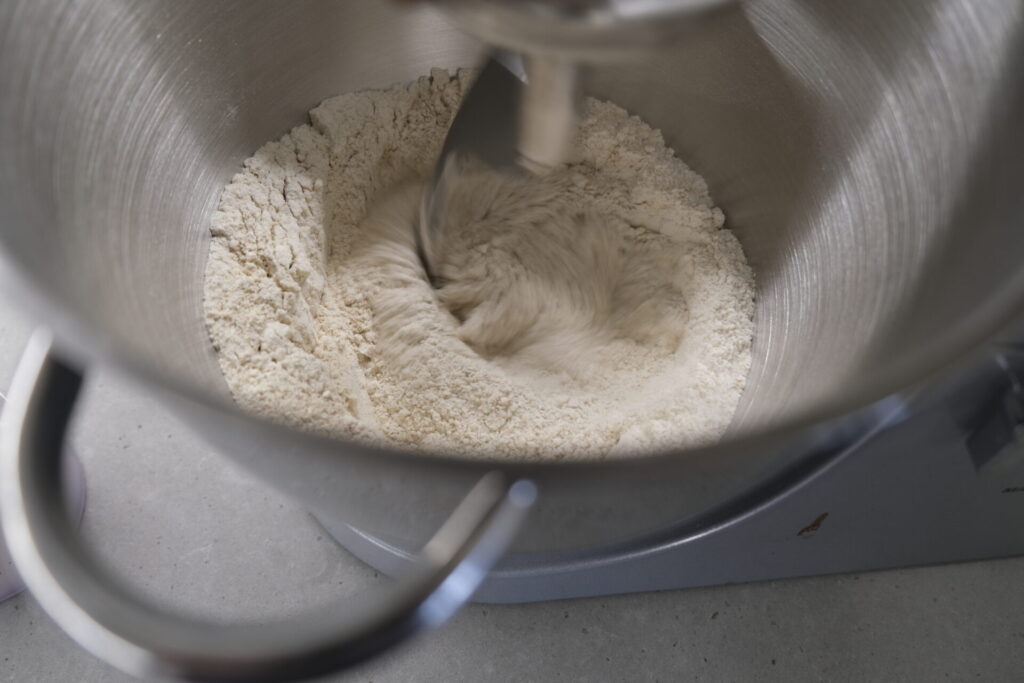
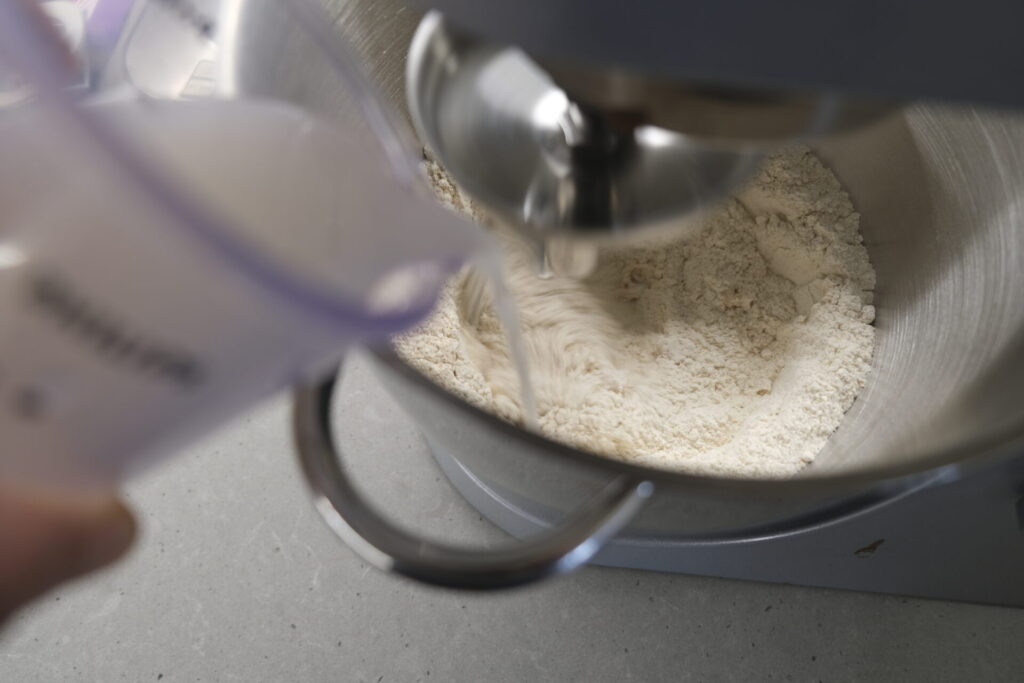
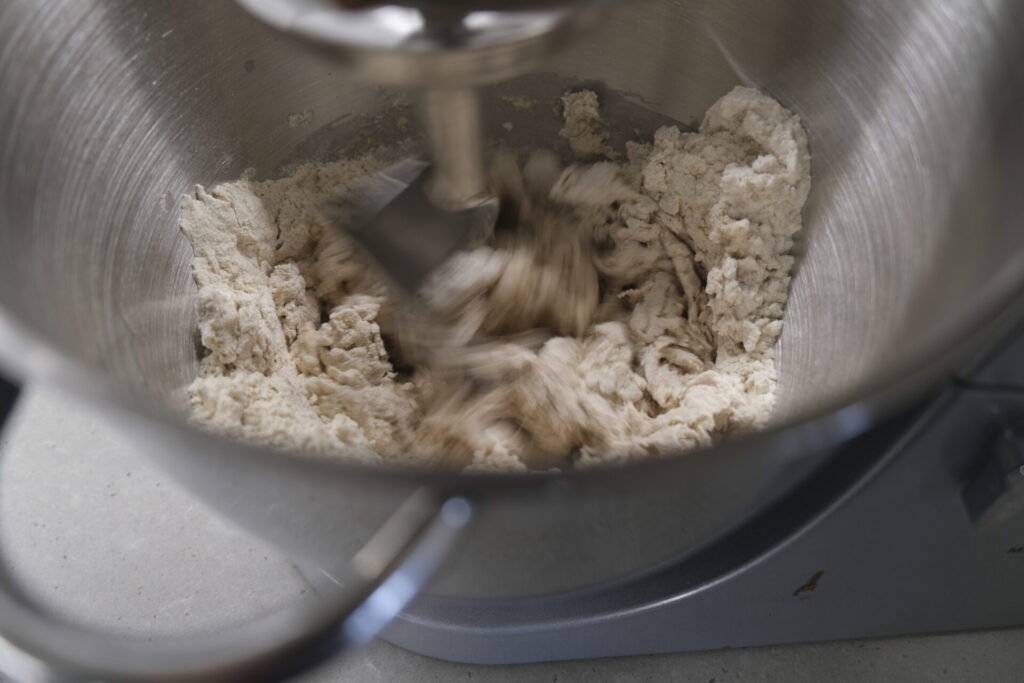
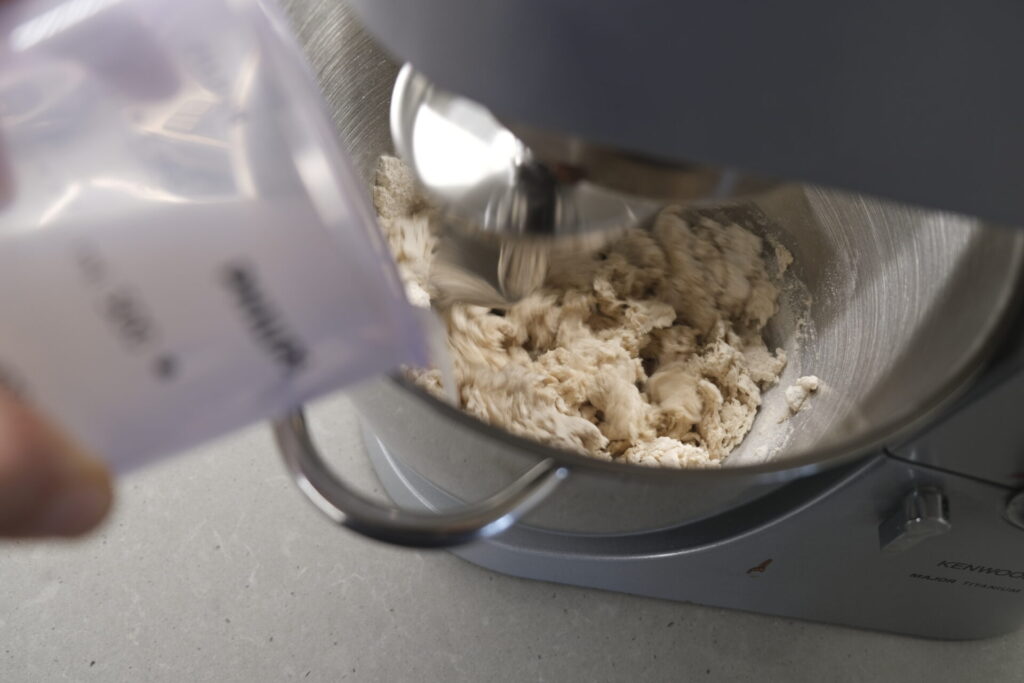
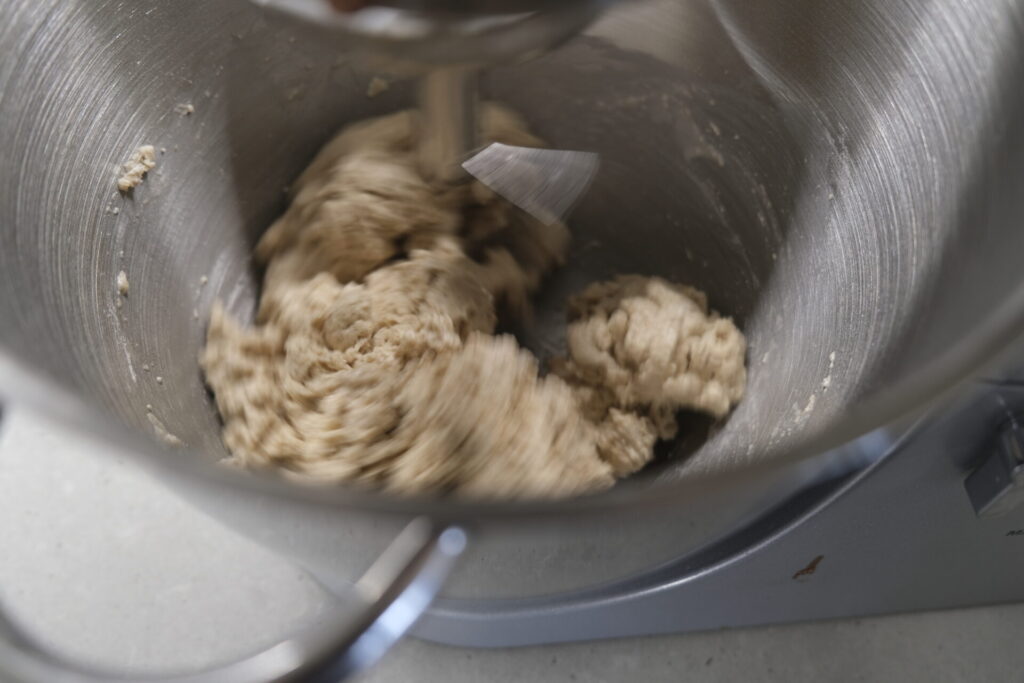
Let the mixer go for a few minutes. In my Kenwood I use speed 2 or 3 out of 7 and it takes about 8 minutes to complete the kneading process. Your mixer may be different. So to let you better understand what to expect as a final result I am sharing a few info and pictures.
First of all, this pizza dough does not require too much kneading and you don’t need to create a strong gluten mesh. As soon as the gluten mesh starts to appear the dough is ready. So don’t worry if your pizza dough does not look smooth. That is completely fine.
This is the final result you want to achieve:
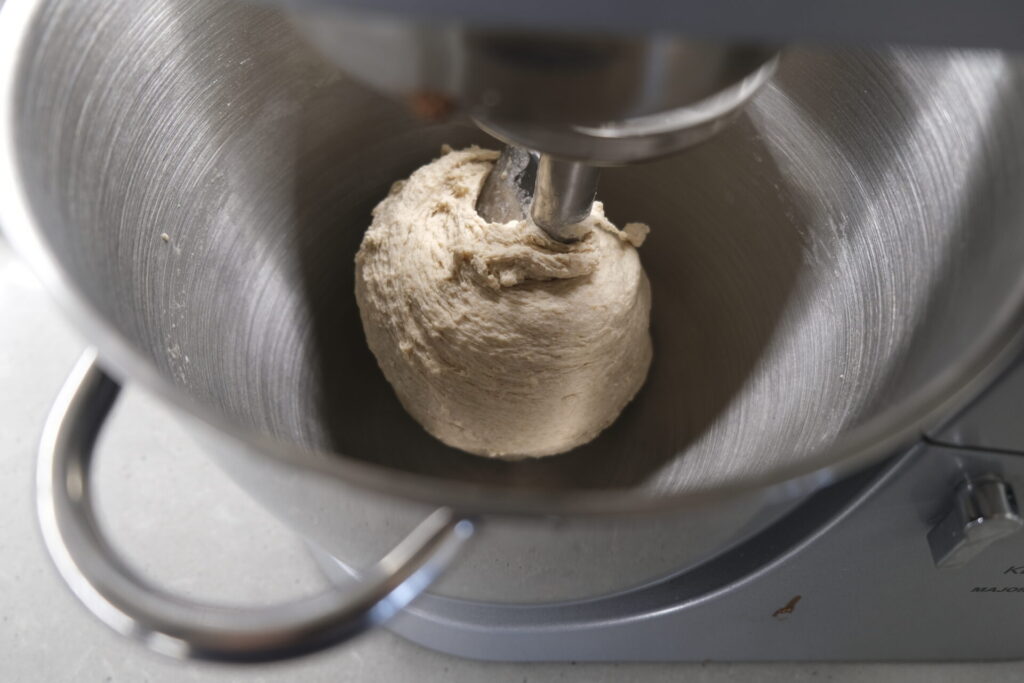
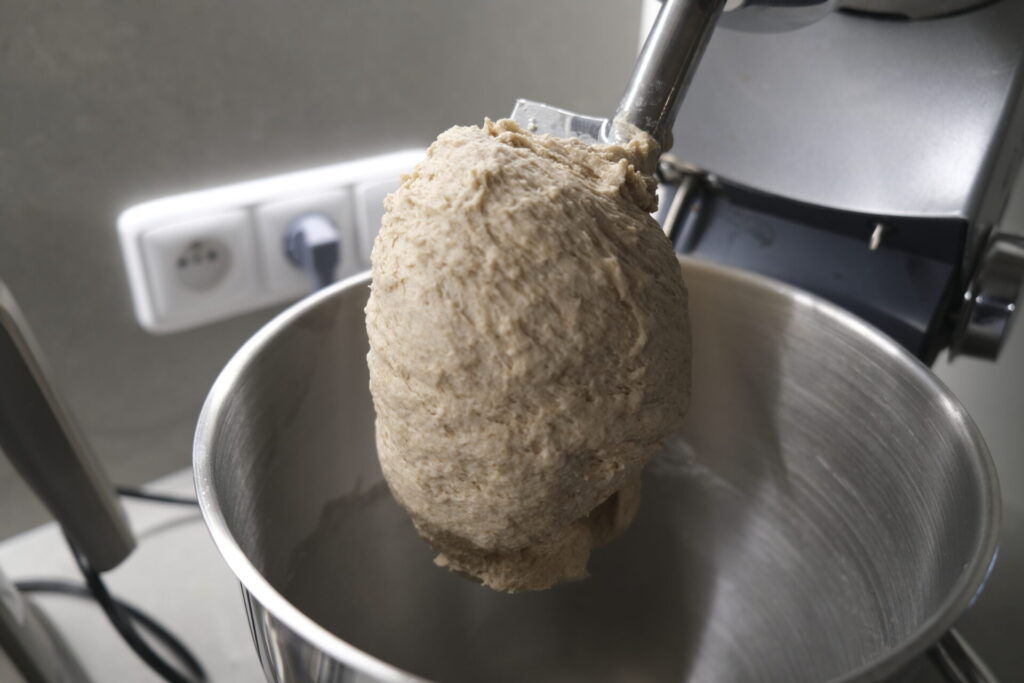
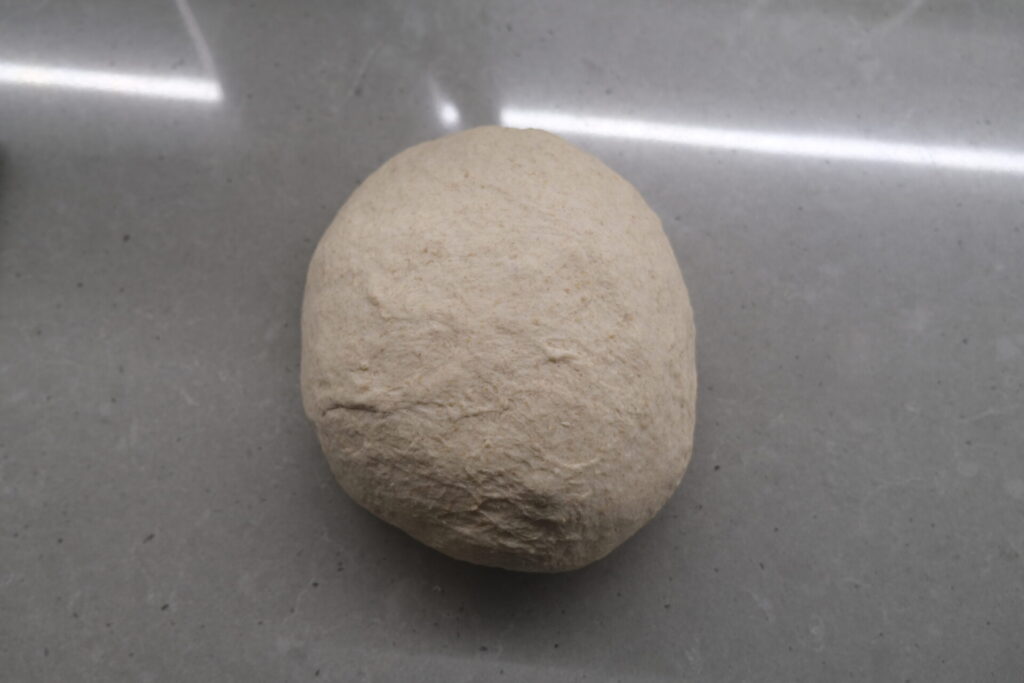
And now get ready to start the proofing of the foolproof homemade Italian pizza recipe!
If you are looking for a stand mixer to buy, I recommend one of the following.
- KitchenAid-KSM150PSCU (Amazon US)
- Kitchen Aid Artisan Food Processor 4.8 L (Amazon DE)
- Kitchen Aid Artisan Food Processor 4.8 L (Amazon.it)
- Worldwide available stand mixer
Note that above are referral links. I may get a fee from the seller if you buy using the links. But for you there will be no additional cost.
How to proof pizza
The next step of our recipe is to prepare a proofing box with hermetic lid. Spread in it a thin layer of oil, close the lid and let the proof start!
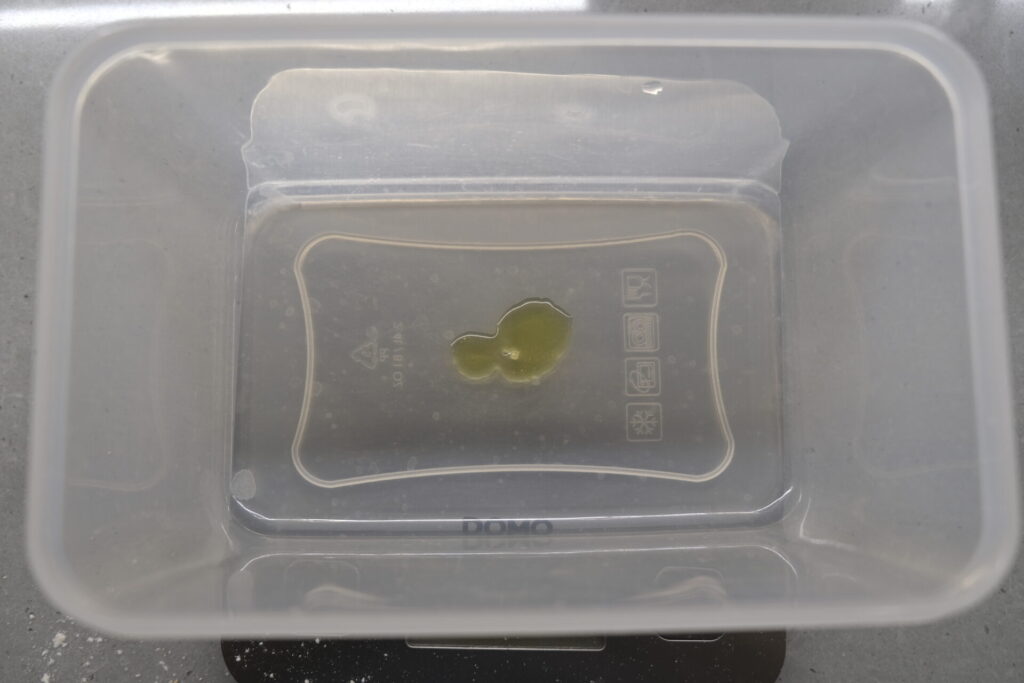
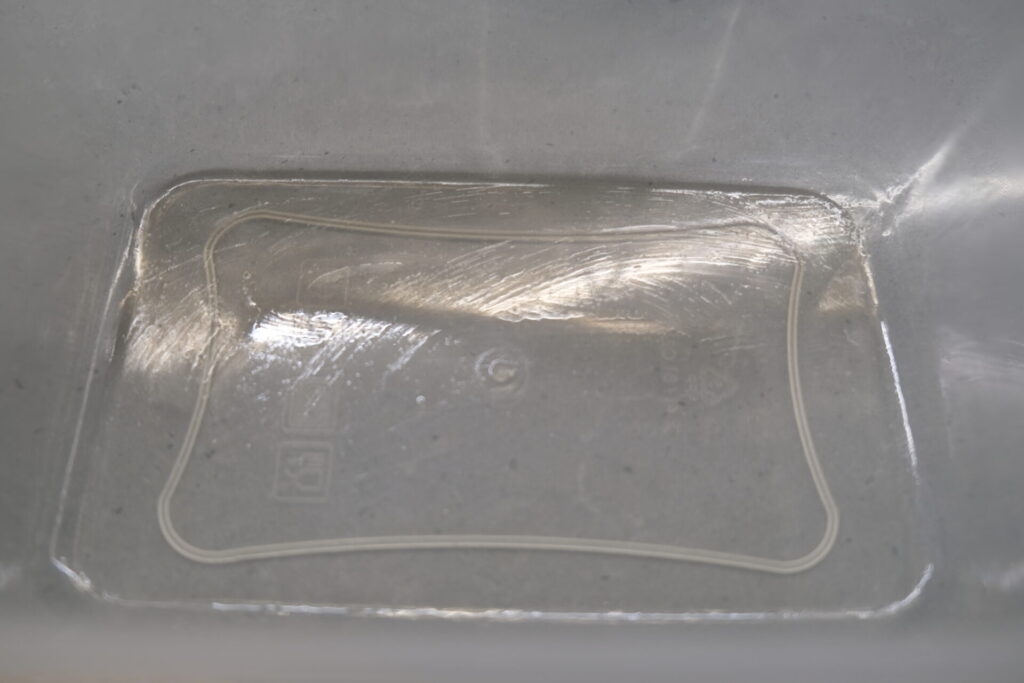
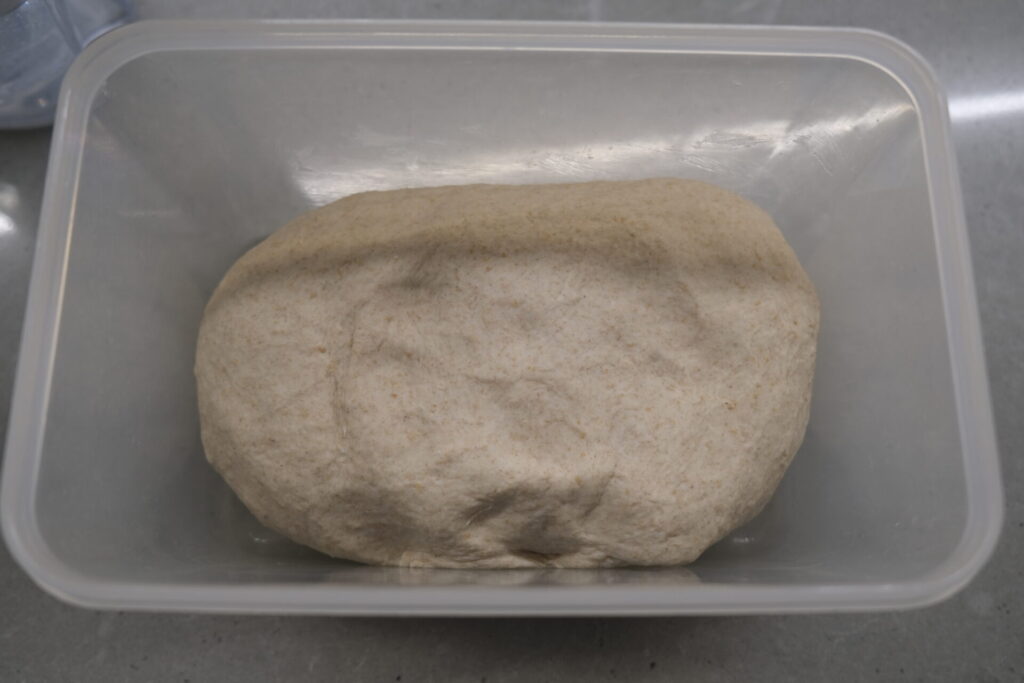
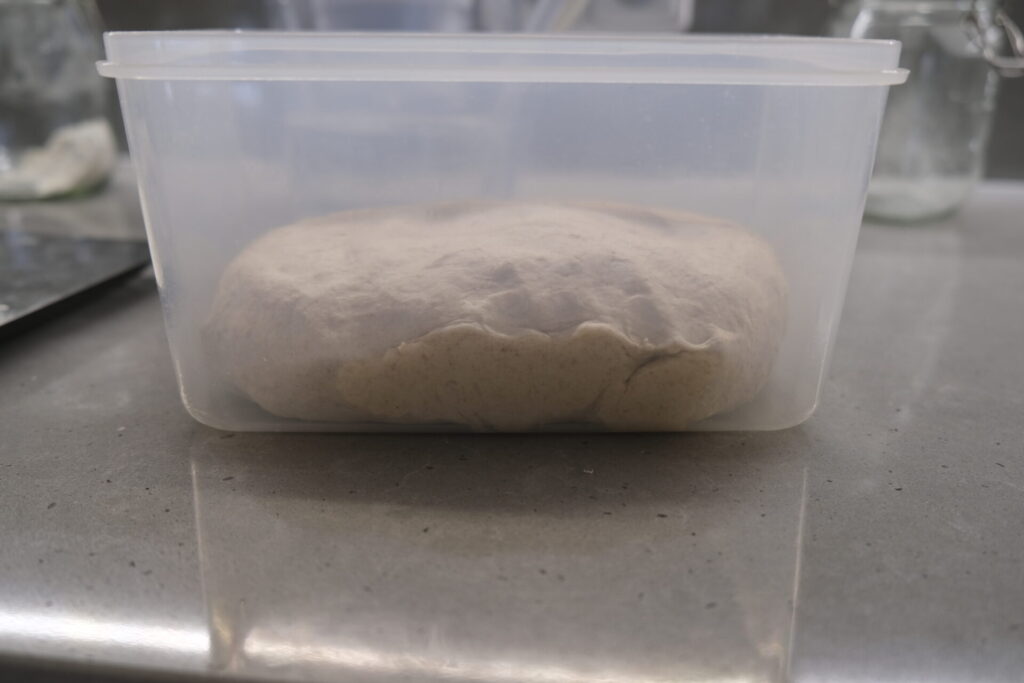
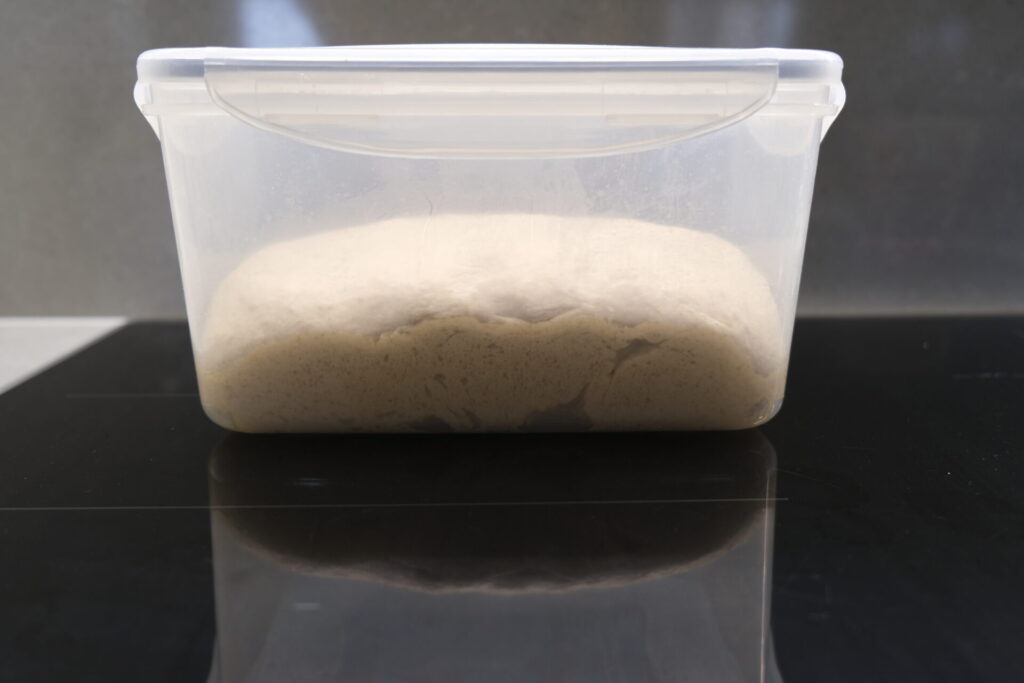
The goal of the proofing is to let the dough double. Make sure you don’t over proof. It should take between 2 and 3 hours at room temperature:
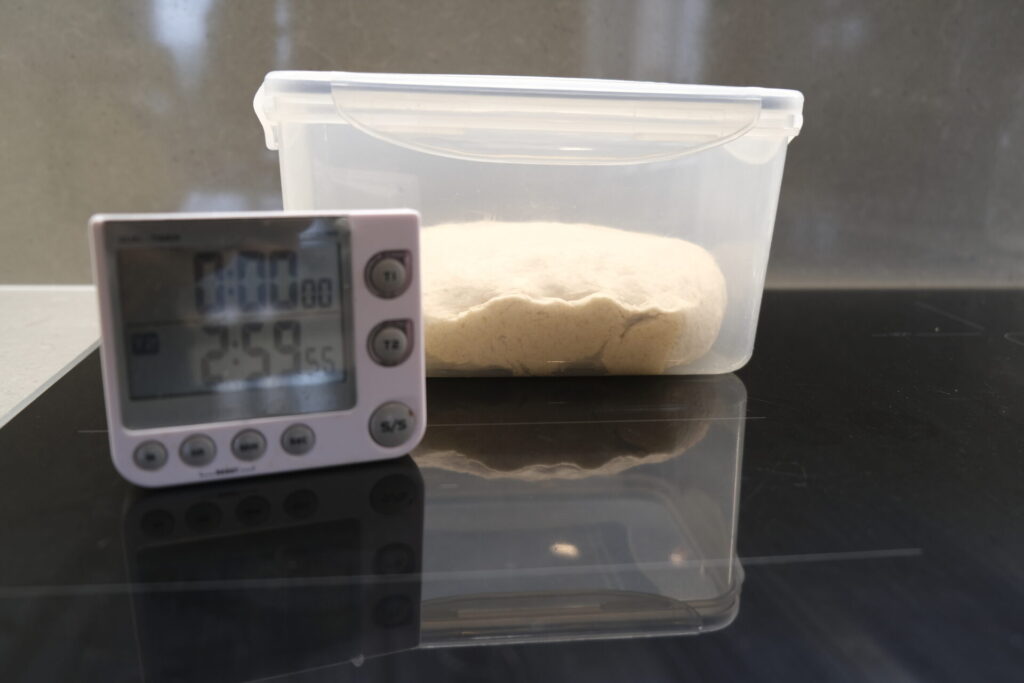
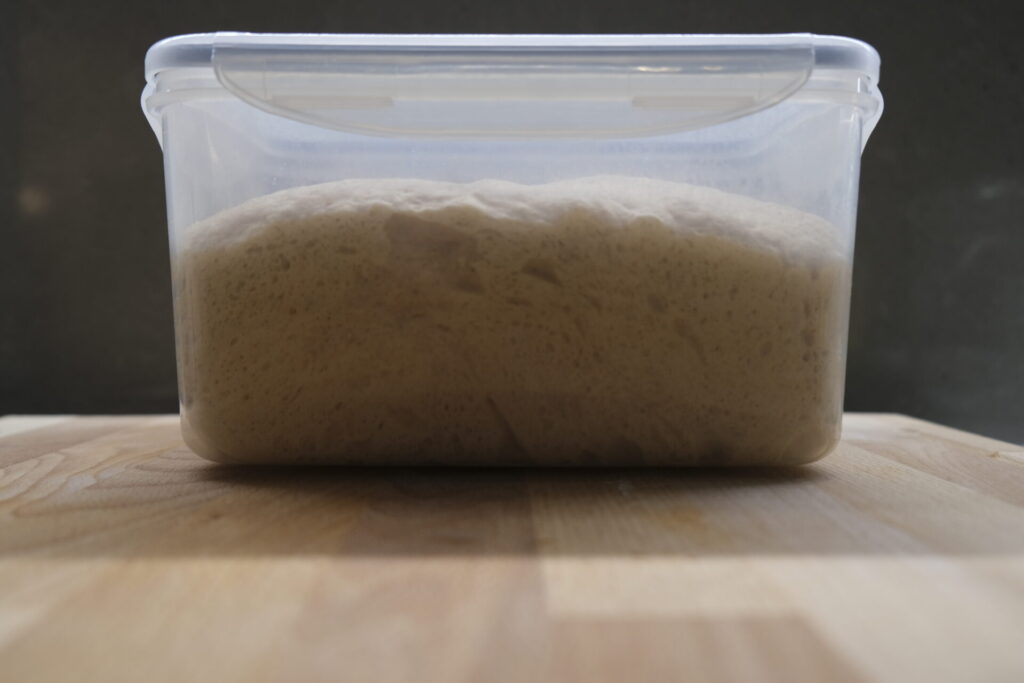
As you can see from pictures above I initially configured the kitchen timer to ring in 3 hours. But as the room temperature was quiet high (around 25C) it took only 2 hours.
Having the right right proofing box for bulk fermentation is often key for a recipe to work as expected. If you need them, you can buy a container for your pizza proofing from the following links:
Note that above are referral links. I may get a fee from the seller if you buy using the links. But for you there will be no additional cost.
Pizza dough stretching
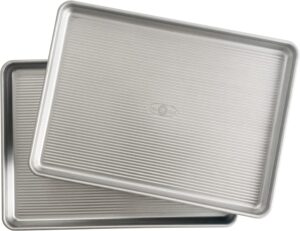
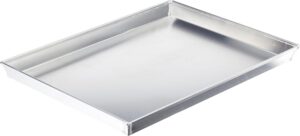
Now that our foolproof homemade Italian pizza dough is ready, we can move to the next steps. The first one being the preparation of the oven sheet tray. In my case I am using aluminized iron/steel tray.
If you don’t have one, I recommend to add it to your pizza kit. I have a selection of them on my Amazon Shops (for US and EU). Buying from my links will help keeping this website up and running as I will earn a small commission from the sale (at no cost for you). For your convenience I am adding direct links to the right sheet tray for pizza here:
To stretch this pizza we will proceed in a way that is very differnt than the majority of other Italian pizza styles. In fact we will be using a rolling pin to stretch. But before going to that, let’s prepare our sheet tray with a think layer of extra virgin olive oil:
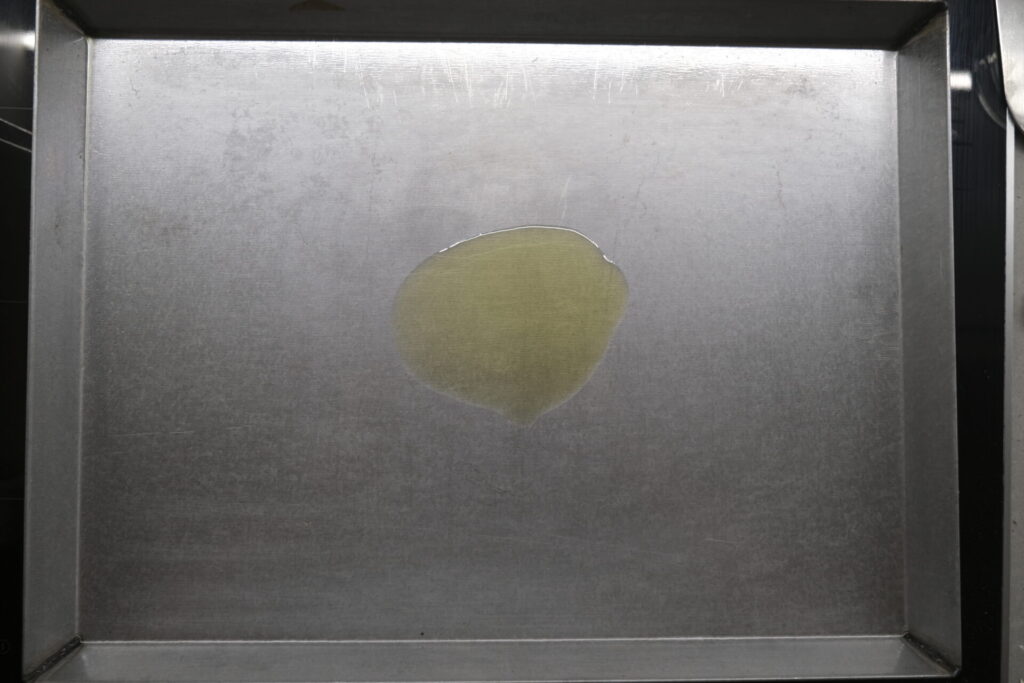
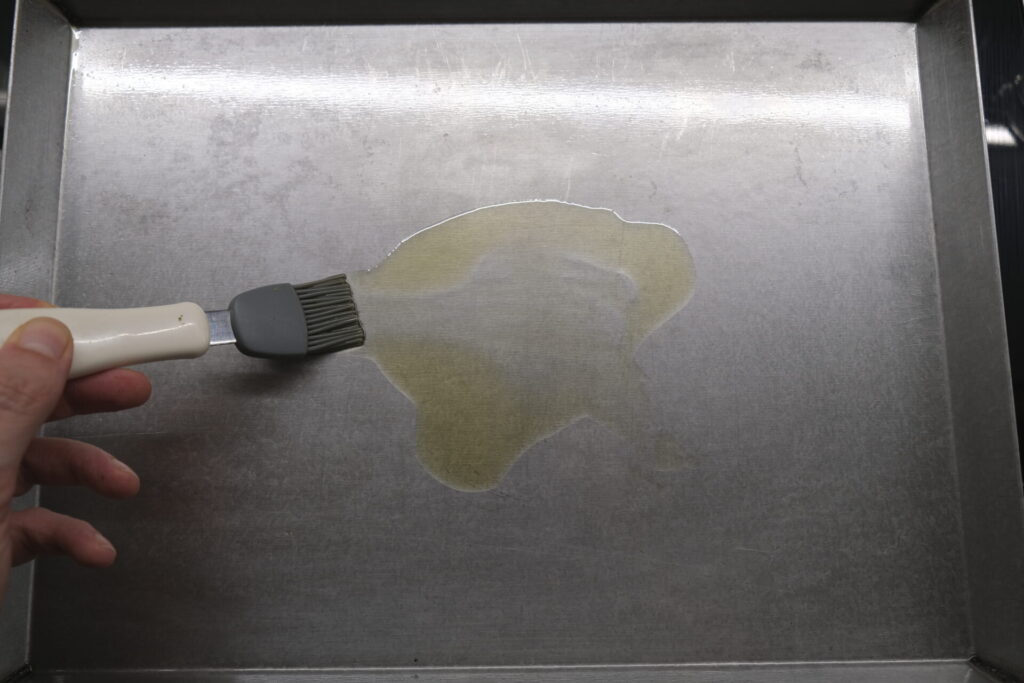
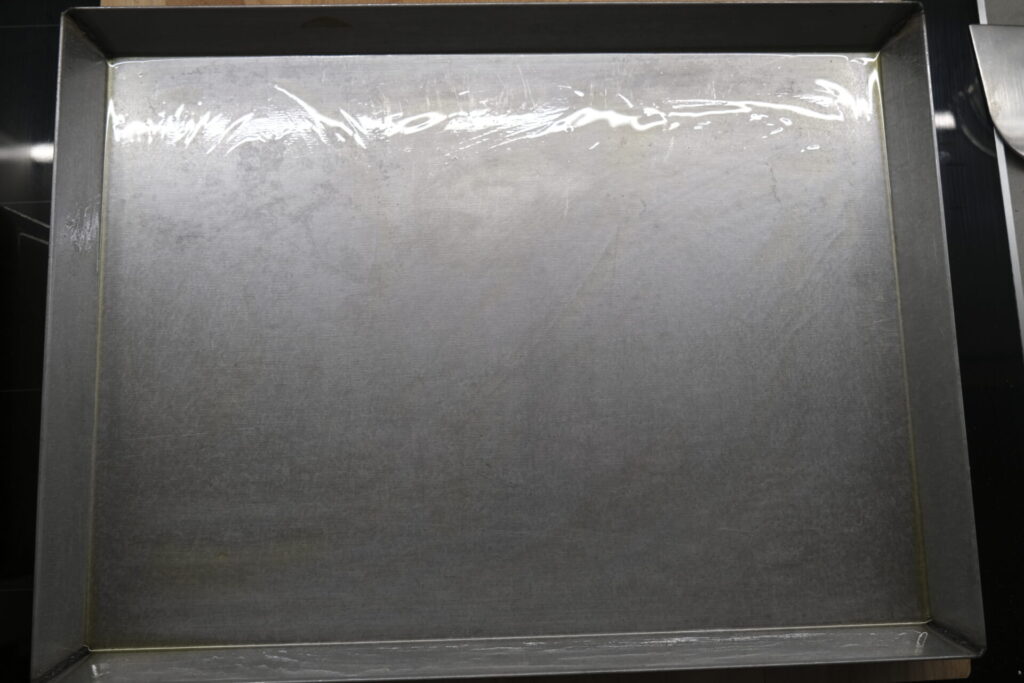
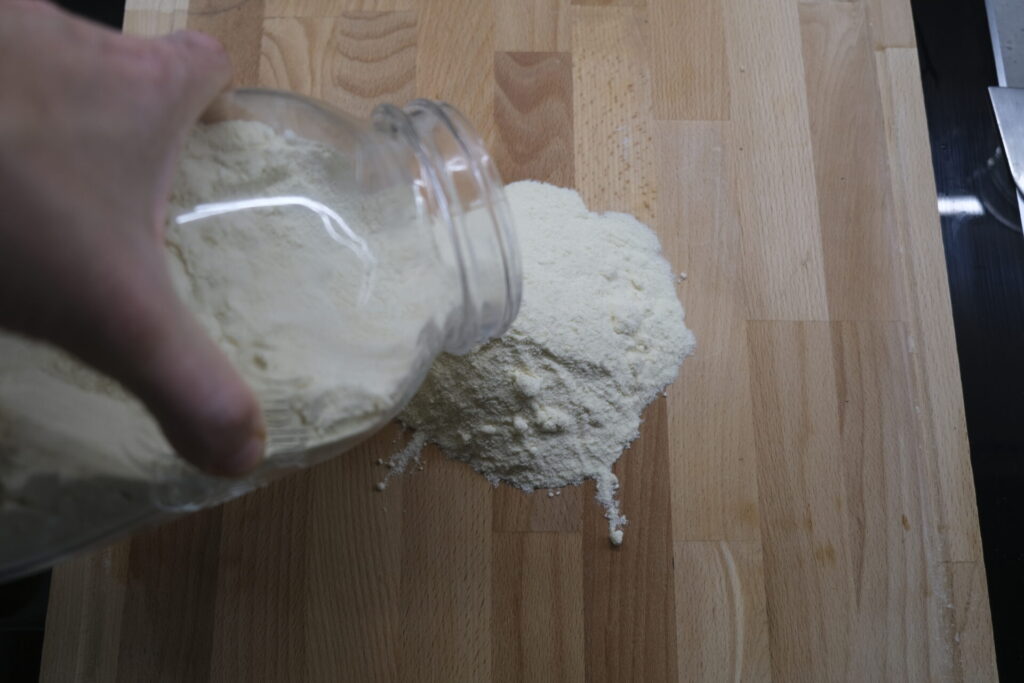
Next you need to prepare a bed of semolina flour and a rolling pin. If you do not have semolina you can use rice flour or any other. However I recommend to use semolina.
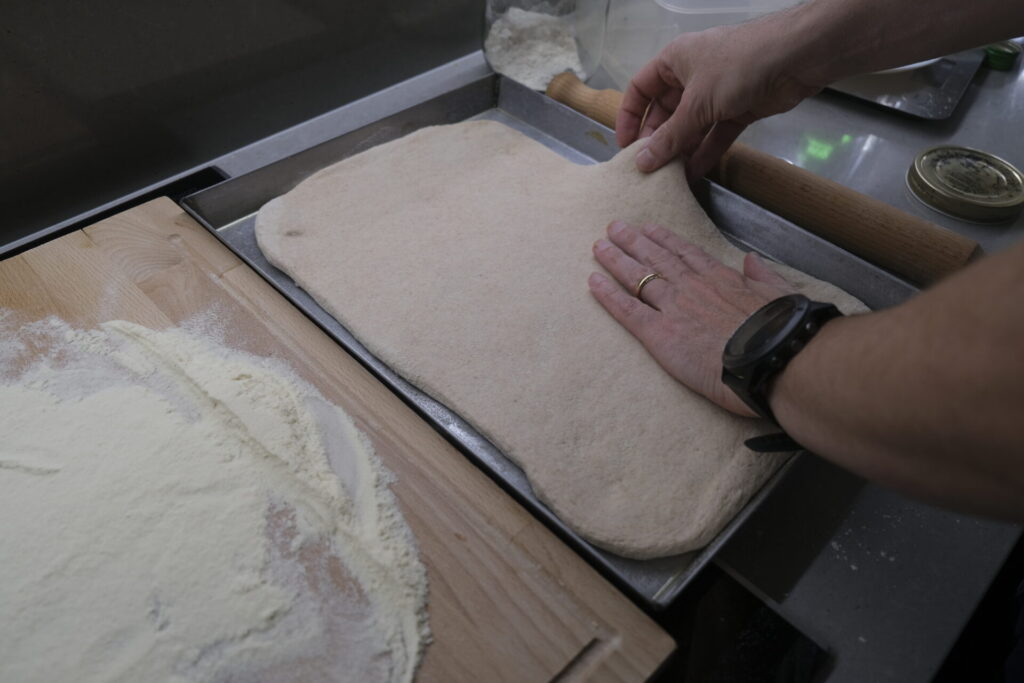
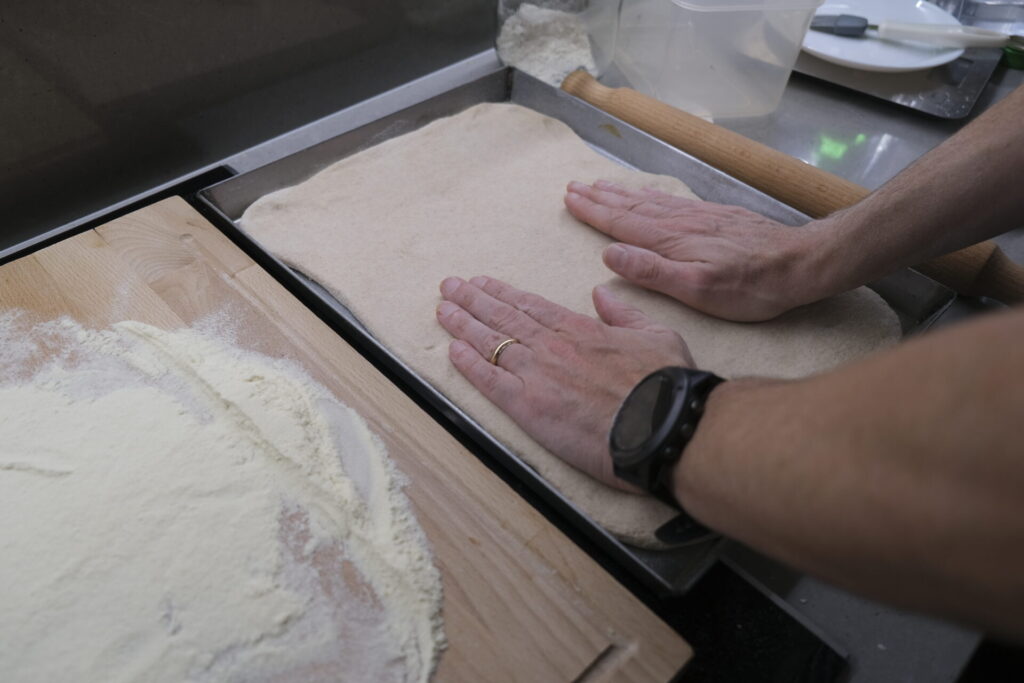
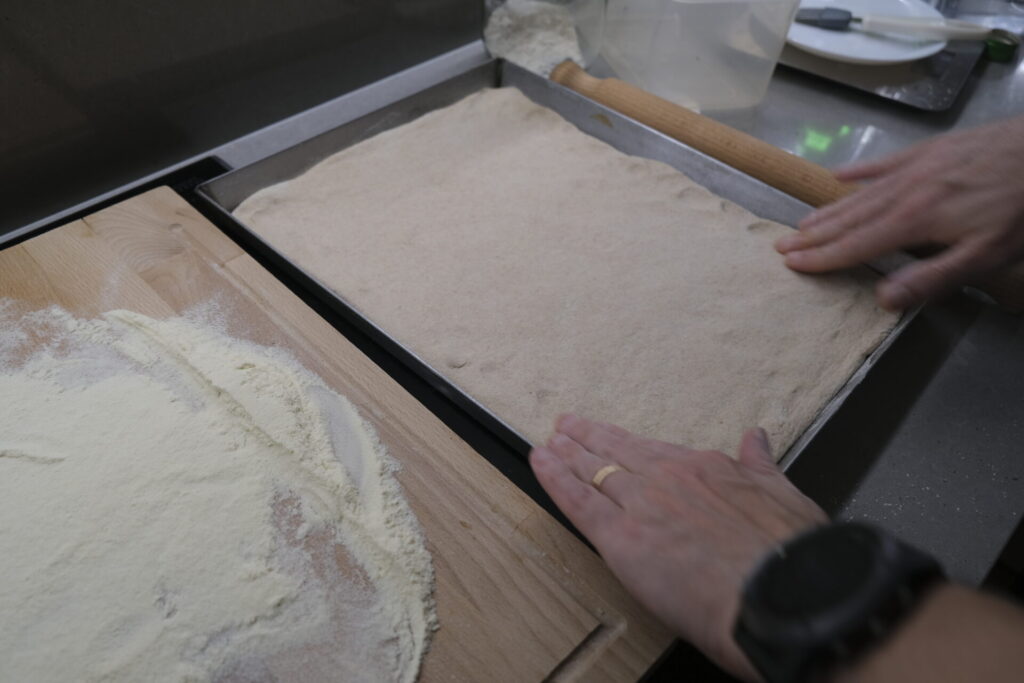
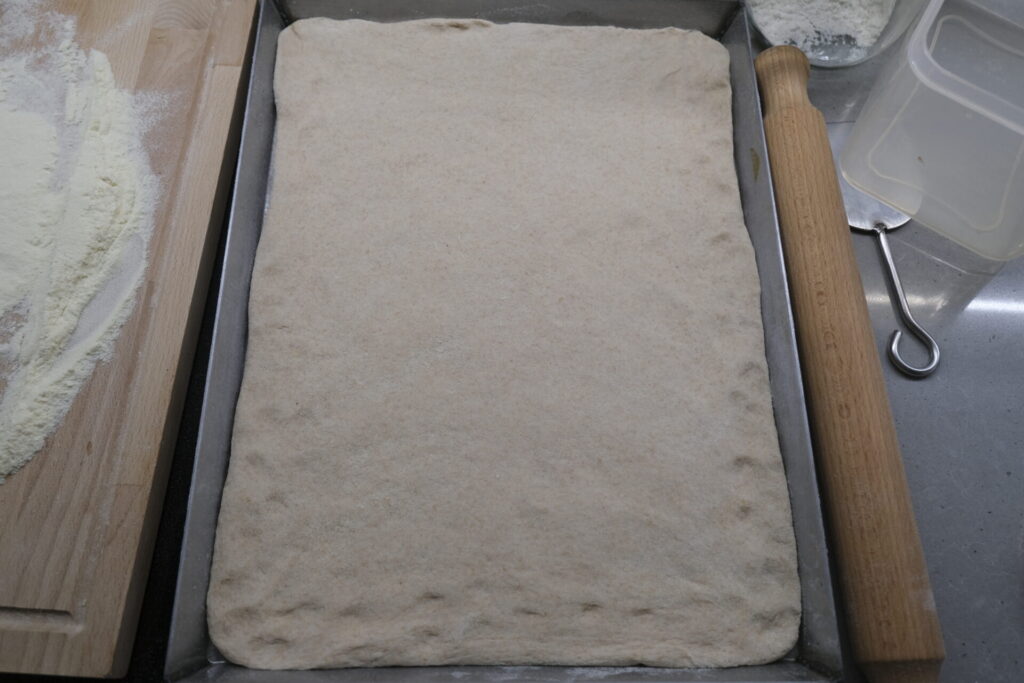
Open your proofing box, turn it upside down and let the dough falling on the semolina. Then with the help of the rolling pin, stretch the pizza dough until it reaches more or les the same shape and size of the sheet tray:
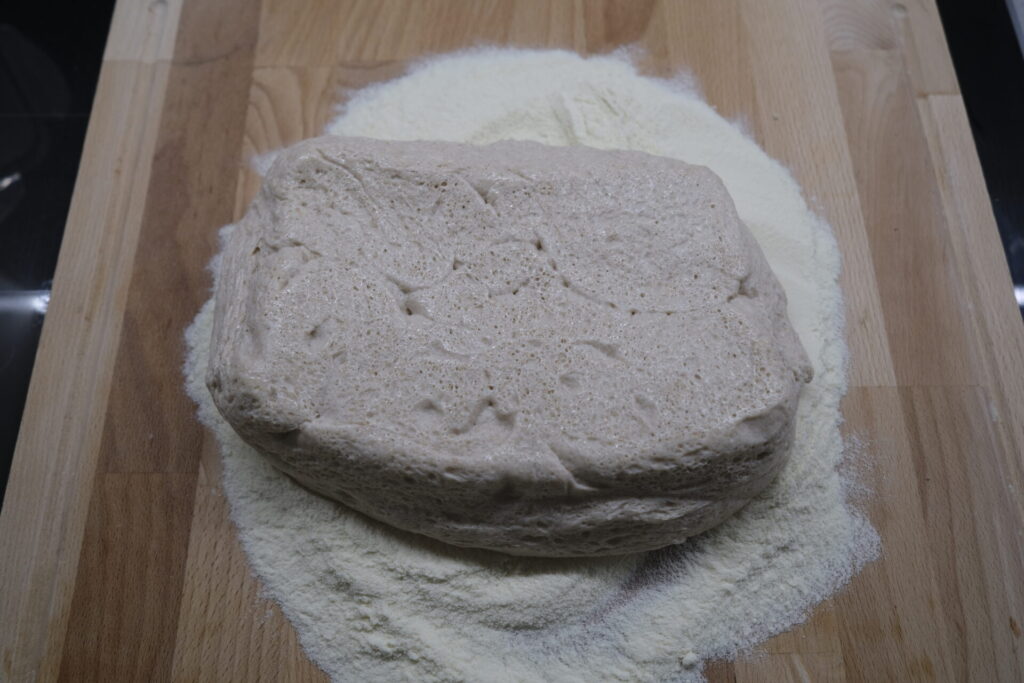
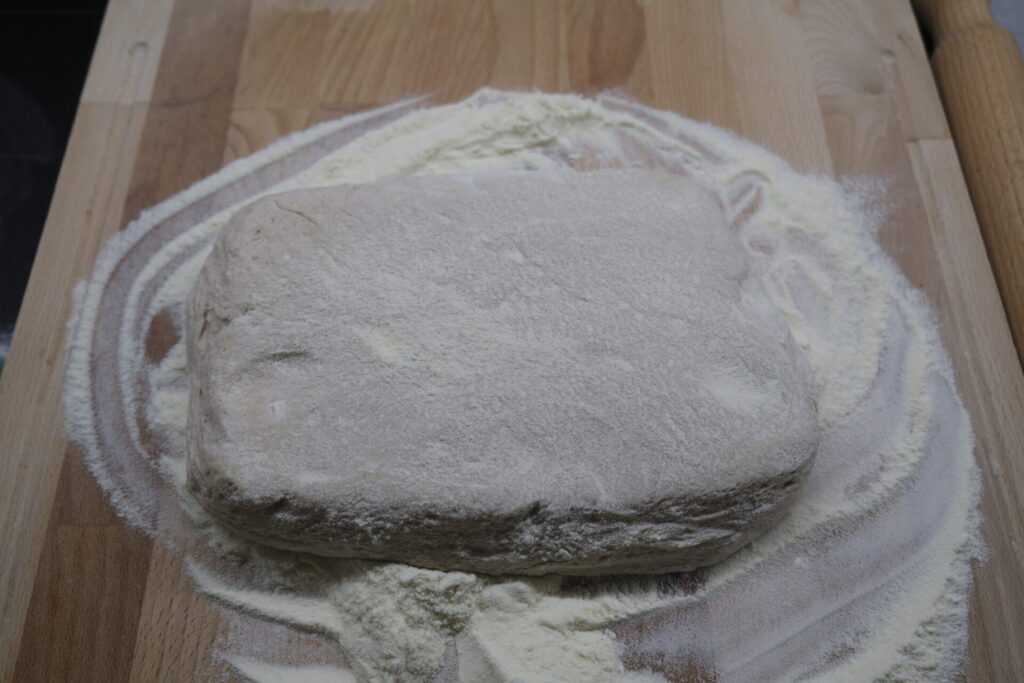
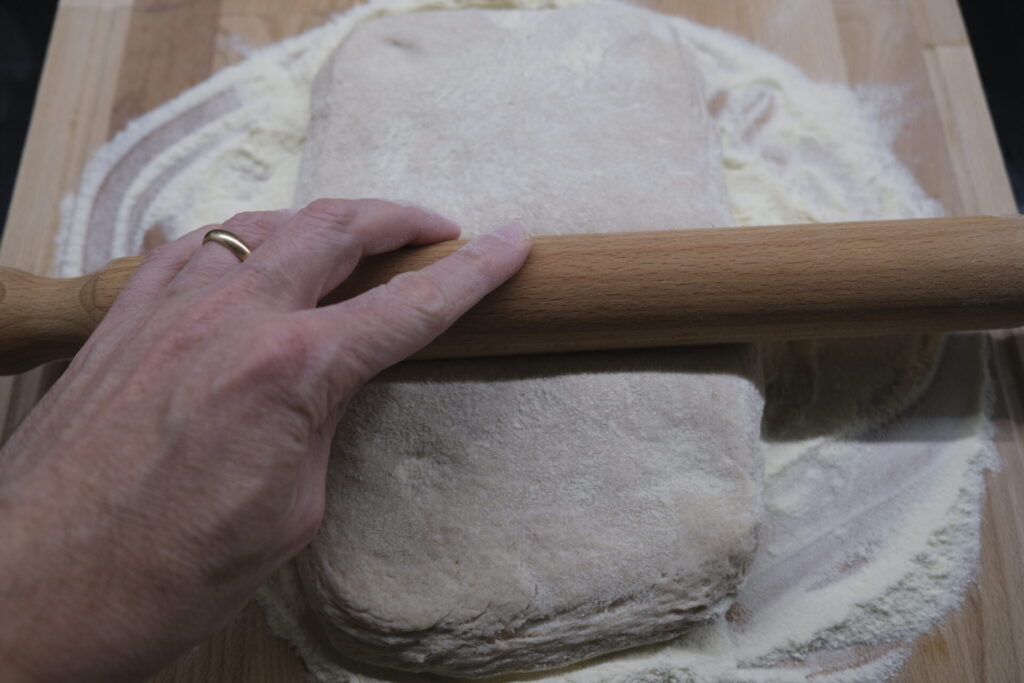
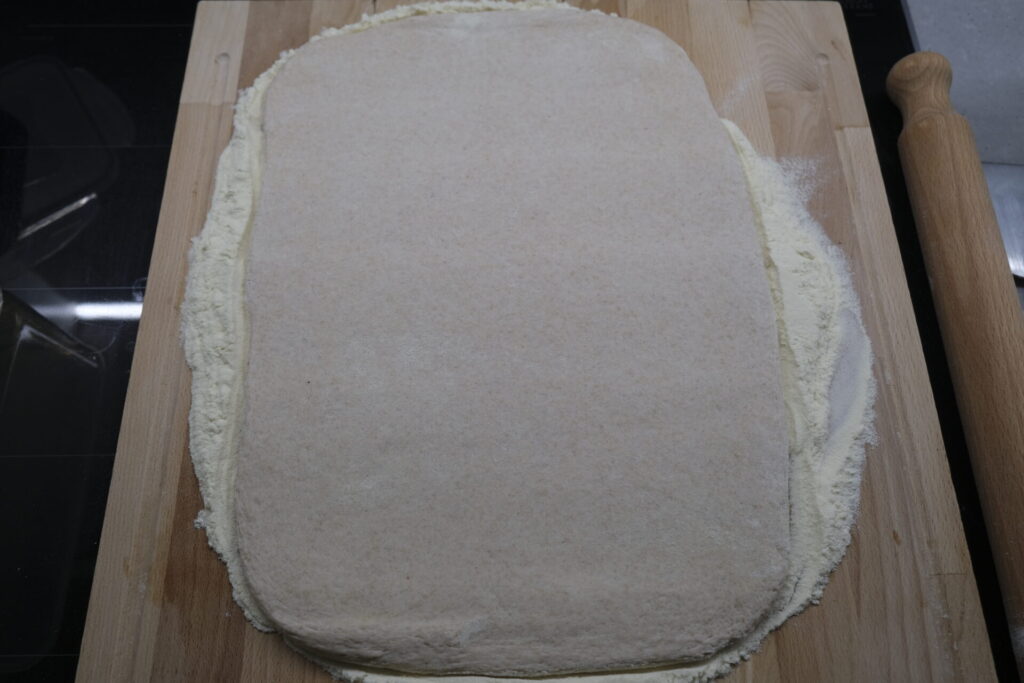
Last you want to move the stretched pizza dough on your previously prepared sheet tray. Then :
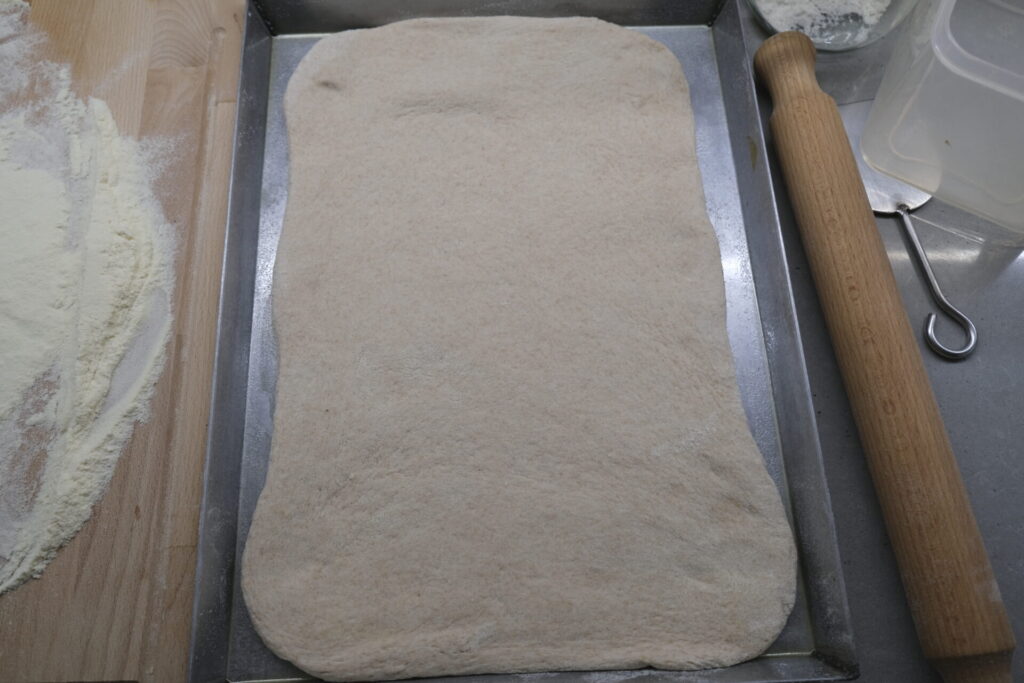
And now, let’s get ready to for the topping.
The best pizza topping
Personally I prefer to go for a simple topping on this pizza. However, you don’t have to be so simple. If you have the wish to taste your favorite Italian pizza delivery topping you can definitely use it. The nice part of this handmade Italian pizza dough is that it is incredibly versatile.
So, the way I prefer to eat this pizza is just with tomato sauce, Parmesan or Pecorino cheese and a bit of basil. That’s it!
I always start preparing the pizza sauce by myself. I open a can of high quality peeled tomatoes, pour all of it in a bowl, add a bit of salt (1% on the can weight). Then with a few pulse of an immersion blender the sauce is ready. If you want to have more details on the full preparation I suggest you to read my article with the recipe for Italian pizza sauce.
Assuming your pizza sauce is ready, you only need to spread it on your pizza for now:
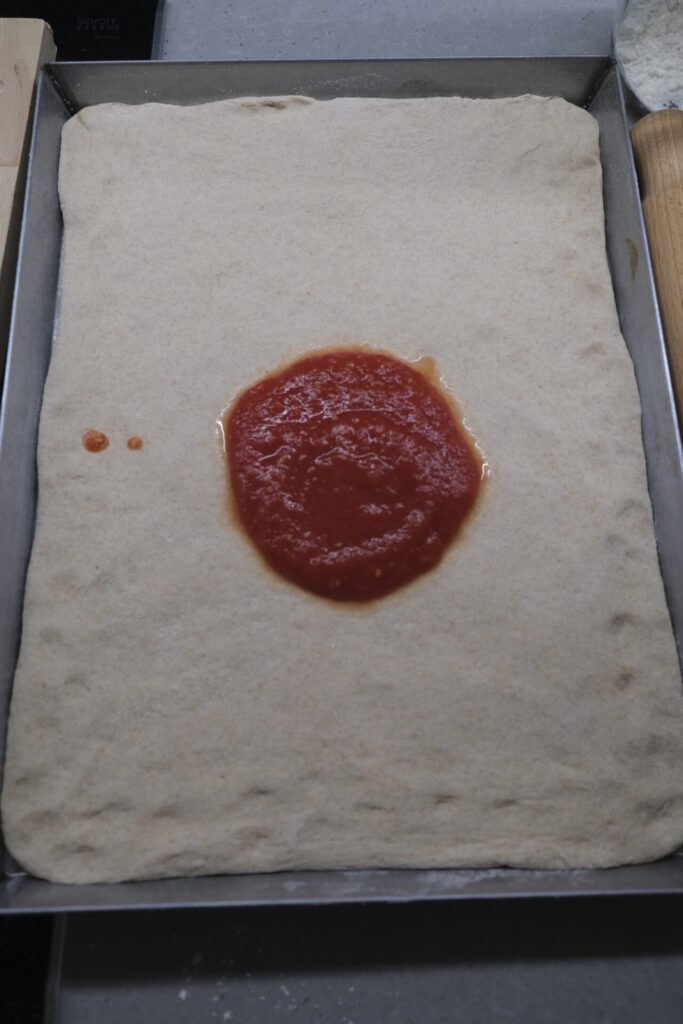
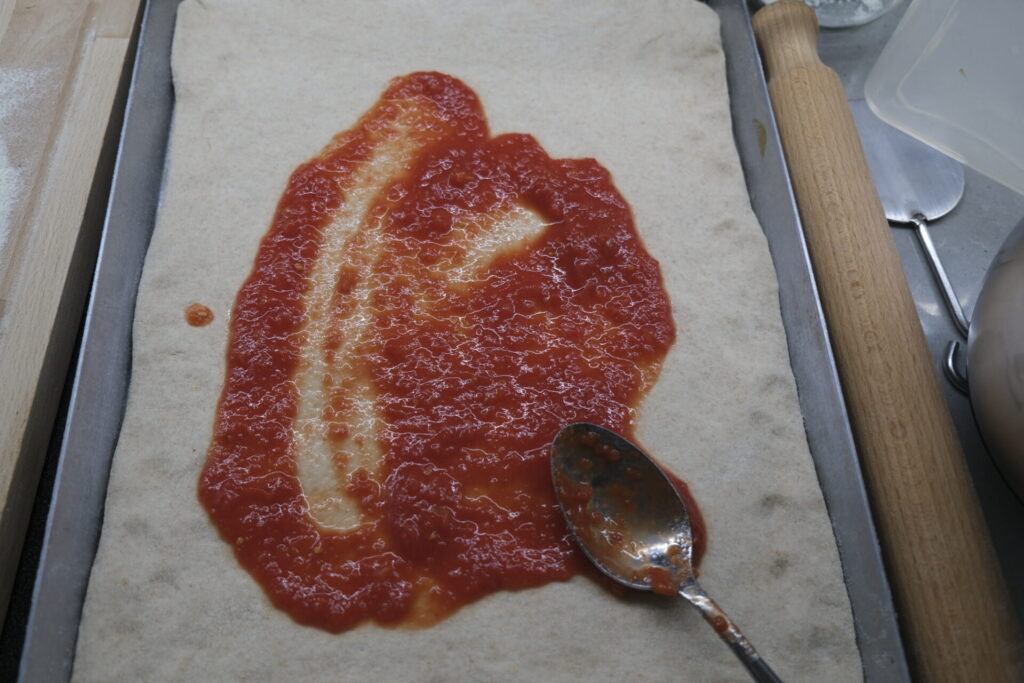
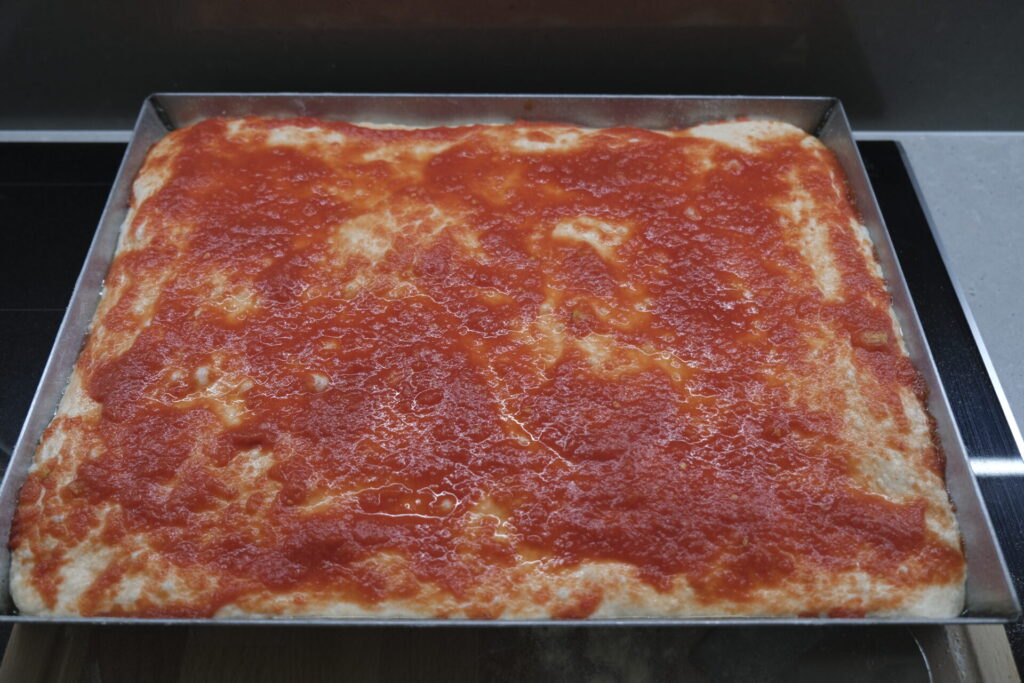
Now, there is one last critical step you want to follow before baking. I always cover the pizza with another sheet tray (or even with some cling film, but make sure it does not go on your tomato sauce). And I do that because I have this pizza dough resting for 30-60 minutes more before doing anything else. Essentially I wait for it to proof a bit before moving to the oven. In this way you also allow some of the liquids coming from the sauce to be absorbed by the dough with a positive effect on the final taste!
How to bake this easy Italian pizza at home
And after having the rest you are ready to bake your homemade pizza. Start by heating the oven up to 240C (460F) with the static program. Avoid at any cost to use convection because it will dry the surface of this pizza too fast.
Then uncover the pizza and finalize it with some Parmesan or Pecorino cheese and a bit of extra virgin olive oil:
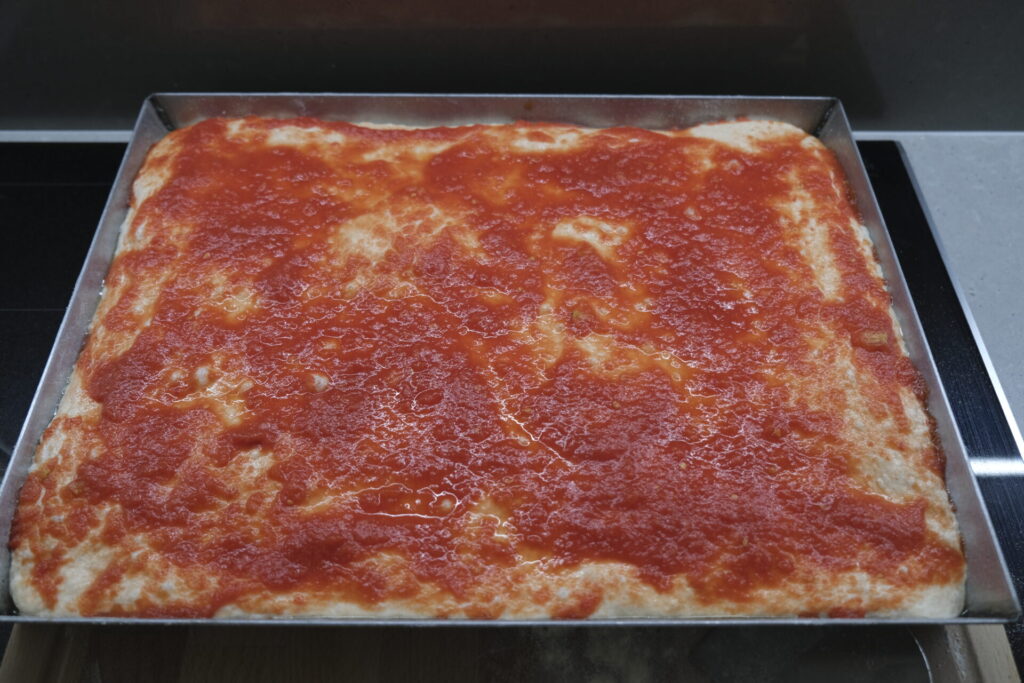
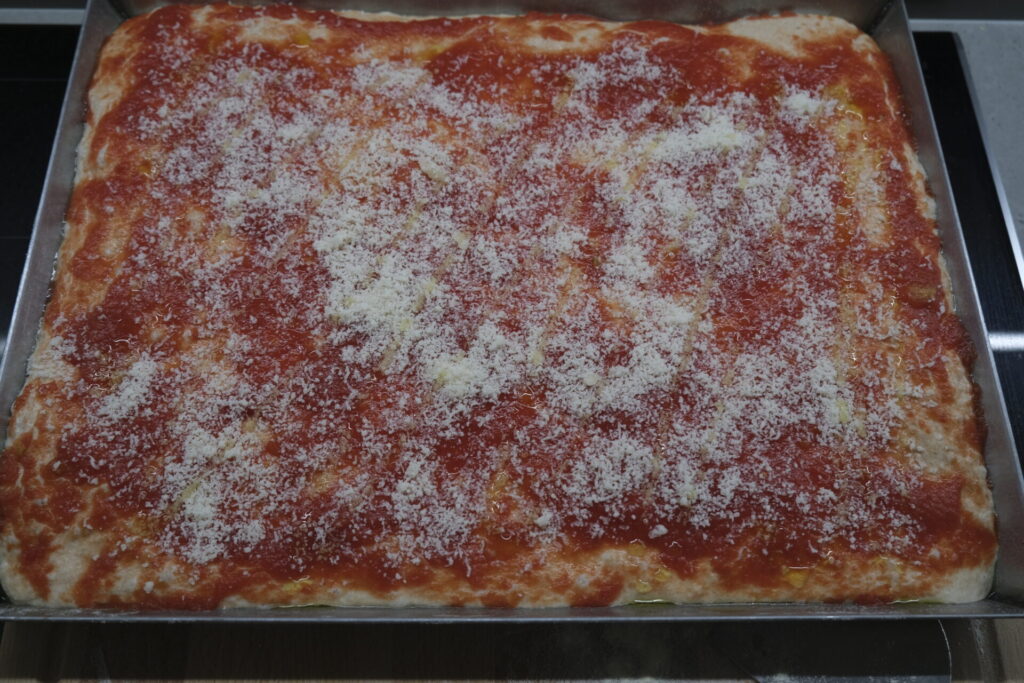
You are now ready to cook the pizza in the oven. If you use a steel pizza pan or an iron pizza pan, I suggest to begin the baking having the pizza on the ground floor of the oven. After 12-14 minutes you can either add some mozzarella cheese and move the pizza sheet tray in the middle height of the oven or simply finalize the baking again moving to an upper floor oven without adding any other ingredient.
In my case I preferred to opt for a simple pizza topping without anything else. The final result you want to obtain is similar to this one:
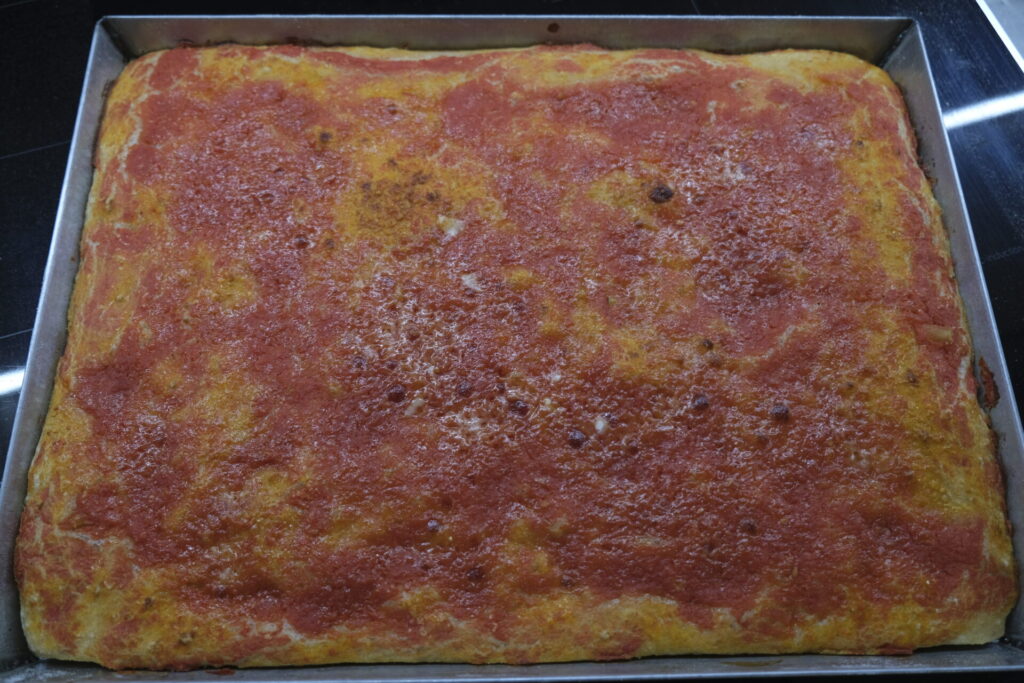
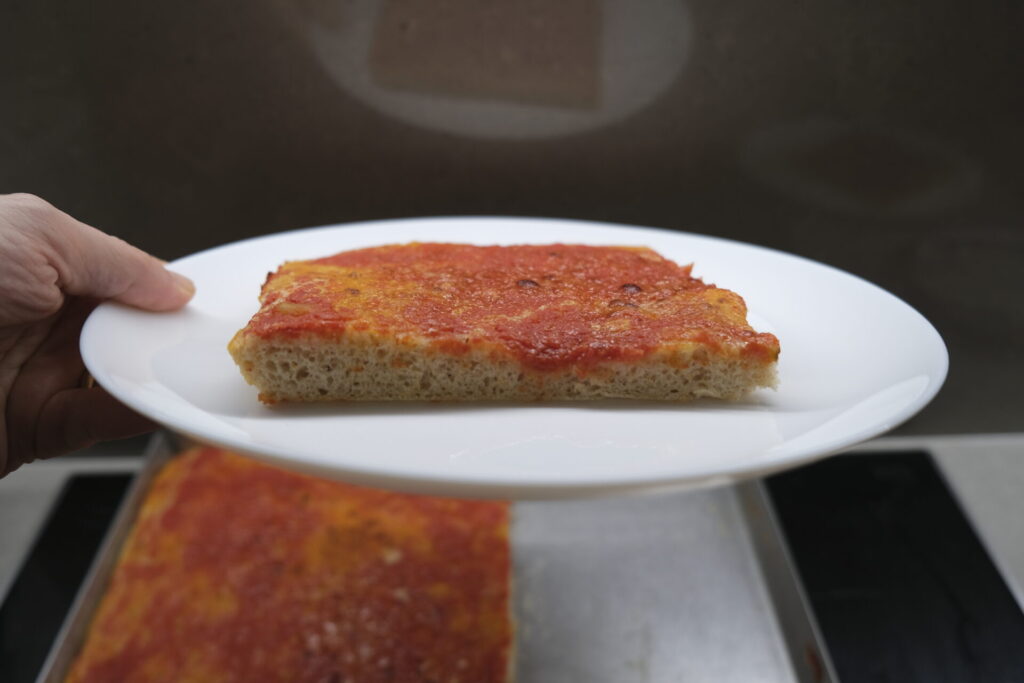
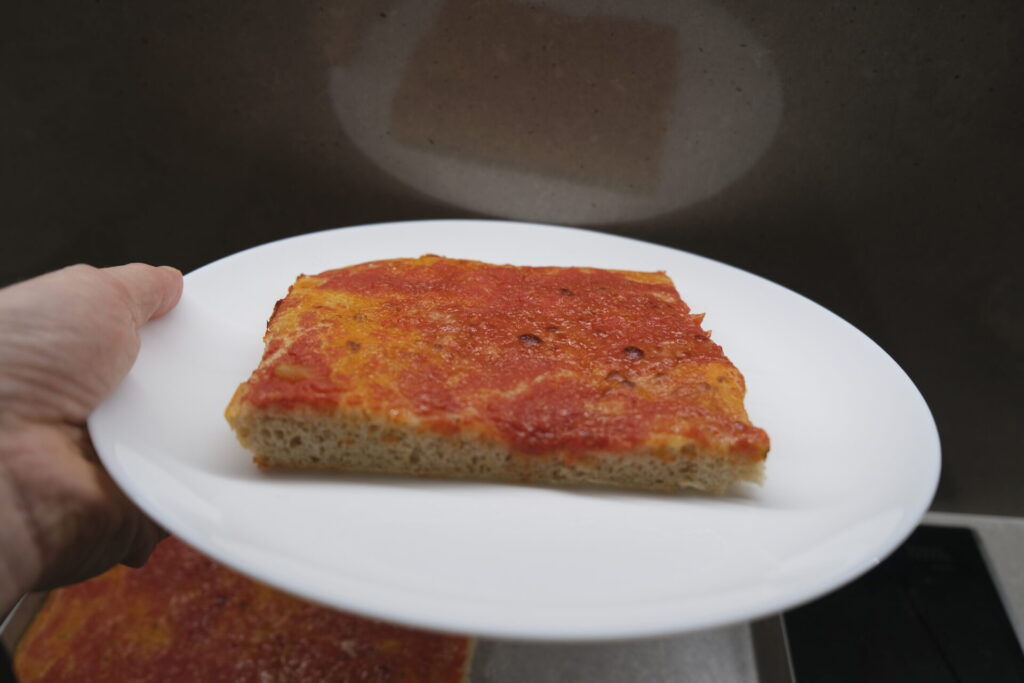
An incredibly good and easy Italian pizza in about 3 hours!
A secret to always get the best Italian pizza
As you can see you don’t need a full day to prepare a tasty pizza. We made this pizza in just about 3 hours. So you may wonder why you read very often about long time fermentation for a tasty pizza while here we went to the opposite direction: what is the secret?
First of all let’s stop thinking that to have a tasty and digestible pizza you need long fermentation. This is just not true. And when you prepare today’s pizza recipe you will get one more confirmation.
Once we understand that, the secret to have the best Italian pizza is to learn the process and follow it. In case of the recipe of today, the most important steps and the secrets to have it successful are:
- knead enough to create a good gluten mesh, but you don’t need a smooth pizza dough as in other recipe.
- make sure you don’t over-proof. Simply double the size of the dough during the first proofing.
- have the pizza dough resting in the sheet tray before baking.
With that in mind, don’t forget that you can make pizza without any special equipment. But if you have the right pizza tools your life will be much easier! In the next paragraph I collected the list of accessories I used and that you can buy following a simple link to your favorite Amazon store.
What Pizza Making Tools I used for this Pizza Recipe
All following links are pointing to the accessories I am using in this pizza recipe. If not the same they are similar enough.
If you need pizza accessories feel free to get them directly from the ones I advise below. For you it will be much easier and at the same time you support my website. In fact Amazon will provide me a small fee from your purchase. Of course this is not adding any cost for you.
| - Glass Measuring Cup |
https://amzn.to/3MgTF14 (US) https://amzn.to/3XrIvMO (IT) |
| - Stand Mixer |
https://amzn.to/3SfLaqN (US) https://amzn.to/43msFXn (IT) |
| - Steel Sheet Tray |
https://amzn.to/45Inu1n (US) https://amzn.to/4ir17Es (IT) |
| - Food Containers for proofing |
https://amzn.to/478XPjN https://amzn.to/4bpUGz8 (IT) |
| - Immersion Blender |
https://amzn.to/45TWNa6 (US) https://amzn.to/41n7sKl(IT) |
| - Rolling Pin |
https://amzn.to/46UtHZO (US) https://amzn.to/43tCBhE (IT) |
| - Kitchen Brush |
https://amzn.to/40c2hff https://amzn.to/3F89pCX (IT) |
| - Cutting Board |
https://amzn.to/499qeYH https://amzn.to/3XqZZbU (IT) |




2 Comments
Thanks for sharing this recipe. In the state of Rhode Island, USA this type of pizza was introduced by Italian immigrants running bakeries and we know it as “pizza strips” or “red pizza.” You buy the strip of pizza in a bag and then sprinkle on the cheese before eating. I haven’t thought to try and make those myself so I am excited to give this a shot.
Thank you Jacob for sharing this information! I was not aware of this fact. I am sure you are going to love making this recipe 🙂