
Recipe for Neapolitan Pizza Dough
Last updated on March 5th, 2025 at 07:09 pm
This is how to make Neapolitan Pizza dough kneading by hands and with a process that only requires 8 hours. In this specific case we are preparing the authentic and traditional Neapolitan Pizza. The one that you can taste in some of the most famous pizzerias in Naples.
It’s in fact not known to everybody that Neapolitan Pizza style evolved over time. As I write I think we can without mistake talk about two main Neapolitan Pizza styles: traditional and modern. Are you surprised by that? Well, don’t be, it’s the natural evolution of the Italian food culture!
I am not going into the details of what are the differences between those Neapolitan pizza styles now. This will be part of a dedicated article with dedicated recipes. Meanwhile, though, you can get an idea on my previous article about authentic Italian pizza.
So let’s go ahead with my full recipe to prepare the traditional Neapolitan Pizza in 8 hours. You can find summary of topics here:
- Neapolitan pizza recipe dough
- Pizza Dough Kneading and first fermentation
- Shape pizza dough balls and second fermentation
- Prepare oven for Neapolitan Pizza
At the end of this article I will also share what I think is a perfect dessert after this Neapolitan pizza. I am going to recommend one that is very often made in Naples and also known as “Mount Vesuvius”, the volcano in Naples. You will understand the reason of the nam very soon 🙂
But now, are you ready to make perfect Neapolitan pizza dough with low effort and short fermentation time? Let’s go!
Neapolitan Pizza Recipe Dough
This time I am not using the recipe from my Neapolitan Pizza Dough Calculator. The reason is that I want to make this pizza with room temperature fermentation. That means that we are going to follow the traditional method of preparing Neapolitan Pizza dough. In other words we will knead by hands and we will arrange the entire pizza proofing to last maximum 8 hours.
Here is the list of pizza dough ingredients that will be enough for 5 Pizzas:
| Ingredient | Quantity |
|---|---|
| Flour | 775 gr. |
| Water | 500 gr. |
| Fresh Yeast | 1,4 gr. |
| Salt | 17 gr. |
Let me spend a few words on flour. This is very important when we are going to prepare the traditional Neapolitan Style Pizza. following the regulations maintained by the AVPN Association. In fact in such case we are kind of obliged to use a type 00 or type 0 flour. We can only add up to 10% of less refined flour like a type 1 (read more about Italian flours classification here).
We are going to follow the traditional method of preparing Neapolitan Pizza dough
Besides the flour type, you also want to use one that has a W value of 260-280 to sustain 8 hours fermentation at room temperature. In case you are not sure about the W value of your flour, try use in any case a flour with 12.5/13% of proteins. This should give you a good result.
In the pictures that you will find below I am using 90% of Type 0 flour and 10% of Type 1 flour. But feel free to use just one flour type, it will make the recipe even easier.
Pizza Dough Kneading and First Fermentation
If you are preparing this Neapolitan pizza dough recipe during summer make sure to use water from fridge. I know that this is not what you normally do when kneading by hands, but believe me that it will help in the process I am going to share.
To make is easier to read we will split this paragraph in multiple parts, starting with the initial kneading phase.
How to knead Neapolitan pizza dough by hands
To follow the tradition we will start adding water in a bowl and then dissolve all the fresh yeast:
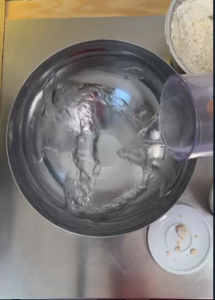
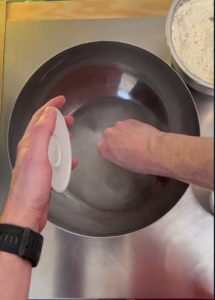
We then star adding flour to the water with the help of a spoon (you don’t really need a spoon but it will help in dosing the amount o flour you add). In order to keep the dough mixing easy, we will use a fork to incorporate flour in water. Don’t worry if in this phase you have lumpy flour. That is fine. Just be careful not adding too much flour at a time:
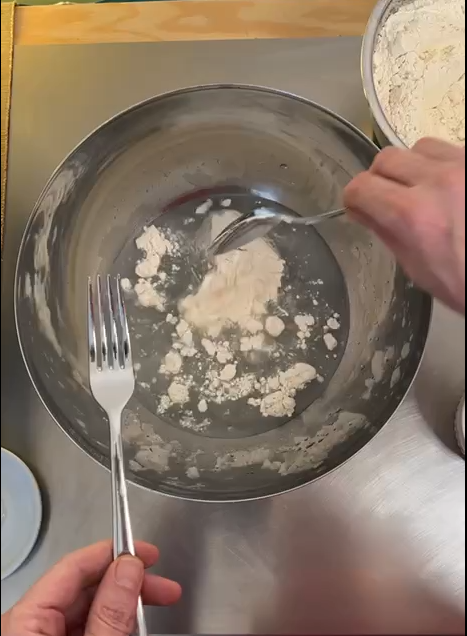
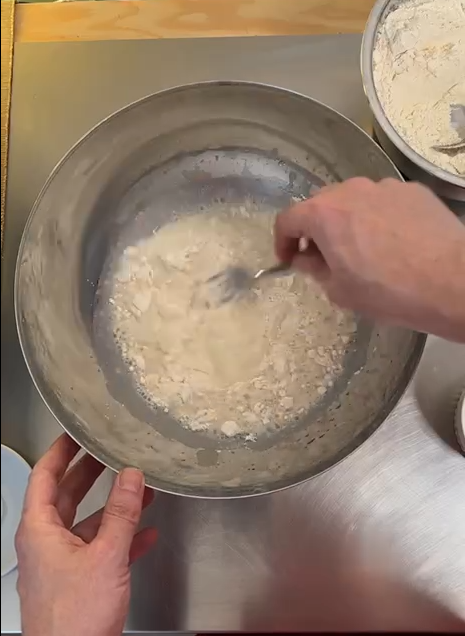
When the dough reaches the consistency of a cream (so it’s still liquid) we add salt:
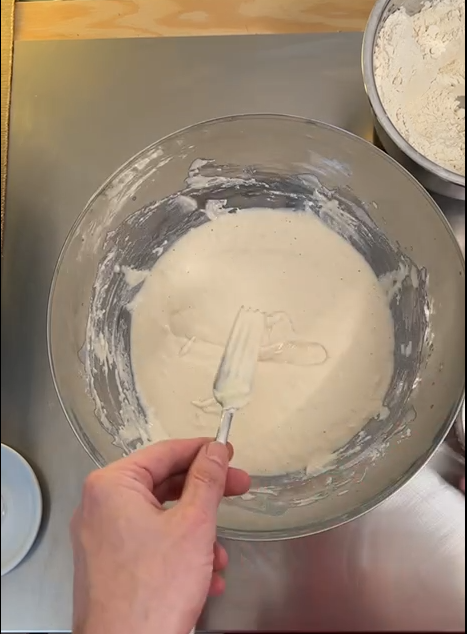
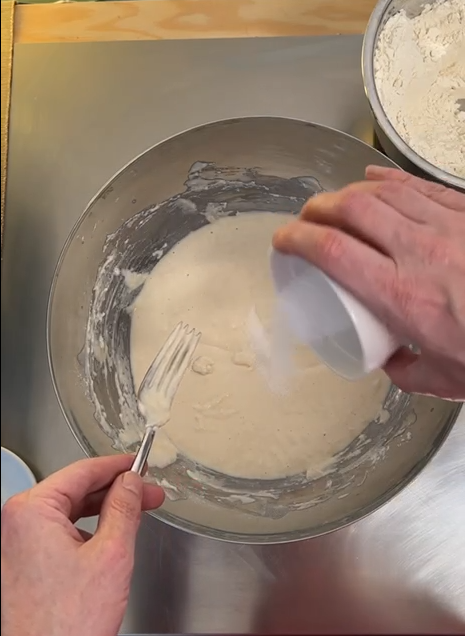
We then continue to knead until we consume almost all flour, but not all of it. We want to keep some flour to help the next phase of kneading.
For the last phase of kneading we want to move on our countertop (or on a kneading pad if you have one). Here we will use the remaining flour to knead and incorporate as much air in the dough as we can:
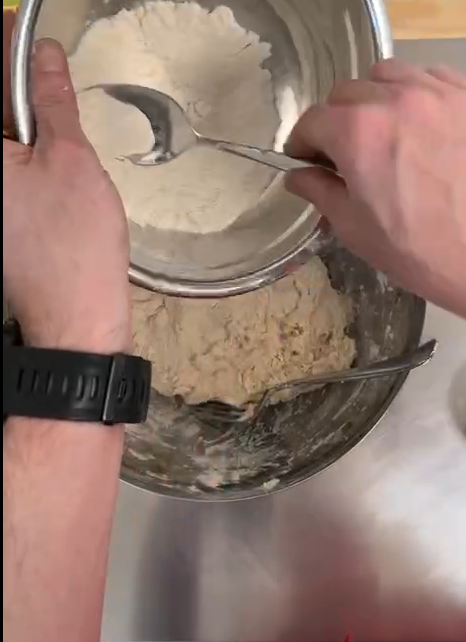
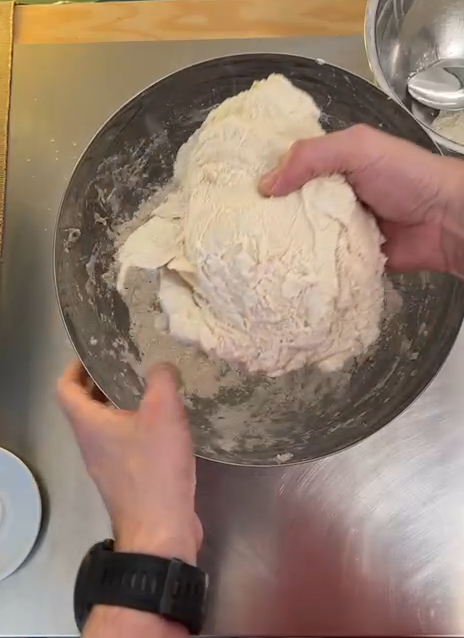
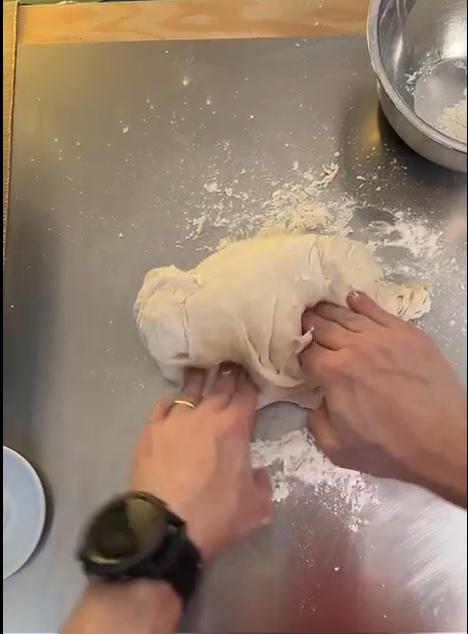
To incorporate air in the pizza dough you simply need to stretch it with the back of your palms and then fold it on itself. I have a few videos on TikTok showing the technique, but if you prefer you can drop me a message and I will provide a direct link to a private Youtube video. Even though in the next kneading phase explained you will have a bunch of pictures to follow.
Are you searching for the perfect bowl for pizza kneading? I have selected some for you:
– Purchase at Amazon.com
– Purchase at Amazon.de
– Purchase at Amazon.it
– Purchase at Aliexpress
Please note those are affiliate links.
You should stop kneading when you feel that the dough becomes too much elastic and does not want to be stretched anymore. When that happens it’s time to have the dough resting.
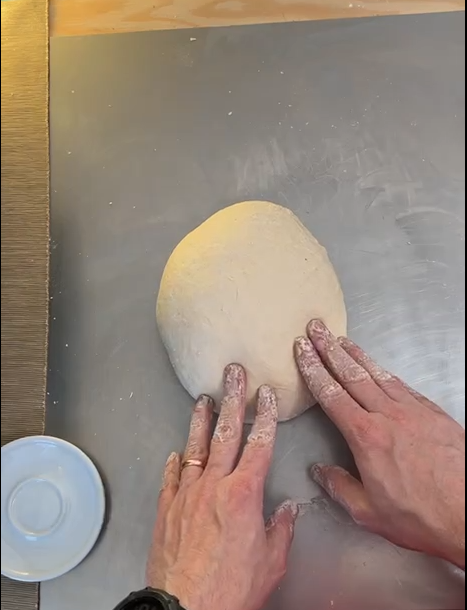
Stop and go kneading before first fermentation
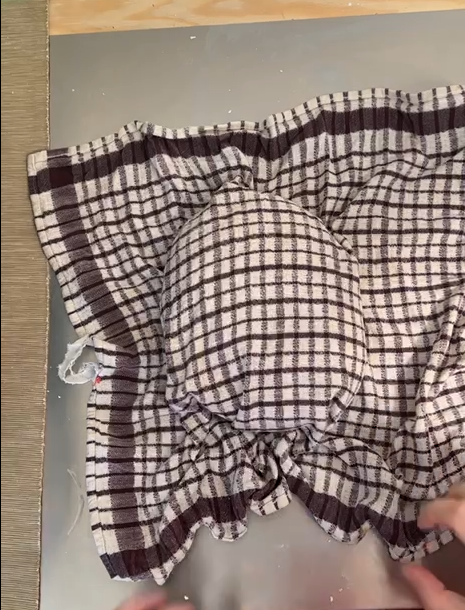
After you finish the previous phase you want to cover the dough with a well wet kitchen towel. Make sure the towel is wet but is not dripping. Then have the dough resting for about 20 minutes:
After 20 minutes, uncover the dough and start again kneading for about 30/40 seconds. To start just turn the dough upside down. Then roll-up the pizza dough from far end toward you until it becomes another roll:
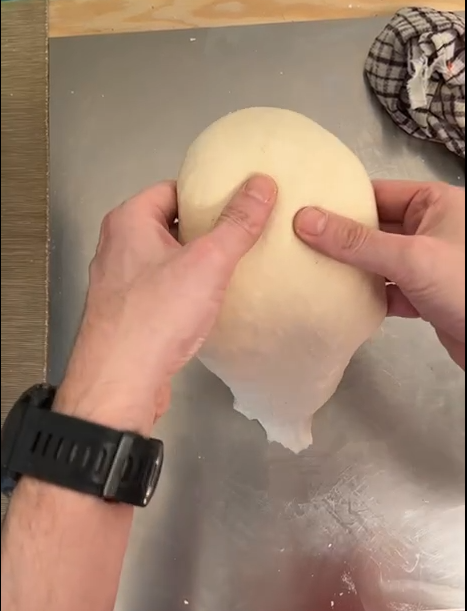
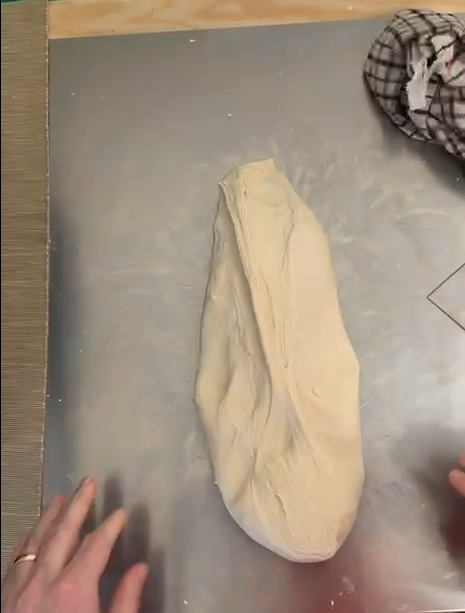
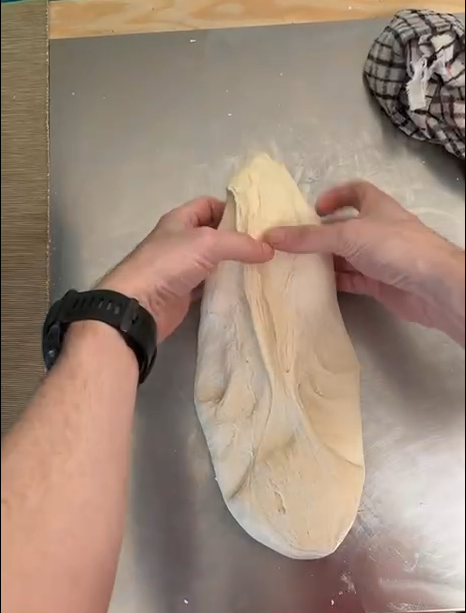
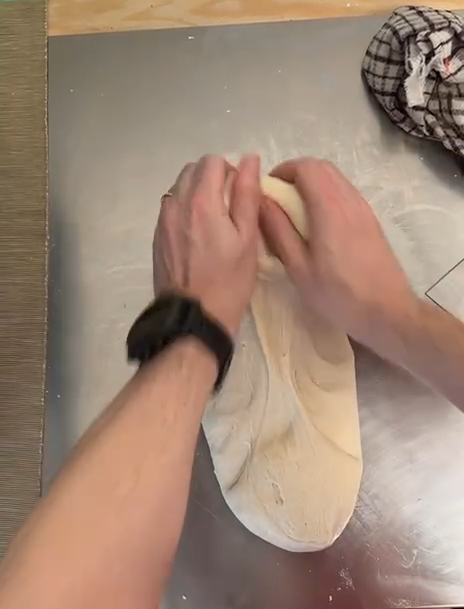
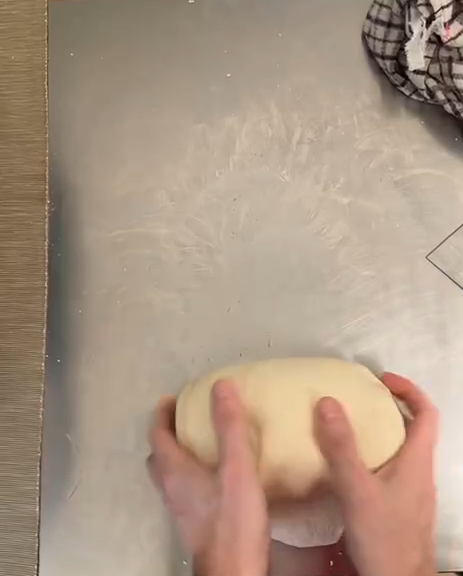
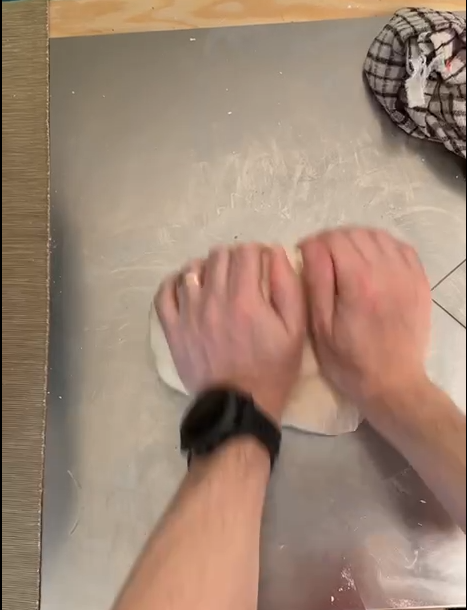
Then repeat for two more times at a distance of 10 minutes and then 5 minutes. In total you will have three stop&go kneading.
Prepare first fermentation
After the last Stop&go, prepare a container with a lid adding a bit of oil in it. Here is where our dough ball will have the first bulk fermentation.
Once ready move the dough into the container and let the fermentation start for about 4 hours.
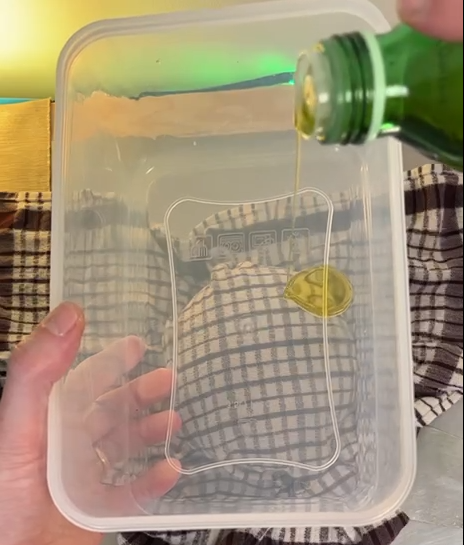
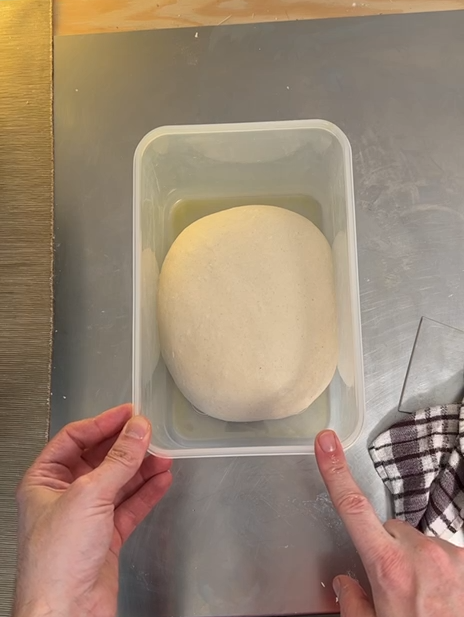
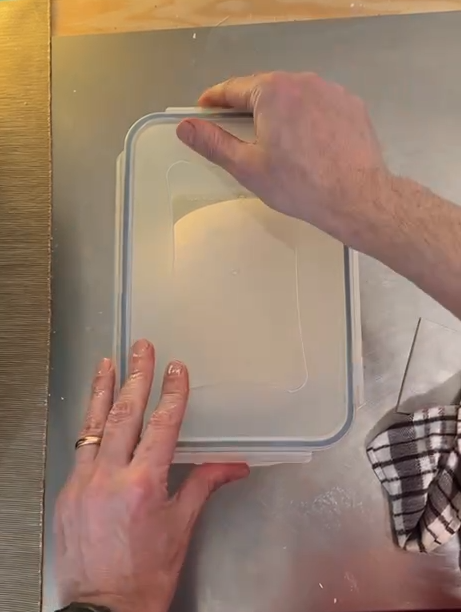
You can buy a similar proofing box here:
– Purchase at Amazon.com
– Purchase at Amazon.de
– Purchase at Amazon.it
– Purchase at Aliexpress
Please note those are affiliate links.
Shape Pizza Dough Balls and Second Fermentation
It is very important to not over proof the dough during the first fermentation. Otherwise you will face issues later on before baking pizza. So try to avoid to go over 4 hours of fermentation. The yeast in this pizza recipe is calibrated for kind of short proofing period at a room temperature of about 20 C.
Take your kitchen scale and a spatula. It will help to divide the dough in smaller pieces. I prepare dough balls of about 250 grams each:
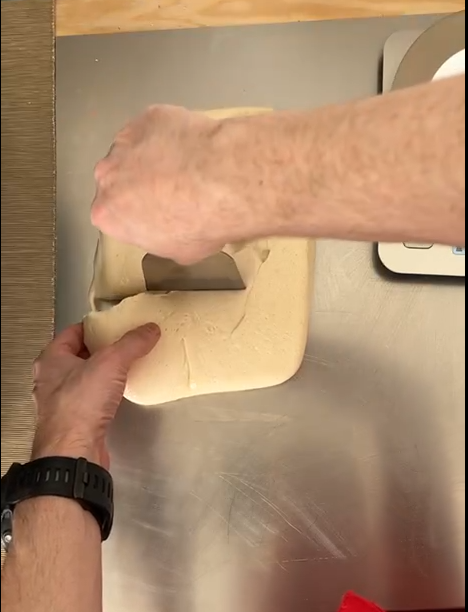
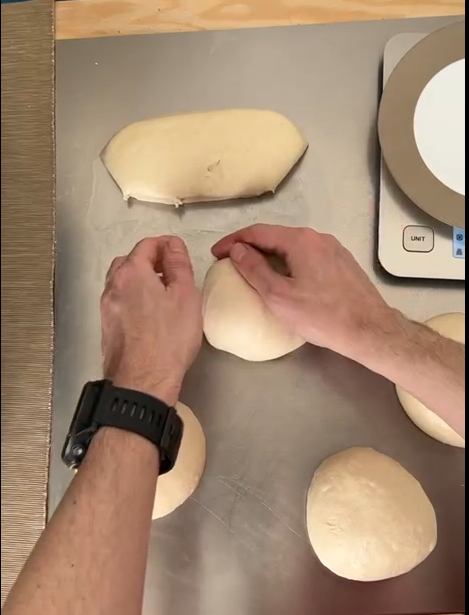
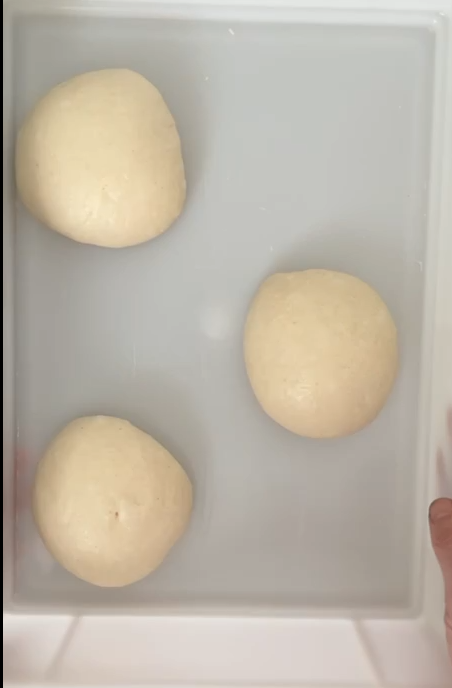
When you prepare Neapolitan pizza dough balls, make sure that they are well close on the below part. If you skip this control you risk to have a wrong proofing. Also do not manipulate too much the dough. Try to have a gentle touch when creating the pizza dough balls.
If you have doubts on techniques to create the dough balls leave me a comment or drop me a message. There are several techniques to prepare the dough balls for Neapolitan pizza. All of them brings the same results if properly done but generally you stick on one that you consider to be easier.
As soon as you finished with dough balls, move them in a container with lid and let them rise for 3 or 4 hours, depending on your room temperature.
Prepare Oven for Neapolitan Pizza Dough
After almost 4 hours your dough balls will be proofed and relaxed at the same time. So it’s time to prepare our oven before stretching and baking.
I use a Ooni Koda 16. But whatever oven that can achieve 450 Celsius degrees will be fine. Don’t expect a great result if you are not able to bake at high temperature. One of the prerequisites to make Neapolitan Pizza is to be able to use a proper oven!
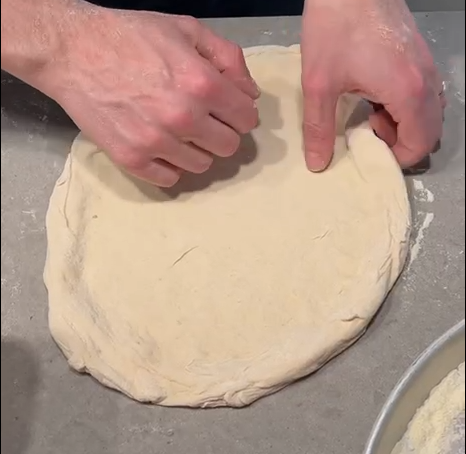
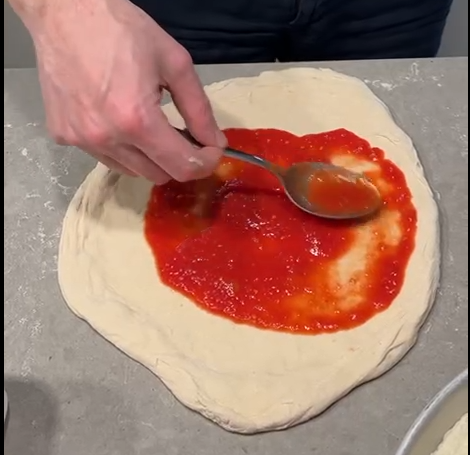
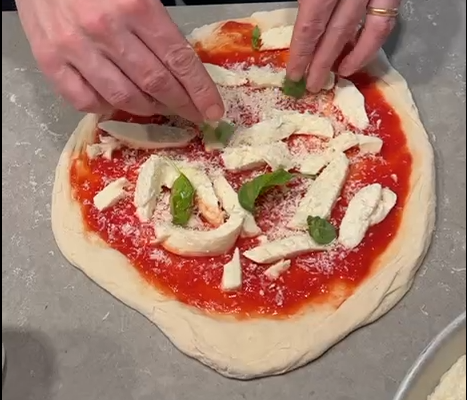
Finally, when temperature of your oven is high enough is time to toss pizza dough balls, add your favorite topping, bake and enjoy!!

What’s next?
What about having a great desert after pizza?
What dessert to have after a pizza?
Every Italian will never say “no” to a dessert after pizza. So, a sa bonus to this article I would like to share an option of an easy to prepare dessert. Not only that. The recipe that I found on the website I am sharing is also made in Naples and called “Vesuvio” (Mount Vesuve for a full translation):
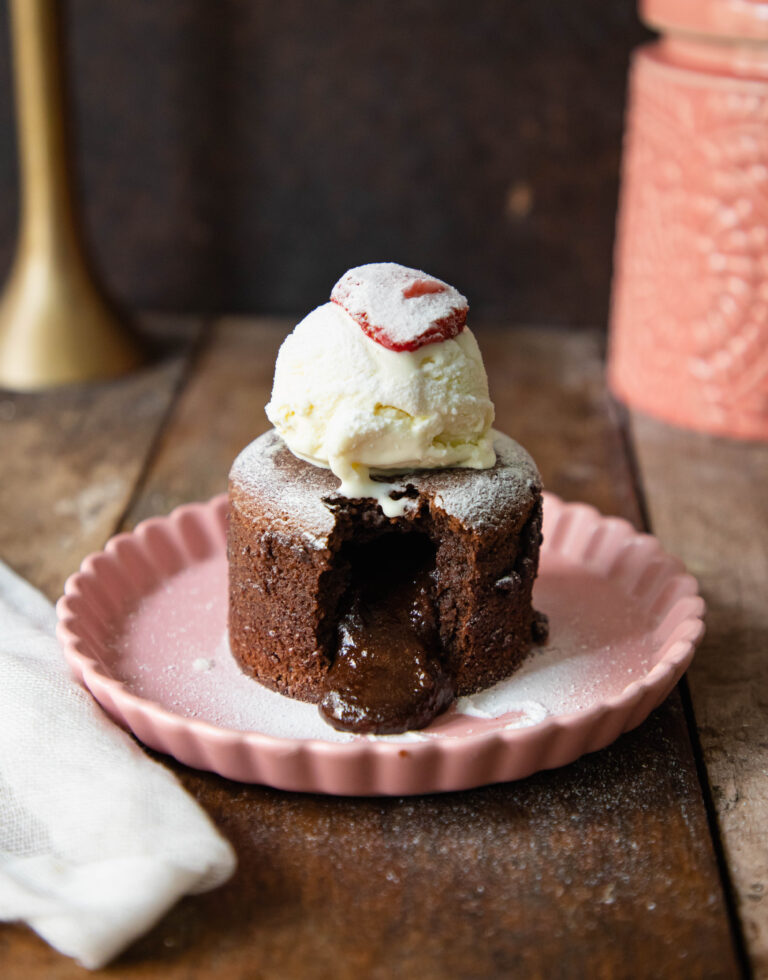
As you can see in picture, this is a “choko lava cake” which indeed reminds of a volcano like the Vesuvio!
If you want to prepare it you can follow this recipe.


10 Comments
can I make this dough the night before, to serve around midday ? would it be the same process ?
I love your tip too videos
Hello!
The process and recipe of this article will not work with an entire night proofing at room temperature. You can adapt it having the first fermentation in fridge but I did not try it yet.
Stefano
Ricetta assolutamente perfetta! This recipe is perfect, and also works in a regular oven, use a pizza stone and heat it up 1-2 hours in advance
Thanks a lot!!
Thanks so much for sharing! We’ve struggled to make good crusts on homemade pizza before, but your recipe makes the perfect homemade neapolitan pizza!
Thanks to you! I am glad this recipe worked fine 🙂
Hi Stefano,
I’ve had the pizza hobby for a few years already, and thought my dough was pretty good. I just tried your recipe, and it is amazingly good! So much better than what I had.
Thanks!
A.
Thank you so much for your feedback! This is really important to me!