
The Milano Style Pizza: Trancio
Last updated on December 30th, 2024 at 07:13 pm
This is one famous and typical pizza born in the city of Milano, Italy. Everything started in the middle of 1900, when the pizzeria Spontini started to prepare what then became the Milano style pizza: trancio milanese or pizza al trancio.
What makes it so different than other italian pizza styles? Well, you are probably used to the round pizza and to Neapolitan style. This one is very far from them. It’s baked in a sheet tray, is super soft with a crispy layer as its lower part of the dough. Moreover is full of mozzarella everywhere on top. What makes this one a great pizza is that you can reproduce it at home very easily and without any special equipment. Especially when it comes to oven.
In this blog post I want to share how to prepare my version of the famous Trancio Milanese.
This is the summary of the topics we are going to cover today:
- history of Trancio Milanese
- recipe for my version of Milano Style Pizza
- how to prepare the recipe of Milano style pizza
- how to stretch and bake Pizza trancio
- my pizza topping
What I love about this pizza is that is perfect to be prepared at home. Therefore I think this can easily become the best homemade Italian pizza dough. Wekcome to my version of Milano Style Pizza: trancio.
History of Trancio Milanese
Before we soil our hands in the flour I wanted to share a few sentence about this historical Italian Pizza. In fact it’s important to mention also in this blog post how much Italy is a varied country for food, in general. And pizza is a confirmation.
You may know just a couple of Italian pizza styles. But we have so many of them! Milano Style Pizza is indeed one of them. Maybe a bit less advertised than most famous pizza like Neapolitan style.
the origin of this Pizza is attributed to a famous Pizzeria in Milan: Spontini
So, the origin of this Pizza is attributed to a famous Pizzeria in Milan: Spontini. They were the first to prepare a pizza following the recipe and process that made them famous and different than other pizza.
To confirm this historical attribution I have to mention that this pizza is often referred as “pizza alla Spontini“. Translated to English means “pizza like Spontini“.
The roots of Spontini family are from Tuscany. So Somebody considers this soft pizza as derived from a well known pizza (or focaccia) coming from Tuscany: Schiacciata.
By the way, what makes a Pizza “alla spontini”? It has to be a very soft, thick, with a crispy base pizza, completely covered by a lot of melted mozzarella!
Recipe for my version of Milano Style Pizza
Of course there is a kind of well-known pizza recipe for Trancio. It only uses type 00 flour (so very well refined), around 66% hydration, 1,5% of yeast and about 2% of salt.
However, I am preparing it differently. For a number of reasons.
First of all, I use a much lower hydration. I also use a lower amount of yeast. The original pizza al trancio is apparently leveraging a short maturation time. It is highly possible that they also use a low protein – or not so strong – flour. I guess that they use a 220/240W white/pastry flour. On the contrary I prefer to use a Type 0 flour that is a bit stronger (260/280W). Very often I also add a 5/10% of Type 1 flour, to give more taste to the pizza dough.
So let me share my pizza al trancio recipe. The amount of dough you will get from the ingredients below will be perfect for a 30×40 sheet tray. But you can use my new version of the Pizza Calculator to fill your pizza pan. Simply select “Pizza Trancio (Milan style)” as pizza style.
| Ingredient | Quantity |
|---|---|
| Flour | 380 gr |
| Water | 215 gr |
| Yeast | 5.5 gr |
| Salt | 9.5 gr |
| Oil* | 18 gr |
| Malt* | 3 gr |
* You can skip this ingredient. Add flour instead of malt and 50% of oil amount as water.
How to prepare the recipe of Milano Style pizza
To prepare the Milano Style Pizza: trancio the process is pretty easy. Moreover we will see together that this pizza dough is very flexible. In fact you can prepare it with longer or shorter maturation time without having a huge difference in the pizza dough manipulation and final result.
Let’s divide the entire process in following steps.
Kneading Italian pizza Milan style
The kneading process can be arranged with a stand mixer or by hands. In this case I am using a stand mixer. It’s a bit faster this way.
Start with preparing all your ingredients. Put flour in your bowl and take your dough hook. Then we start adding immediately malt and yeast:
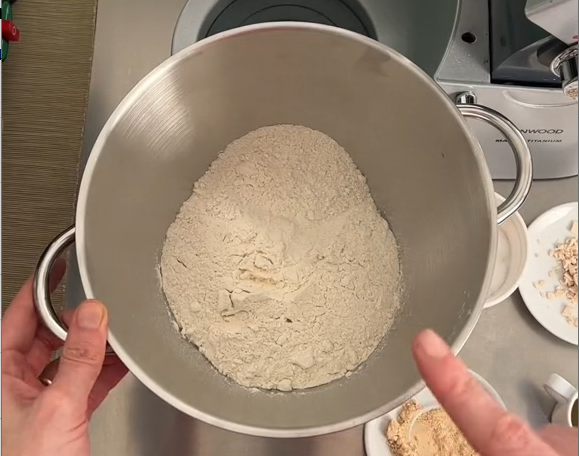
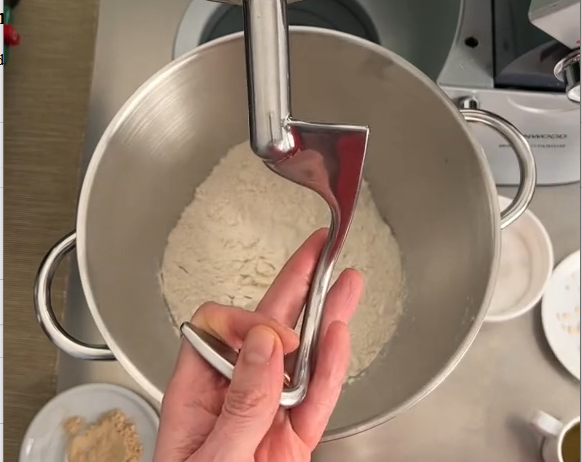
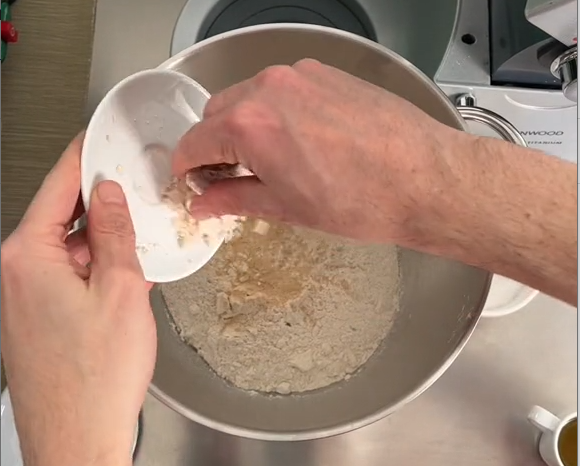
Then we start the stand mixer at low speed. I keep it at “Min” or “1” value, no more than that for the first 30 seconds or so. While the mixer is running, we immediately add almost all water. We only keep out a few drops that will help after a few minutes to let the dough absorbing salt.
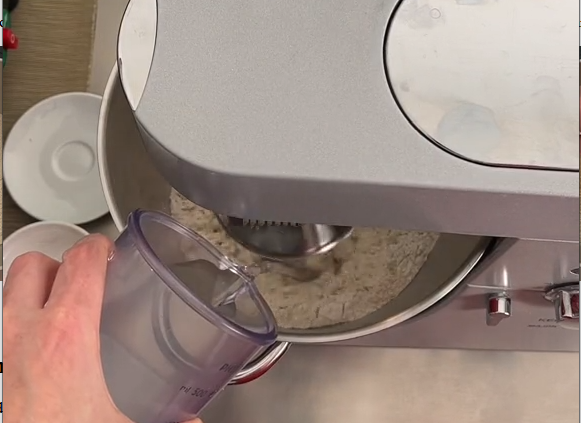
Then, after a couple of minutes we are ready to add salt and the remaining water:
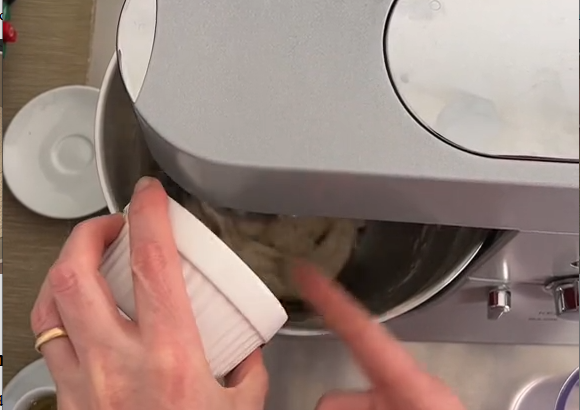
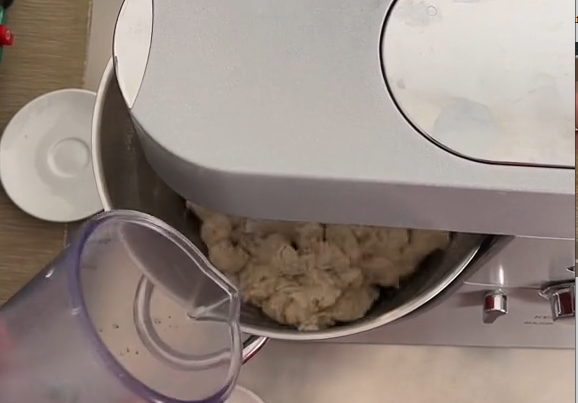
Now we let the mixer work for about 4/5 minutes. After that we are ready to add oil (if we are using it). I am adding it in the dough in 2 different moments. I first add half of it, let it absorb and only after that I add the remaining.
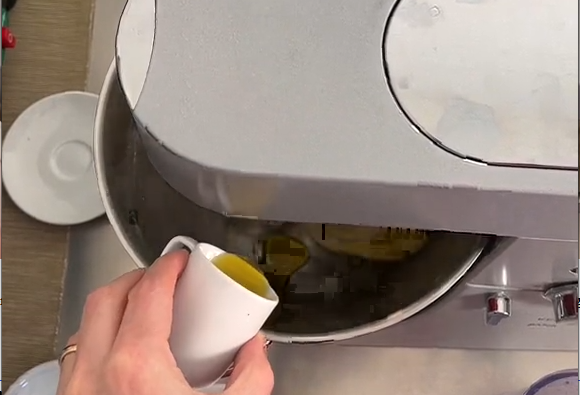
After almost 8/9 minutes the kneading process should be completed. So we take the dough from the dough bowl and we move it on our countertop where we create a single dough ball:
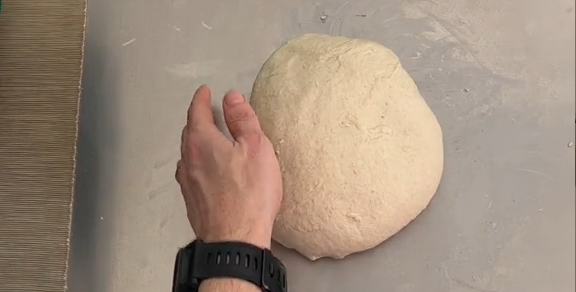
Now, let’s cover the pizza dough and wait for about 20/30 minutes before moving to next step.
Divide the dough in portions and let it ferment
After you let the dough resting you are ready to make portions (or dough balls), if you need so. In case you followed my recipe in this post you don’t really need to do that. In fact the amount of dough you have will be enough to make a single 30×40 cm baking pan.
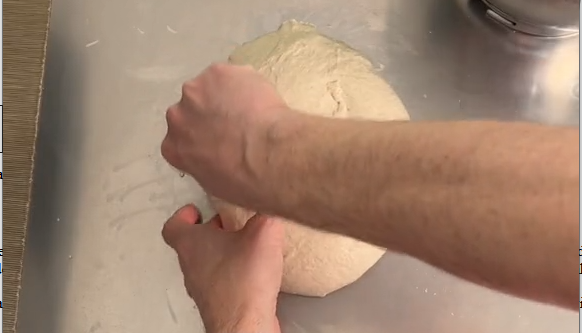
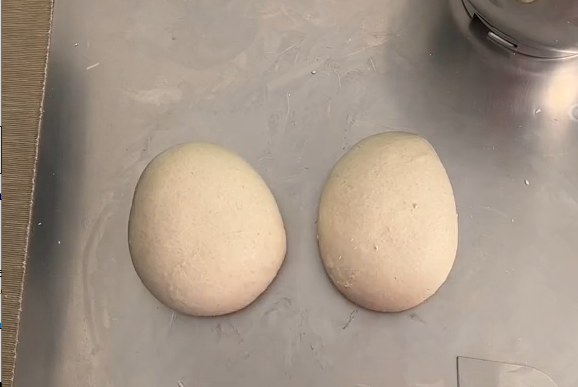
Then you just need to find a recipient that is big enough to contain the dough while it’s fermenting. You want to let it rise until it becomes 2.5/3 times bigger. Put some oil in it so the dough will easily come out when ready and move to fridge:
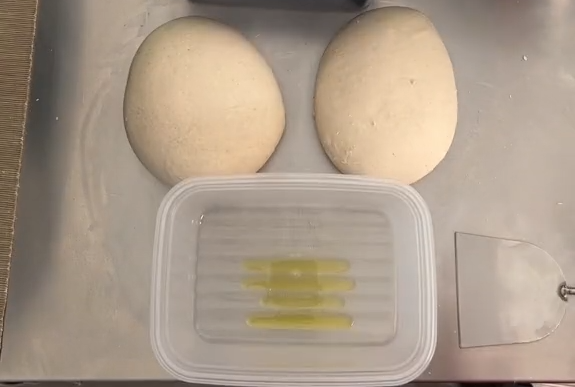
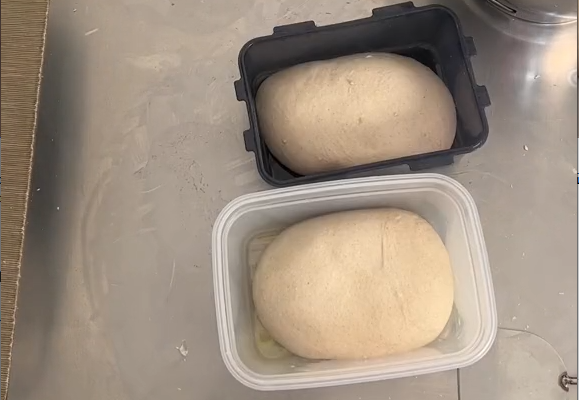
Pizza dough maturation and fermentation
You can now decide how you want to use this “Milano Style Pizza: trancio”. If you want to use it within the same day (and you used the right flour for that) you can let it rest out of the fridge. It will be ready in just few hours (depending on the room temperature you have)
But if you want to use it – for example – the day after (no more than that!), you can move it immediately to the fridge. Here you can expect the dough to rise properly in 15/18 hours. Put in the colder part of the fridge if you want to slow down more effectively.
How to stretch and bake Pizza Trancio
The stretching of this pizza is a bit different than you may usually see around. We are in fact going to stretch it with the help of a rolling pin.
The first step before stretching is to prepare your baking pan. I am using an aluminized iron pan. I think this is the best one for this pizza type. But of course you can use also other materials. Just make sure you have at least 3cm of borders, because you expect this pizza dough to grow quite a lot in height.
The baking tray preparation is straight forward. You only need a bit of oil (I use extra virgin olive oil) and spread it on the entire surface as well as on borders.
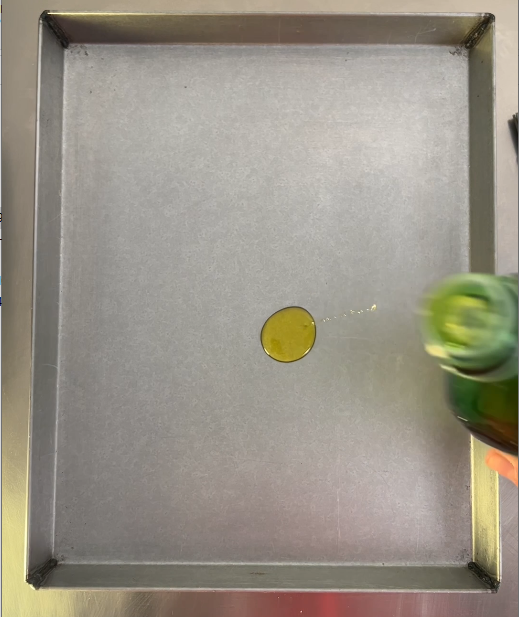
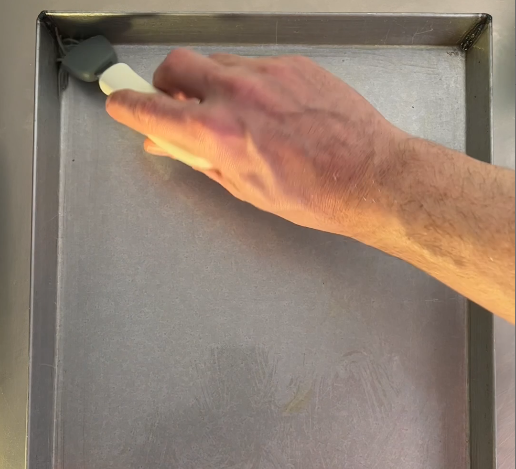
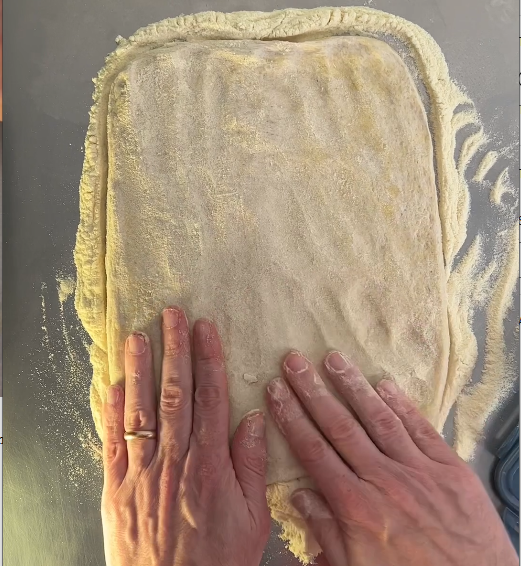
Second step: take the dough from the fridge and while it is still cold put it on a bed of semolina or rice flour. Then you first start adding more semolina flour on the pizza dough and then stretching it a bit by hands. Try to keep a rectangular shape if you are using the same shape baking pan:
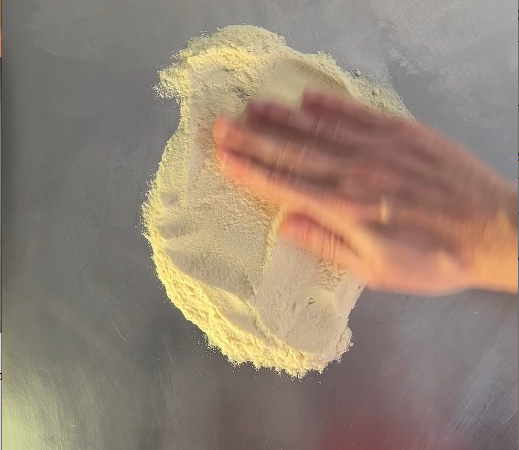
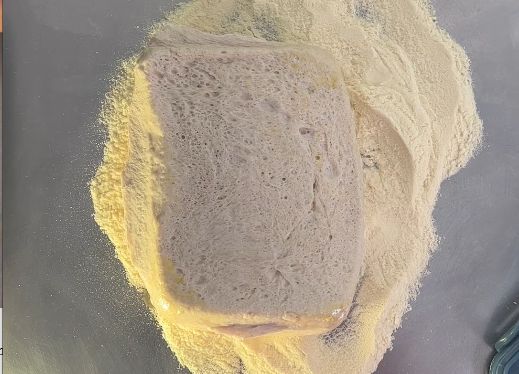
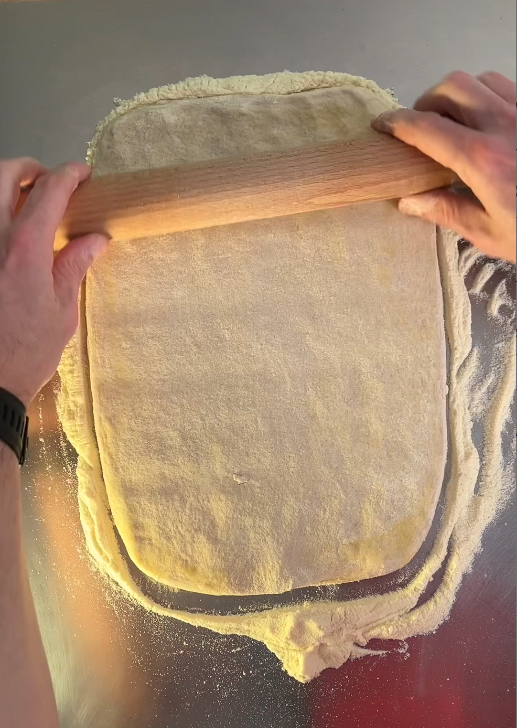
Finally you can start using your rolling pin and stretch pizza until has almost the same size as your pan:
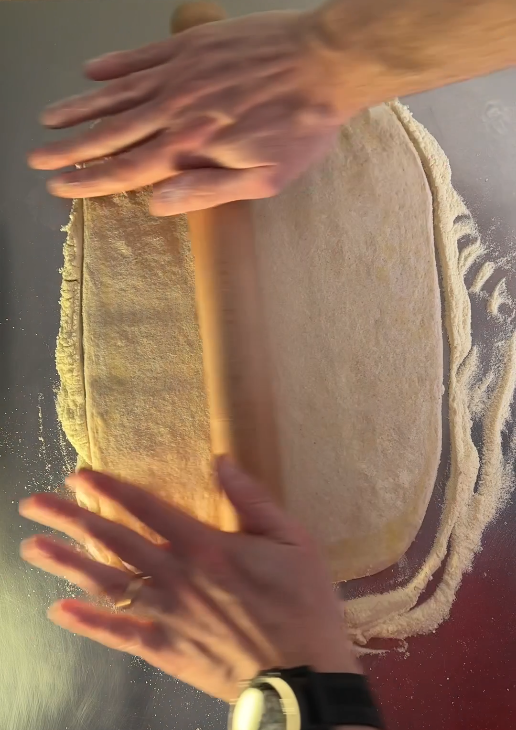
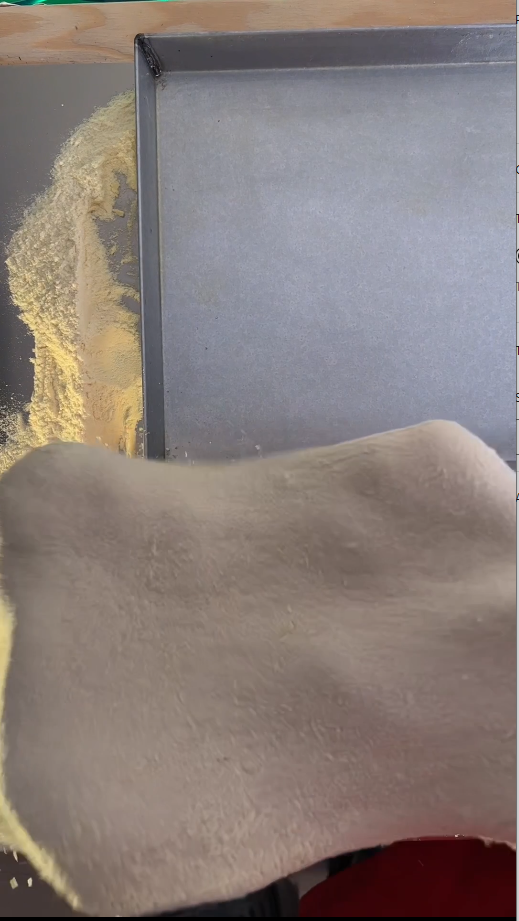
Last step is to move the pizza dough into baking pan. Try to leverage your forearm to or your hands to remove the excess of semolina Flour before you go into the pan. And once done, with the help of your hands and fingers, stretch the dough until it covers the borders of the pan, entirely.
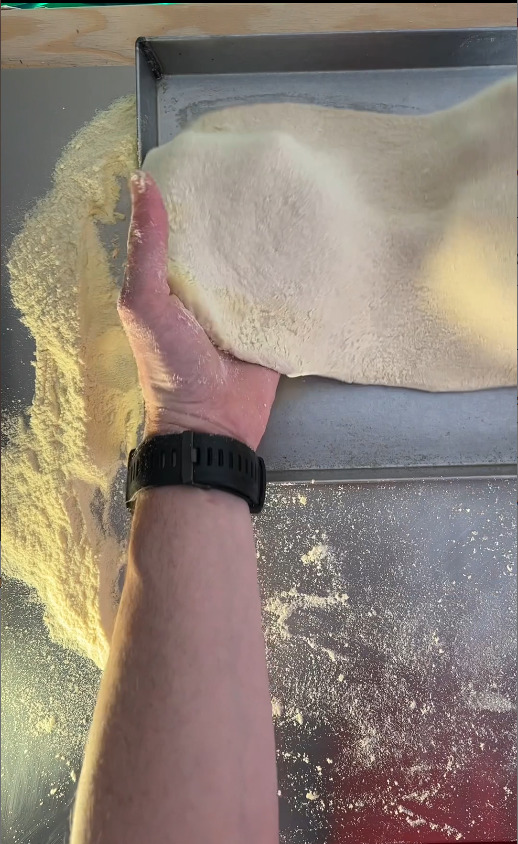
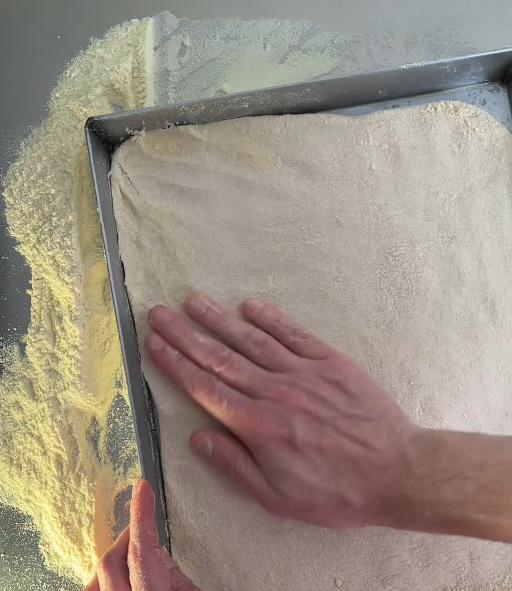
Just a few steps remain before you can bake the pizza. This is the moment when you want to add the tomato sauce. I use the one I shared in this post.
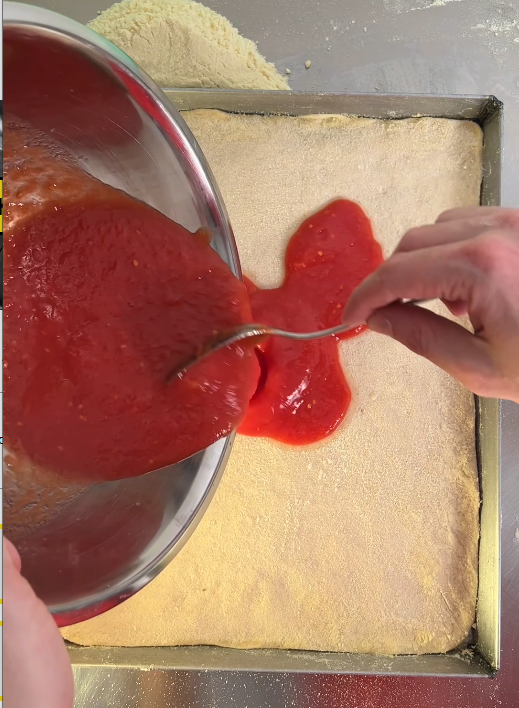
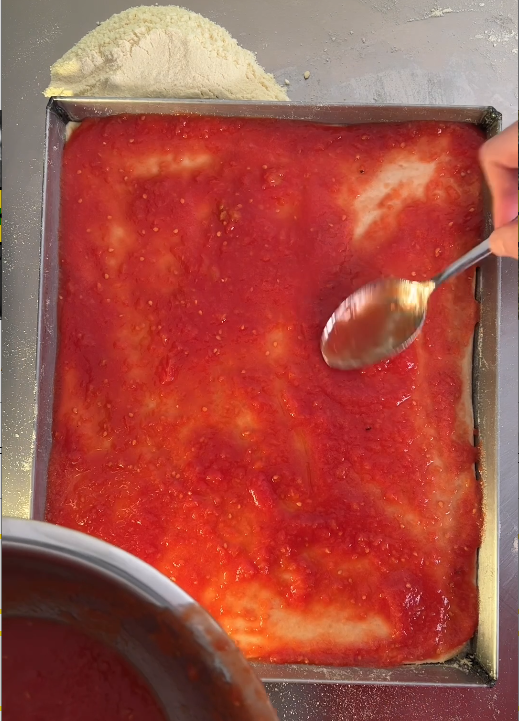
Last steps: you want to have the dough, with its topping, resting for about 1 hour. I do this turning on the light of the oven and keeping the pizza dough there.
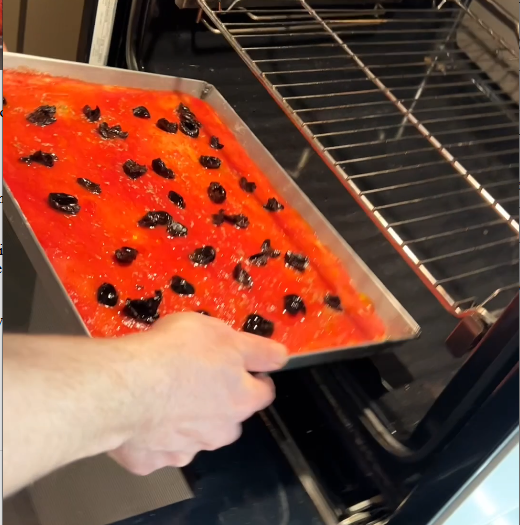
After one hour you are ready to turn on the oven at 230/240 Celsius degrees and start the baking process.
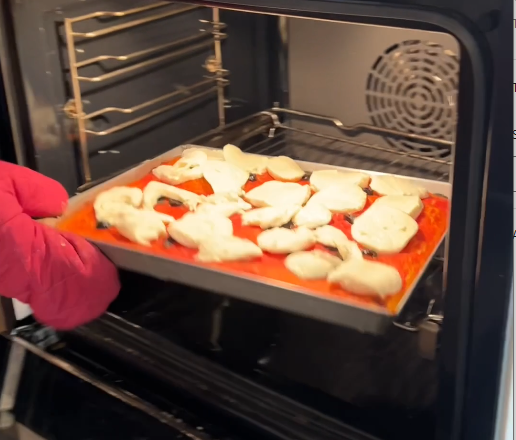
I personally bake in two phases. The first 11 or 12 minutes I only bake with plain sauce and a bit of oregano and black olives.
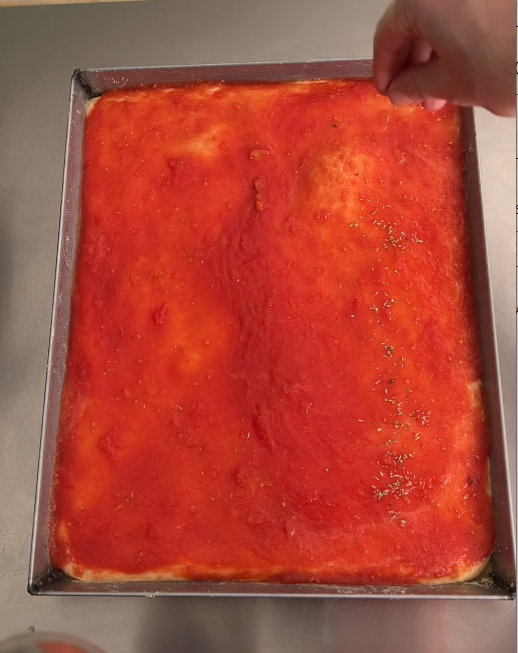
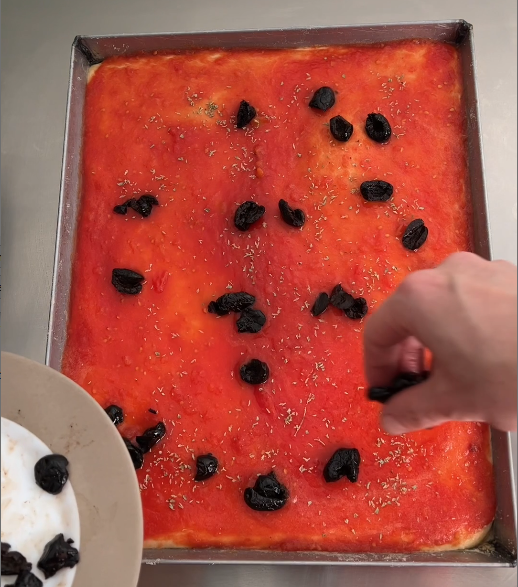
After that time I add other ingredients, like mozzarella. In the next section I will explain you what is my favorite topping for this pizza.
My pizza topping
The traditional Pizza in Milan has tomato sauce, mozzarella, oregano and anchovies as topping. Although I love this way of preparing pizza, I prefer a slight modification.
I use just a bit of oregano. Then I add black olives and mozzarella. But I don’t use anchovies. Reason is pretty simple: I don’t find high quality anchovies easily. And as they should be added at the end of the baking, they need to have an amazing taste. Otherwise the risk is to ruin the pizza.
That is why I prefer to go for a different ingredients like black olives. They are pretty salty and they provide in my opinion a good “break” to other ingredients taste.
The baking steps I follow with the above ingredients are the ones I wrote before. First 11/12 minutes I bake only with tomato sauce, oregano and black olives. Then I add mozzarella and finish baking just to have it melted:
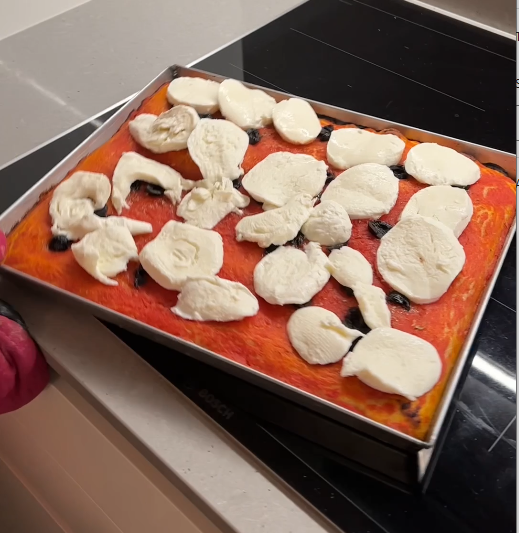
Final result:
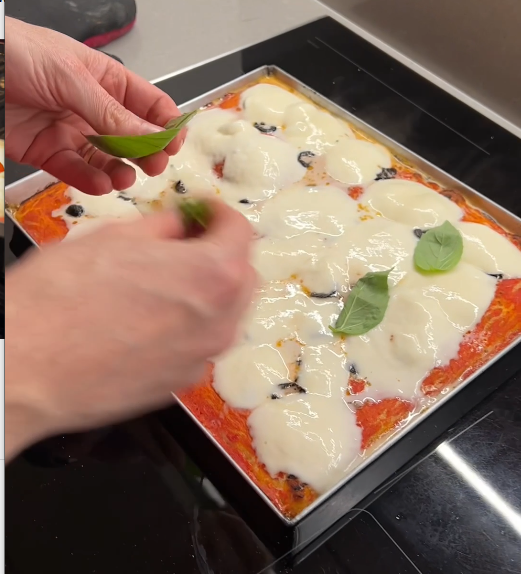

Enjoy this pizza and don’t forget to share this post on social media!


7 Comments
Hello, you use fresh or dry yeast?
This recipe is with fresh yeast.
You can use dry yeast too. Multiply the fresh yeast amount by 0.40.
Hello, what is the water temperature for that recipe ? thanks
Hello! Especially when I use the stand mixer I always use cold water from fridge during summer and water at tap temperature during winter 🙂