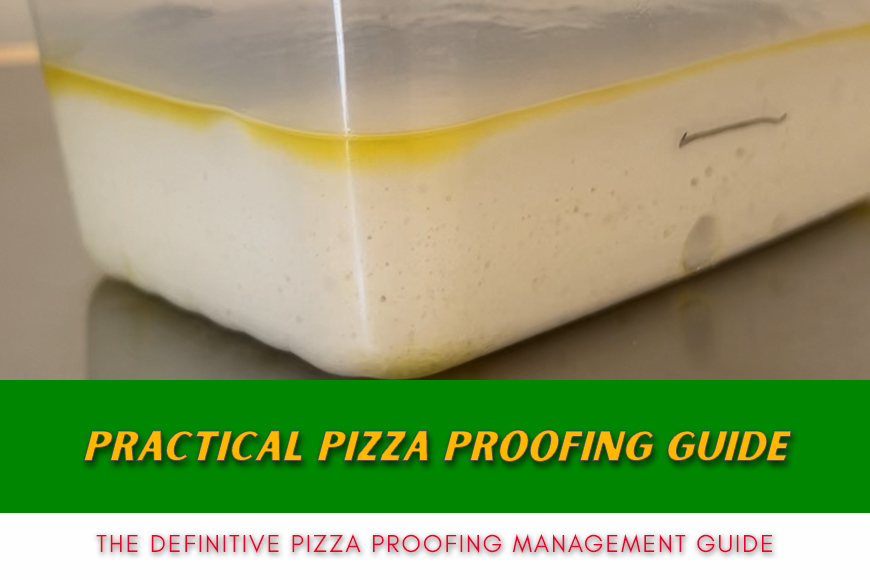
The Definitive Pizza Proofing Management Guide
Last updated on November 12th, 2023 at 07:17 pm
When you find an authentic Italian pizza recipe you always get information about how long you should proof the pizza dough. Unfortunately though the pizza proofing time is misleading if considered without any other variable. In this practical pizza proofing guide I am going to share the best practices when it comes to Italian pizza proofing. And not only, you can apply all concepts explained here for every pizza and focaccia.
If you read this blog you know I already shared some technical details about pizza dough fermentation and pizza dough maturation. So if you are interested in knowing some key purely technical aspects I suggest to read it. But today I am going to give some practical advises. So less theory and more hands-on 🙂
In this article we will review:
- How to proof pizza dough:
- Pizza proofing box
- Pizza dough proofing time: short or long?
- Cold fermentation
- The poke test: is pizza dough ready to be baked?
- 3 tips for a perfect pizza dough proofing
At the end of this article I will share 3 tips for a perfect pizza dough proofing. Don’t miss them, read this article thoroughly.
How to proof pizza dough
Pizza dough proofing is definitely one of the most important part of the pizza making process. In my experience you need to master the pizza dough rising better than anything else if you want a perfect pizza.
Proofing has an impact on your dough final structure
as well as organoleptic qualities
If you think about it: why do we rise the pizza dough in the first place? Try to find an answer. And don’t worry because sometimes even professional pizza makers do not know the exact answer. However in this practical pizza proofing guide we don’t need to dig too much about the theory. It’s enough for you to know that the rising has an impact on your dough final structure as well as organoleptic qualities. In essence, it helps creating the right balance between extensibility and elasticity of the pizza dough as well as taste and smell.
So, how to proceed with pizza dough proofing? According to what type of pizza you are making you want to pay attention to the first bulk fermentation and to the second fermentation of your dough balls or dough portions. Keep in mind that there is not a generic rule for proofing. Every pizza style requires a different approach and every good pizza recipe should describe it. Today we cover the high level practical information you can adapt to your recipe.
Bulk Fermentation
As soon as you finish kneading you have a certain amount of pizza dough. In normal circumstances you are preparing the dough to make multiple pizzas. So you have pizza dough in bulk.
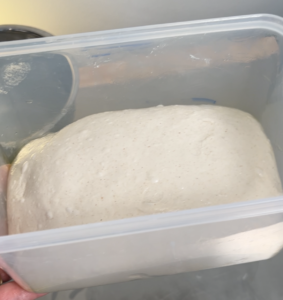
At this point most of the recipes foresee to transfer the dough in bulk in a proofing box or proofing container. This is when we start a first rising of the pizza dough. As you have not yet portioned the dough this is defined a bulk fermentation.
Depending on what pizza style you are preparing you want the rising to be longer or shorter. Pay attention here: don’t follow the instructions of a pizza recipe that is only giving you the rising time. In fact a good recipe should tell you at least at what temperature they expect you to rise a certain amount of time.
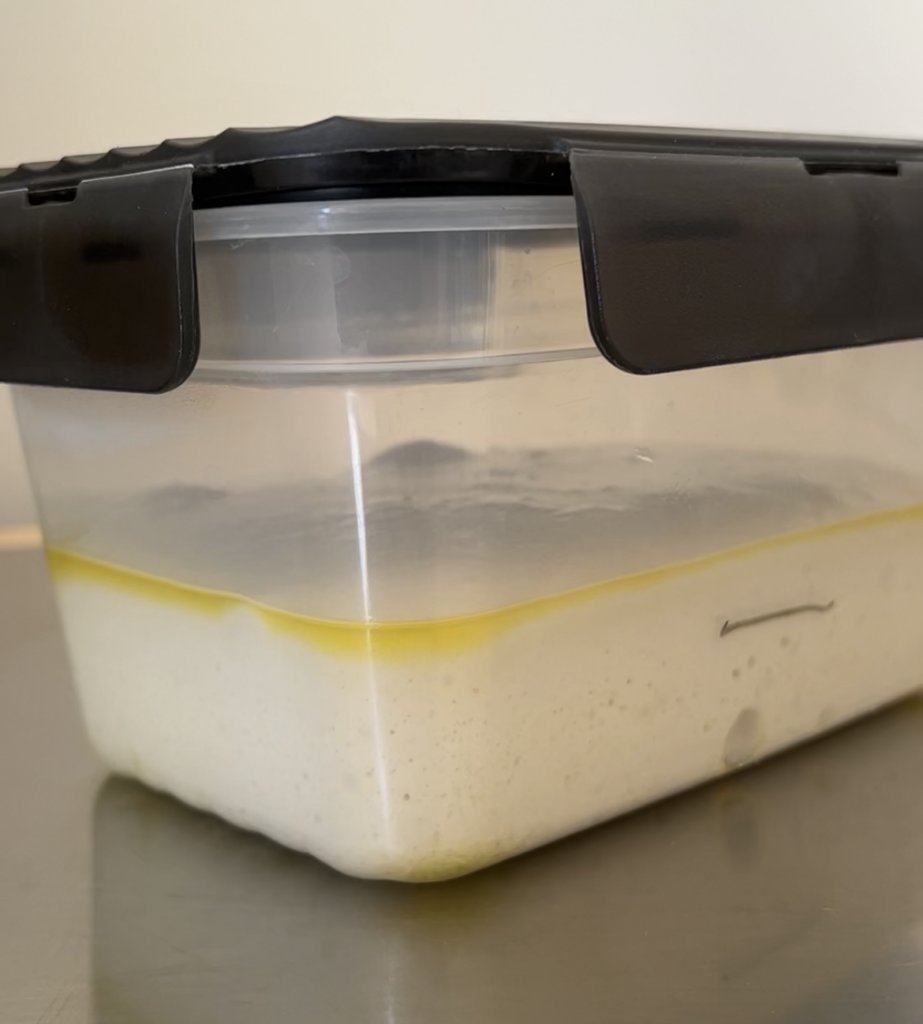
In fact the best approach to bulk fermentation is to stop thinking about it in terms of time only. What you want to achieve is a certain rising volume in a certain proofing container. Depending on the recipe and conditions the volume to achieve will be different. Practically the various volumes help finding the right ratio between elasticity and extensibility as well as a particular organoleptic result. In my pizza recipes I always make sure to explain this concept clearly while practically applying it to the recipe itself.
In any case, to give you an example, the majority of the pizza in pan that I prepare require the dough to double or triple in volume during the bulk fermentation.
Remember also that bulk fermentation is not always mandatory. In some authentic Italian pizza recipes you don’t want a bulk fermentation at all. Or better, you can have the dough only resting a bit before portioning.
Dough Ball Fermentation
In the pizza making process there is then a second rising or second proofing. In some cases – as explained before – this is the only proofing you are going to make.
It starts after the pizza portioning. Also in this case you can have the volume as your reference to understand when you are ready to bake your pizza. And it is very important to make sure that you stretch the pizza dough balls when they are ready.
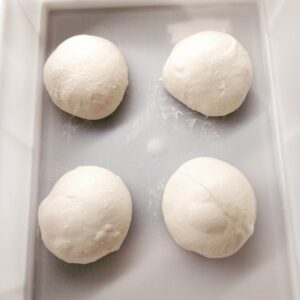
In fact if you stretch your pizza dough when the proofing is not yet completed you will face for sure tenacity or elasticity issues. In other words you have a pizza dough that does not keep the stretched shape and goes back like a gum.
As example we can think at Neapolitan pizza dough balls. Here the second fermentation is critical. If you stretch Neapolitan pizza too early you will not able to extend the dough properly. As a consequence you risk that the pizza dough does not bake properly, it remains partially raw. Therefore the pizza digestibility will be compromised. Moreover pizza will be very chewy when you bite it.
On the other end if the Neapolitan pizza proofing goes over the optimal point you will have a too extensible dough. At the same time the dough will miss the sugar (eaten meanwhile by the yeast) and the Maillard reaction will be very weak. This is when you have pizza with the so called leopard spot crust where spot appears on an almost white crust. In normal circumstances leopard spots are fine, but the crust around has to be yellowish/brownish.
Later in the article I will provide a good test to understand if the dough ball is ready to be stretched.
Pizza Proofing Box
Until know we understand that to control the pizza proofing process it is wise to look at the pizza dough volumes. But as you know the pizza dough is pretty flexible. So, if you simply keep it on your kitchen countertop, it will grow spread everywhere. Essentially it will be very hard to keep track of its volume.
That is where the importance of the proofing box comes into place. You need to consider the shape of the proofing box as well as its volume in the first place. Because it makes a difference if you proof the pizza dough in a rectangular or a square container. Let’s try to find how to buy or use them.
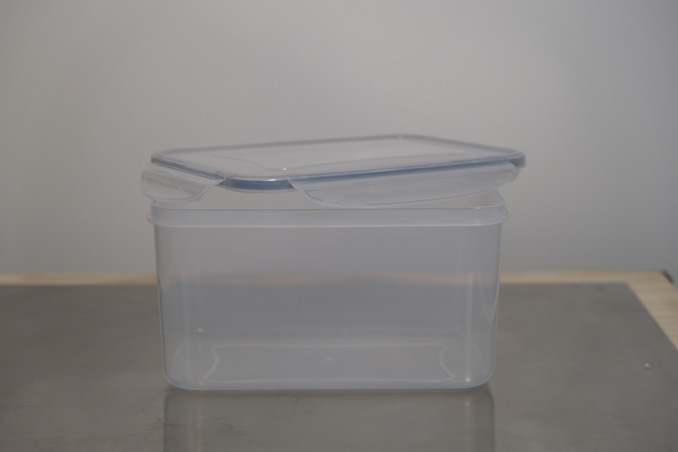
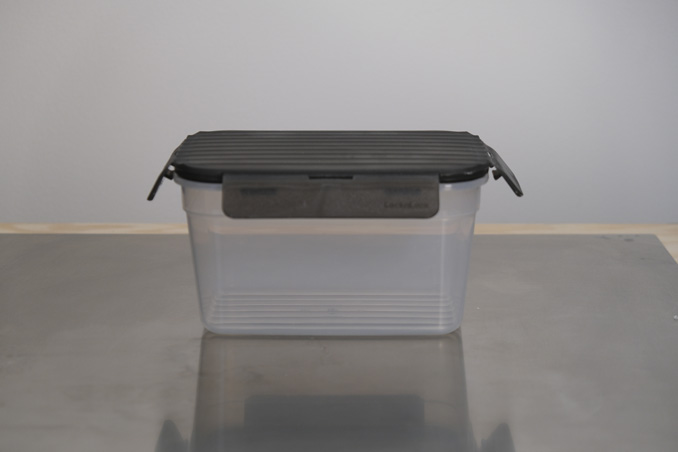
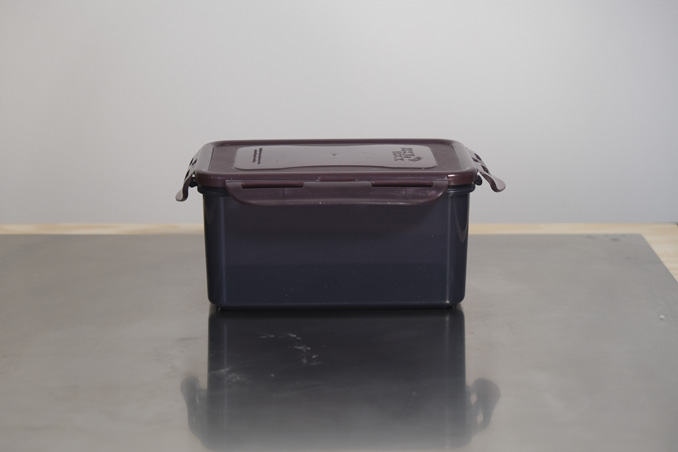
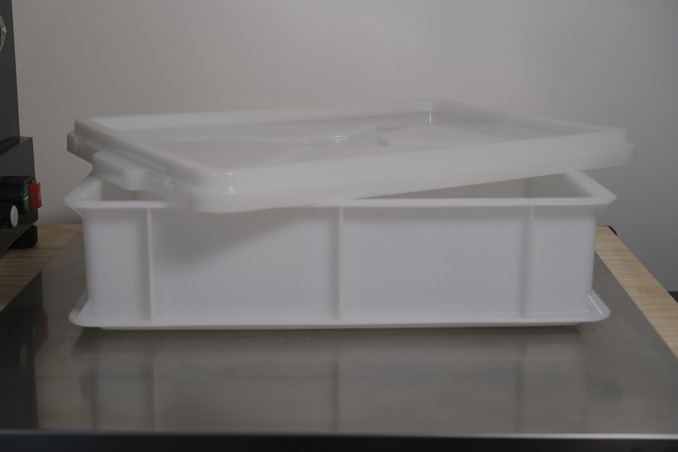
First of all, if you are making pizza at home it is good to invest on several plastic and transparent containers of different sizes. The transparency will ease checking the bulk fermentation volume. On the other hand is best to have several containers. I believe that you make pizza for your family and friends, so you should already have some ideas on the average amount of pizza dough you prepare. Therefore you will not need to buy tens of pizza proofing boxes but only a few.
Secondly, you want to have containers for the bulk fermentation where your pizza dough is touching the borders of them. That’s because borders create some pressure on the pizza dough, helping the creation of the gluten structure. It will be also easier to control the rising size.
For the second rising it is best to have proofing containers of the same shape of your final dough (for example rectangular for pizza in sheet tray). While for Neapolitan style pizza a dedicated proofing box is a must have.
You can deep dive into this topic on my article dedicated on rising containers. There you will also get details about size of the pizza proofing box in relation to how much pizza dough to prepare.
Pizza Dough Proofing Time: short or long?
This is a topic that can easily turn into a hard battle. I often read advertisements or social media gurus stating that long fermentation is the only way to go to have a digestible pizza. Honestly I am not really sure this is true. The only source of information I found to support this theory is justifying in a way that makes sense: the decomposition of complex sugar in less complex sugar – happening during the maturation of the dough – is anticipating what our digestion systems does.. But the truth is that this is just yet another theory.
In reality you can make a great and digestible pizza with both short and long fermentation. Then, why to opt for one or the other? In my opinion it’s a matter of convenience.
Proofing time is not necessarily about pizza dough digestibility
If you want a short time fermentation because you want to prepare last minute pizza for your guests you can definitely have a pizza dough ready in few hours. Or maybe you want to manage your family time and knead when your kids are sleeping? Good, you just need to prepare the pizza dough the day before and leverage a long time fermentation pizza recipe. For example you can knead the evening before and bake the evening after.
So, proofing time is not necessarily about pizza dough digestibility. And you can go for long or short fermentation according to what are your needs.
However, it is true that for each proofing time it’s better to use a different flour. Specifically for long time proofing you may prefer a stronger flour with an amount of proteins high enough to sustain the proofing itself. Actually we should not really talk about proteins only but more about the W value. However I am aware that you don’t always find this value available from flour brands. So at least try to map it with proteins.
To know more about pizza flours you can read my previous article. In the coming weeks I will also share what are flours technical details like W and P/L.
Cold Fermentation
Whenever you decide to opt for a long proofing pizza recipe you are also going to leverage the cold fermentation. Essentially you will put your pizza dough in fridge for a certain amount of time.
Pizza dough cold proofing is very often used in professional environment but also at home. It especially helps to make sure your pizza dough is ready within a certain time of the day range. On the contrary rising pizza dough at room temperature introduces the variable of the changing temperature. Therefore it will be a bit harder to know when your pizza dough is ready to bake or to be portioned.
My favorite way to go is to find a place in the fridge
where you have 5-6 Celsius degrees
What is the best approach to cold fermented pizza dough? Well, let’s consider two practical and critical topics: your fridge temperature and in what phase of the pizza making process it is best to use this technique.
First of all, remember that yeast is working within a certain temperature range. As we are here talking about leveraging the fridge we need to keep in mind that when we go lower than 18 Celsius degrees the activities of the yeast will slow down. When we are between 3 and 4 Celsius yeast will completely stop to work. Is it what we are searching? It depends. Personally I don’t think so. With cold fermentation or cold proofing we still want the pizza dough to.. proof! So I am not in favor of keeping the pizza dough in fridge at a very low temperature. My favorite way to go is to find a place in the fridge where you have 5-6 Celsius degrees.
One last point. You can leverage cold temperature both during bulk fermentation and after portioning. Remember though that cold temperatures are going to influence your final pizza dough structure and extensibility/tenacity ratio. Also remember that it is almost often not recommended to use the fridge immediately after you finished baking. Give to the pizza dough a bit of time to start the fermentation process before going into the fridge.
Of course there is not a catch-all rule on how to use cold fermentation. This is why detailed pizza recipes are making the difference!
The poke test: is pizza dough ready to bake?
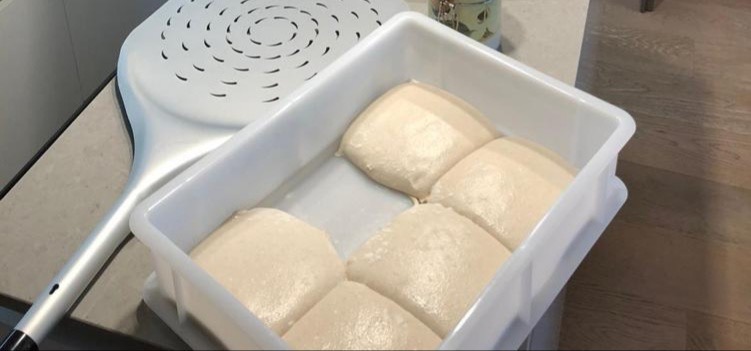
When you make pizza as beginner one of the questions you will ask yourself is: when do I know I can bake my pizza? There is a very simple and effective method that can help you finding the answer. This is the poke test.
The pizza dough poke test is a good way to start learning the last proofing time. It will come in conjunction to what you see with your eyes. The more you associated the poke test to what you see, the more you become good in using only your eyes the next time.
But what is the poke test?
Easy: with the tip of your finger (I prefer index) try to poke the dough. If the dough comes back to its original state it means is not yet ready (too elastic). If the “hole” you made remains there then the dough is ready to be stretched and baked.
My recommendation is to try the poke test several times on the same pizza dough to capture the evolution of the dough proofing over time.
3 tips for a perfect pizza dough proofing
Let’s conclude this article with my top 3 tips for a perfect pizza dough proofing.
Tip 1: use oil in proofing container during bulk fermentation
Before starting pizza dough bulk fermentation make sure you add a few drops of oil in the proofing container. Then with your hand or with a kitchen brush spread oil on the base of the container and on its borders. If you are afraid that the dough will rise up to the lid, you can also add some oil there.
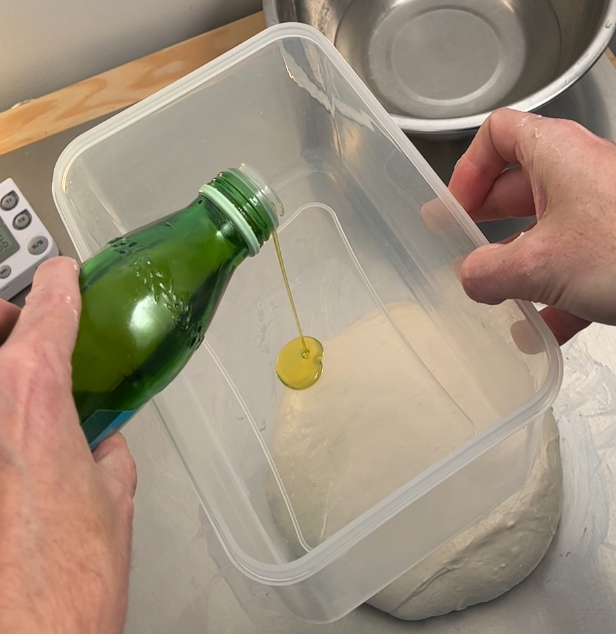
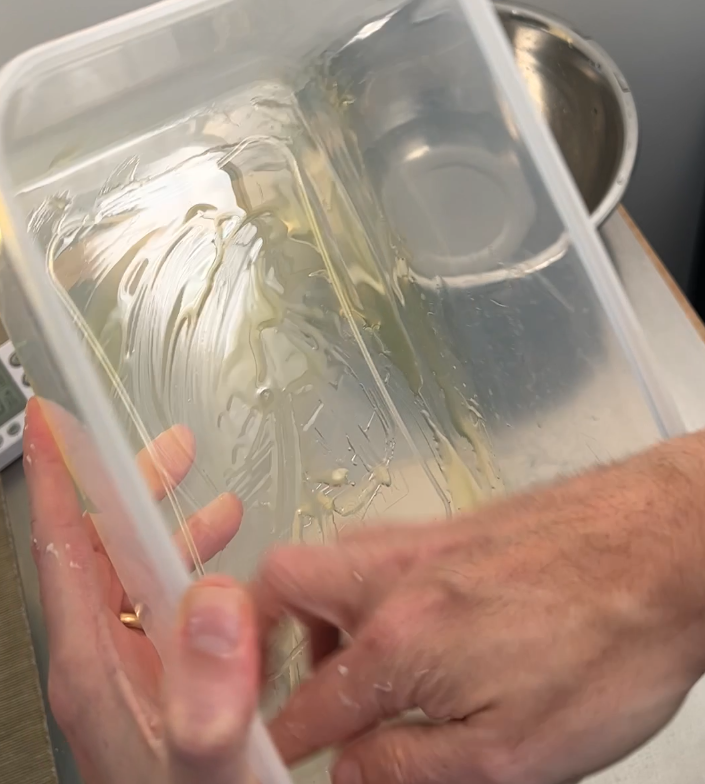
Be sure you don’t exaggerate. You only need a few drops of oil. Also use a good quality extra virgin olive oil. At the end of the day you are going to find it in your dough (even if in a very small amount).
The reason to add oil in proofing boxes is to ease the removal of the dough once the rising is terminated.
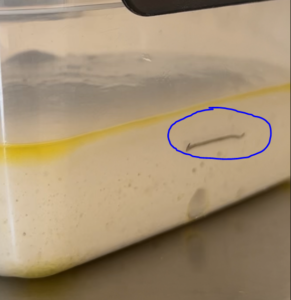
Tip 2: mark with a pen what is the initial volume of the pizza dough
This is important in order to be sure that you are rising the pizza dough according to its volume. As soon as you move the dough to rising container, with a marker add a line that shows where the dough is.
If you want you can also add a line showing what is your target!

Tip 3: before cold fermentation…
Even if you are going to leverage cold fermentation remember not to go to fridge immediately after kneading. In normal circumstances you want to wait for the proofing process to start first.
In other words, depending on the (room and dough) temperature and amount of dough you are working on, wait from 15 to 120 minutes for the dough to stabilize at room temperature before going to the fridge. Thanks to this break you are easing the yeast activities and maturation process to start.
If you move to the fridge too fast the risk is to block completely some of the chemical processes. Specifically the ones related to yeast actions.


5 Comments
Thanks for your articles! They are helpful. I think that you meant to say immediately after mixing, not after baking, in tip 3. I’ll be reading the rest of your articles to help on my dough journey.
Thanks for your comment Lynn!
Yes, you are right. It was supopsed to be after kneading indeed. I am fixing it 🙂
Great article but I’d love to see you do a blog on making sourdough pizza. Is the process the same as using yeast?
Thank you!
Unfortunately the process with sourdough is very different.
I am not making pizza with sourdough anymore so I am not going to share new articles about that 🙂