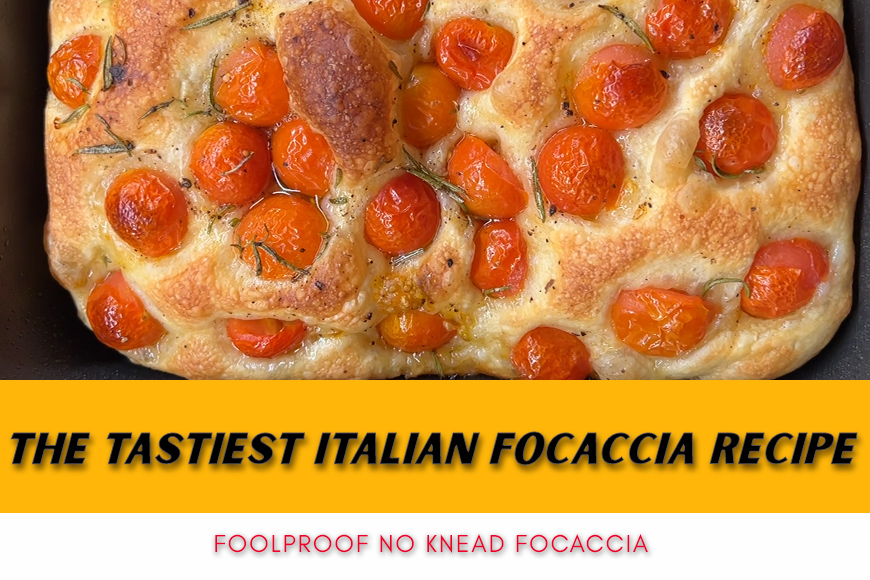
The Tastiest Italian Focaccia Recipe
Last updated on November 12th, 2023 at 06:52 pm
Are you ready to prepare the tastiest Italian focaccia recipe you will ever find? Let me explain all steps and secrets to prepare my version of focaccia barese. It’s a traditional Italian focaccia from a city in the south of Italy (Bari). It’s a special one for the taste but also because is probably the easiest Italian focaccia recipe you will find around.
Our goal today is in fact to obtain an amazing result without all the hard work. We are going to do a no-knead focaccia recipe following a few easy steps to then enjoy a delicious typical Italian street food in just a few hours!
Here is the list of topics we will discuss to make a perfect focaccia:
- What is Focaccia Barese
- Ingredients for Italian Focaccia Barese
- The No-knead Focaccia Dough Preparation
- Proofing Focaccia
- How To Properly Bake A No-knead Focaccia
- Italian Focaccia Classic Topping
Before going ahead let me share that I normally prepare this focaccia the afternoon for the evening. The entire process requires about 6 hours from start to end. This makes the recipe a valid alternative to any focaccia bread.
What is Focaccia Barese
Before digging into the recipe I would like to briefly explain what is a focaccia barese.
This is a very traditional Italian focaccia that was born and developed in one specific Italian city: Bari. If you will ever travel to Italy and visit Bari (which is by the way an amazing city with amazing people and amazing food) you will find tens of places where you can taste it. In every focacceria or bakery you will find a slightly different approach to how is prepared. But there is no doubt you will enjoy all of them!
If you wonder how do Italians eat focaccia bread then you should know typically local people are buying a slice of focaccia with a beer. And they enjoy it as a street food. The following image is giving you the idea:

A nice slice of focaccia, beer, sun and sea… that’s South Italy!
The variants of this focaccia are a lot. You can use potatoes in the dough, have an higher amount of semolina flour, have or not olives as topping, making it thicker… I mean, you can really play with it. But for sure you can’t miss an important percentage of semolina flour in the dough, cherry tomatoes and… a beer to accompany!
Today I am giving you my version, which has the advantage of being very simple to prepare. It just takes a low effort to prepare the dough and a few hours. Just bear in mind that although we call it focaccia, generally this is different than a typical white focaccia bread. I personally often have it as my main meal.
Enough with words, let’s jump to the juicy part!
Ingredients for Italian Focaccia Barese
As just anticipated what makes this focaccia so special and different than the majority you already find online is the usage of a mix of two different flours: semolina flour and classic all-purpose flour (or type 0 in Italian flour world). I like to mix them at 50%.
The other main difference than a standard focaccia is the topping. Again, this is not yet another focaccia bread and in fact it is not going to be without some cherry tomatoes. More on that later.
Following ingredients will be enough for a 26/28cm diameter pan or a rectangular 18x22cm.
| Ingredient | Quantity |
|---|---|
| Flour (Semolina) | 140 gr |
| Flour (All-purpose/type 0) | 140 gr |
| Yeast | 7 gr |
| Salt | 7 gr |
| Water | 210 gr |
| Malt* | 1,5 gr |
*if you don’t have malt just skip it.
For the perfect focaccia topping I am using:
| Ingredient | Quantity |
|---|---|
| Cherry tomatoes | 200/250gr |
| Tomato Sauce | 2/3 spoons |
| Salt | 4/5gr |
| Extra Virgin Olive Oil | Up to you |
Now let’s take a bowl, prepare all ingredients and we are ready to work on the focaccia dough.
The No-knead Focaccia Dough Preparation
This version of focaccia follows the no-knead method. It means that you will not need to use any stand mixer and you can do everything by hand. Moreover it means that you do not need to worry about how much to knead the focaccia dough because mixing ingredients is all you need. The time and a bit of chemistry will work on your behalf.
To make it simpler and even more comprehensible I am going to provide you the list of actions we are going to take to prepare the focaccia dough. They are basically two. The first is the mixing of ingredients and the second is to have a break and then a partial folding. The second action needs to be repeated multiple times. Here is the summary of actions including the time it will take:
- Mix ingredients (about 10 minutes)
- Having a break of 30 minutes
- Make partial folding
- Having a break of 30 minutes
- Make partial folding
- Having break of 30 minutes
- Make partial folding
- Having break of 30 minutes
All actions above will be completed before the focaccia proofing. Now let me share the process with pictures, starting from the initial ingredients mixing.
First action: How to mix ingredients for no-knead focaccia
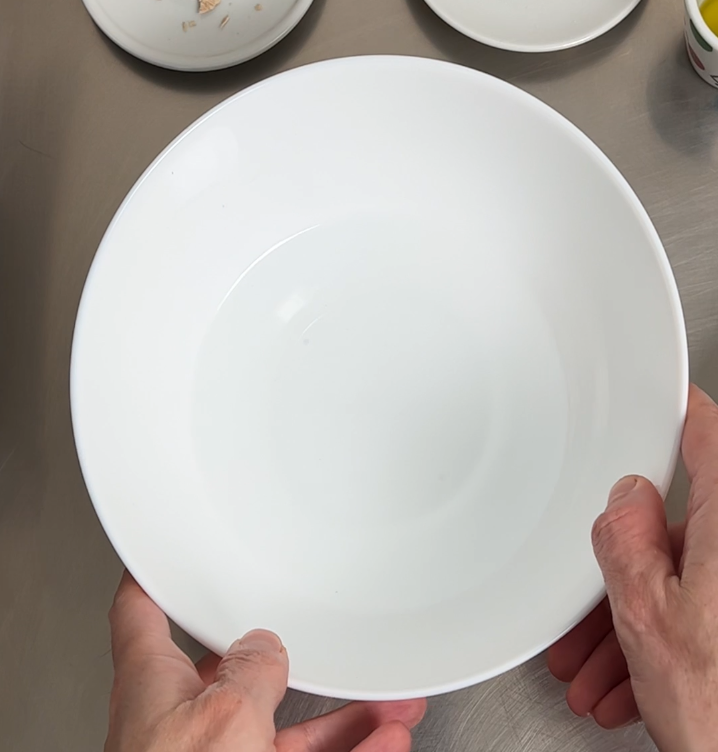
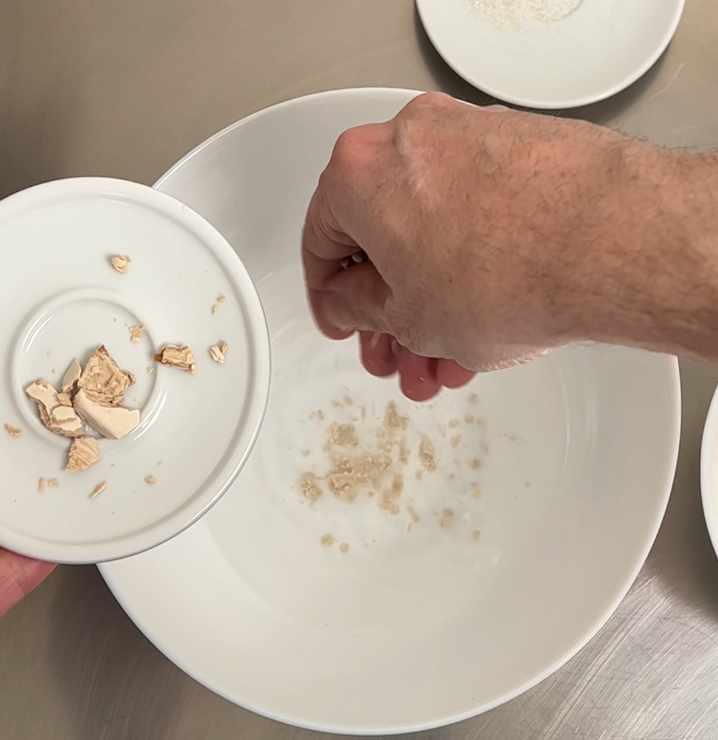
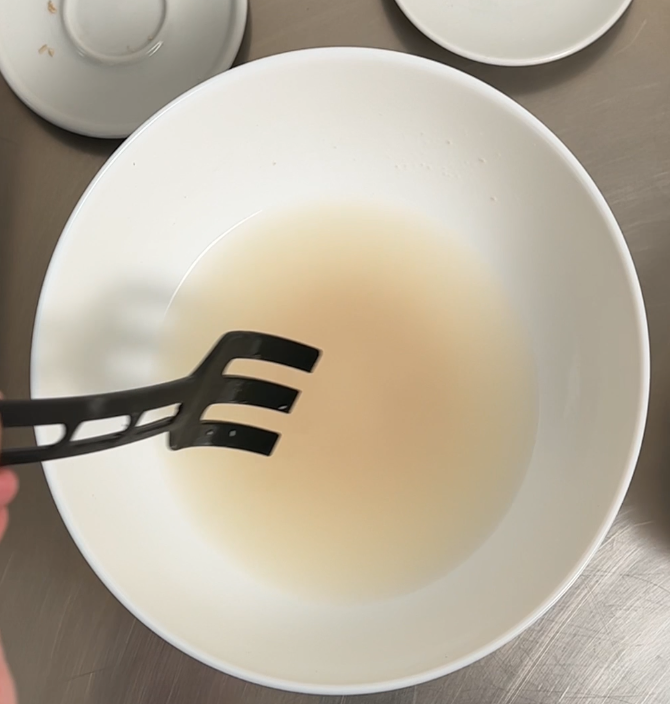
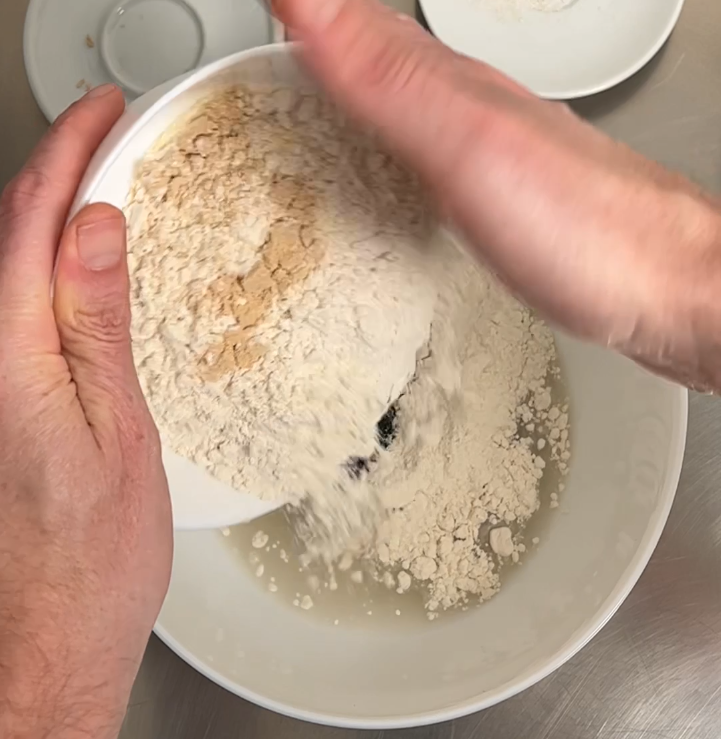
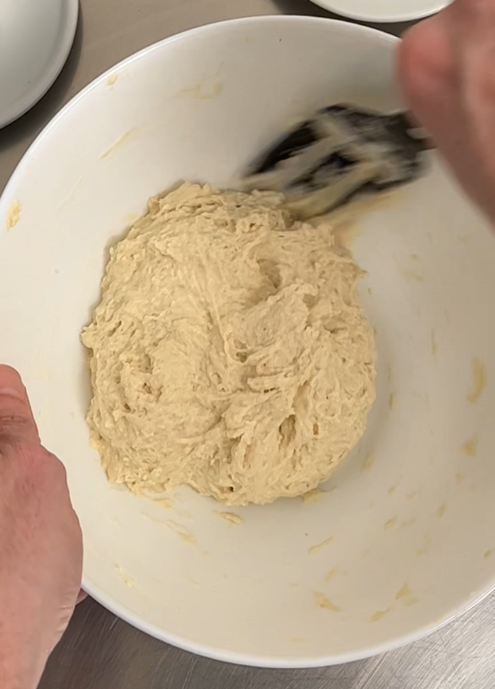
Start adding only part of the flour in water. Start with a 15% of the flour of the recipe.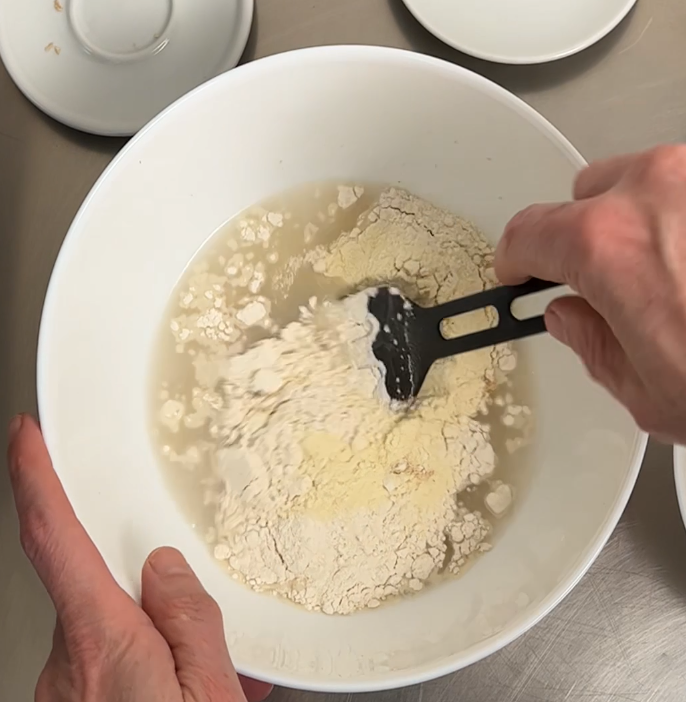
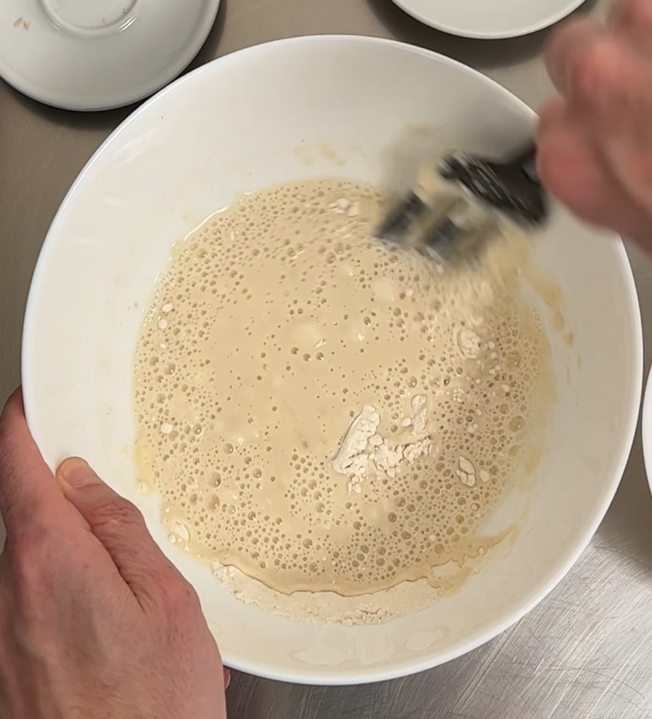
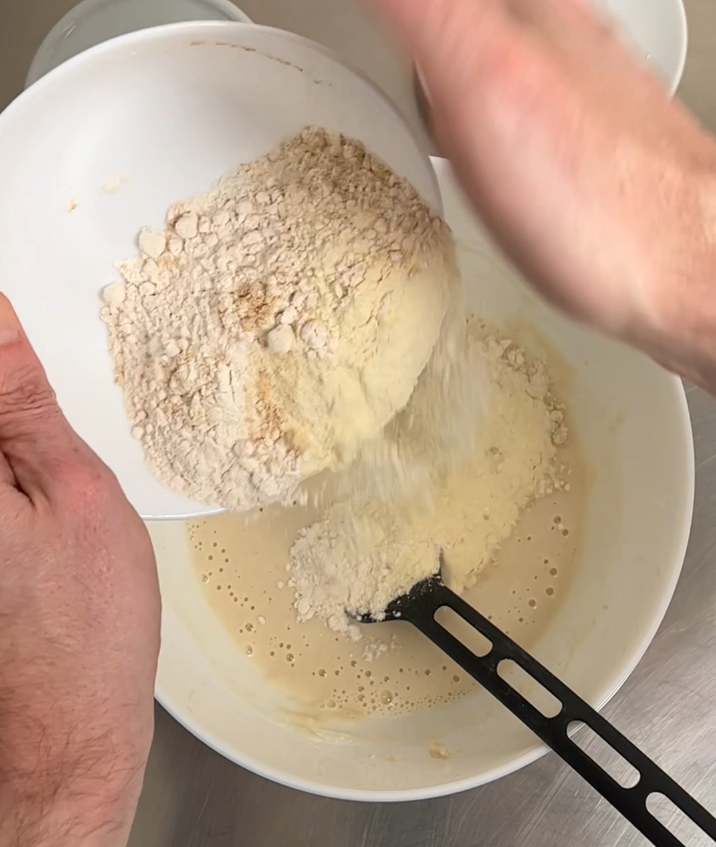
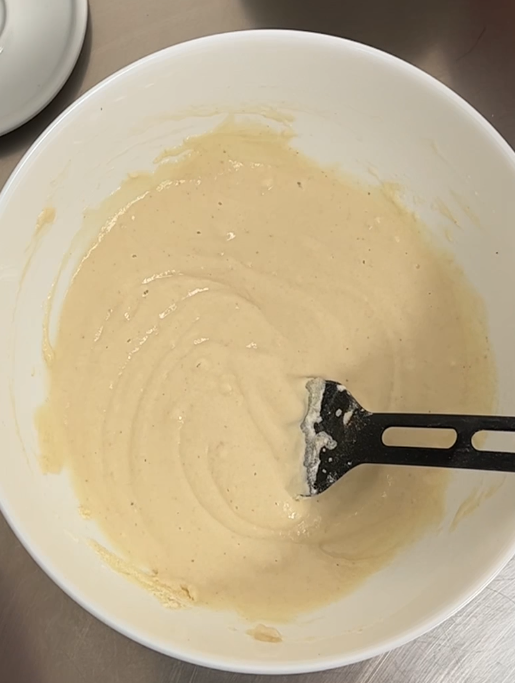
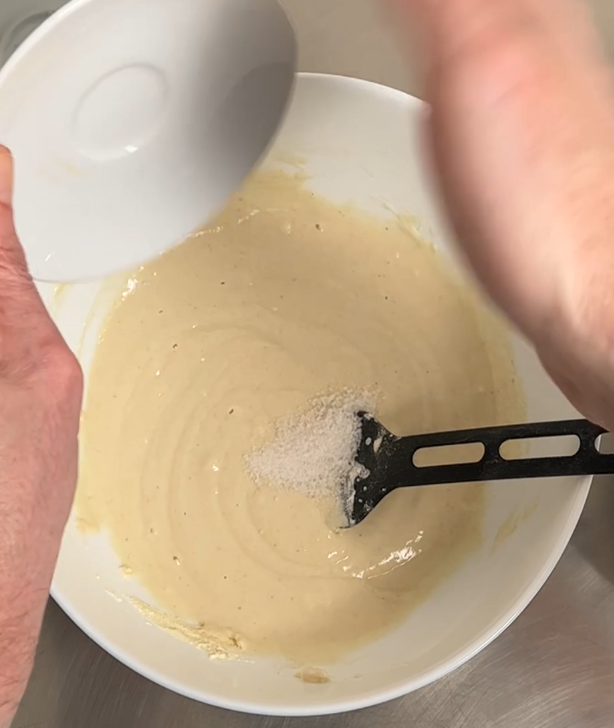
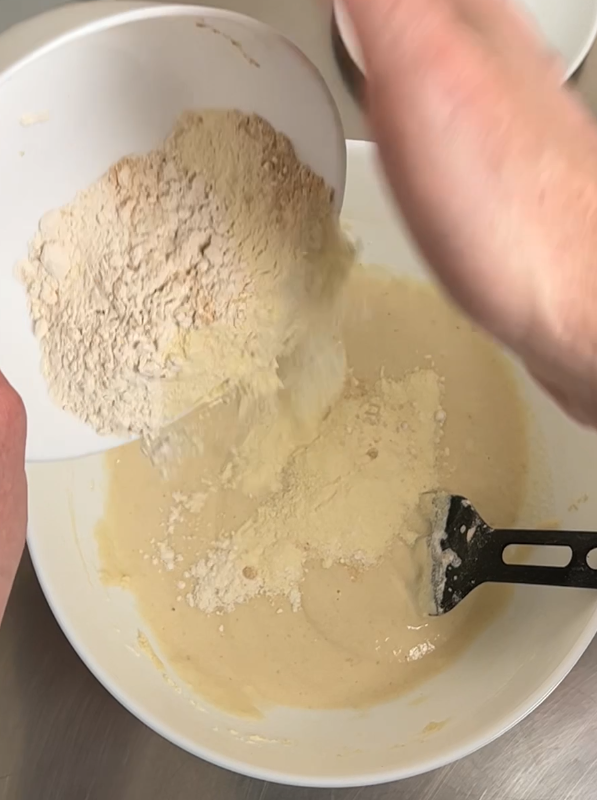
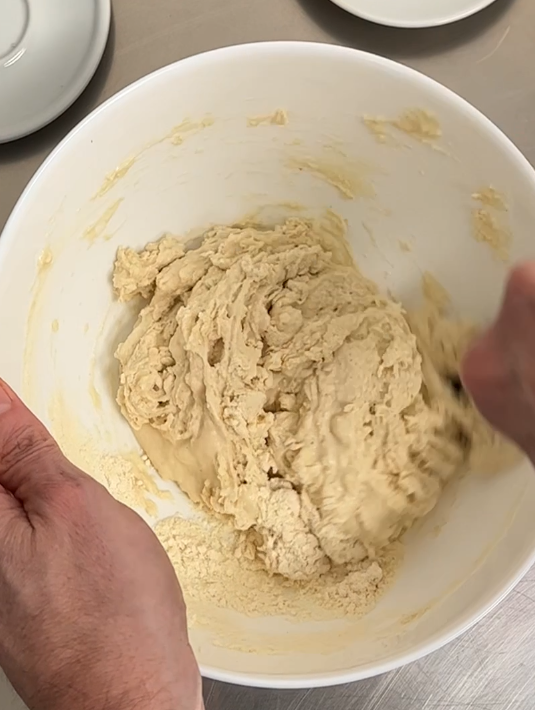
At the end of the mixing you want to have a result like this one:
It is now time to move to the second action: initial resting and folding.
Second Action: 30 minutes resting and folding
As a first step after kneading, you want to cover the bowl with the focaccia dough and have it resting for 30 minutes. My recommendation is to have the resting in fridge so you slowdown the yeast activity.
To cover the bowl you can use cling film, a wet (but not dripping) kitchen cloth or a silicone lid. The last option is my favorite because it keeps humidity inside the bowl and it is easy to clean and re-use.
After the 30 minutes waiting you need to uncover the focaccia dough and start what I defined as “partial folding”. Let me show you with a short video how to do it:
You can stop to fold and/or slap youer focaccia dough when you notice it becomes sticky again. Or in any case after just a few minutes. I generally don’t do folding for more than a minute or two.
Then you want to cover the bowl again, have another rest for 30 minutes and repeat.
The folding and 30 minutes resting should happen for a total of 4 times. You will notice that break after break the gluten mesh will become stronger!
After the last folding you can have your focaccia starting its first proofing.
Proofing Focaccia
If you follow me on social media it is highly possible that you already know what is the difference between focaccia and pizza. And you may know that one of the key differences is in the proofing. In fact focaccia requires to proof a second time in the pan you are going to use to bake. While pizza does not want that.
What is the difference between focaccia and pizza?
Focaccia requires to proof a second time in the pan you are going to use to bake
To respect the rules, also in the case of this tastiest Italian focaccia recipe, we will be doing a first proofing in the bowl and a second one in the pan.
First Italian focaccia proofing
So, the first Italian focaccia proofing will be in the same bowl you used for kneading. After the last folding action you can cover again your focaccia dough and keep it out of the fridge. Having the dough at room temperature will speed up the proofing process quite a bit.
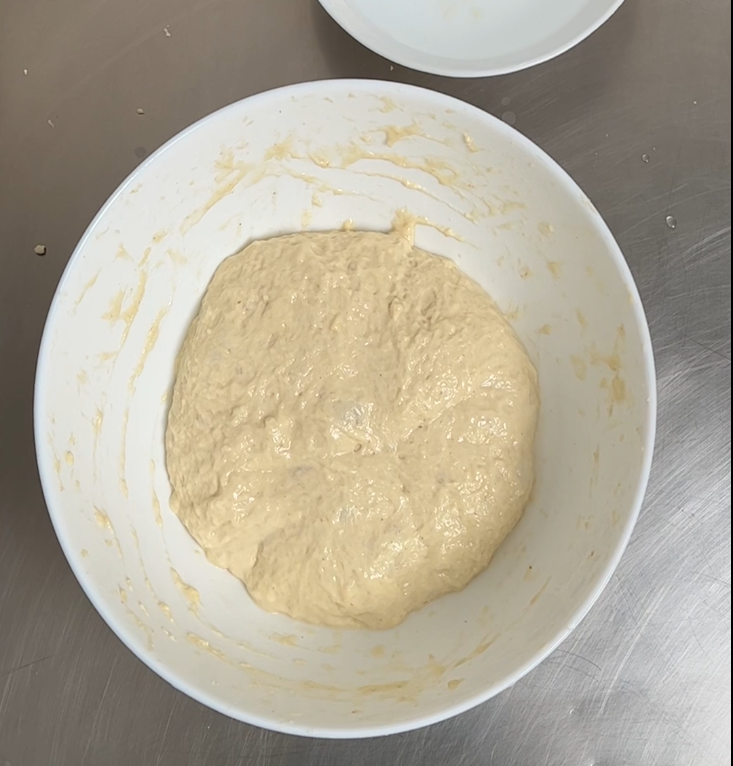
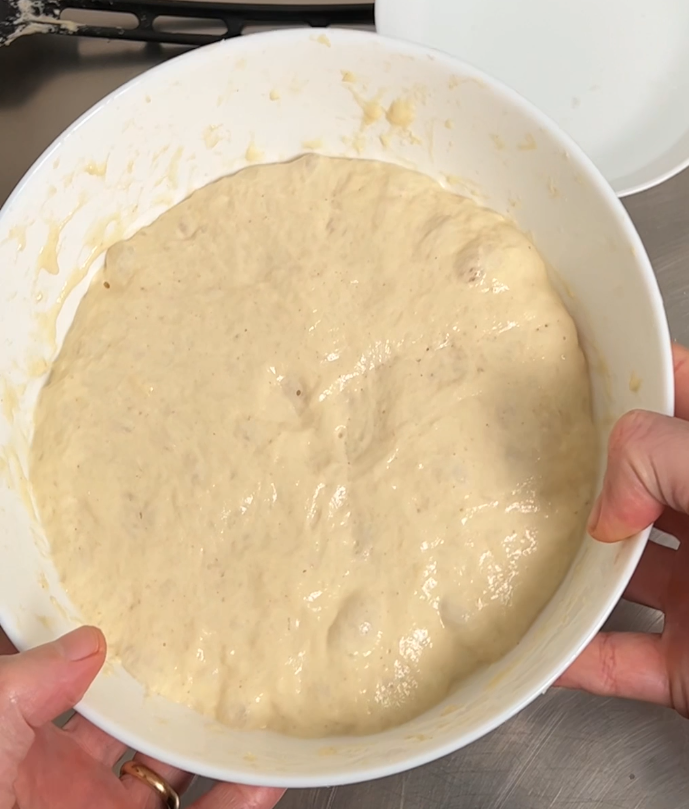
If you are asking how much to proof this focaccia dough the answer is pretty simple: we want to have it doubling in its size. The time that it will take depends on your specific room temperature. At around 22 Celsius it should take about 2 hours.
In the following pictures you can see how the focaccia dough looks like after the last folding (left) – before the proofing – and how it looks like when proofing is complete (right):
Now, you want to move the dough in the pan to start the second proofing.
Second Italian focaccia proofing in pan
First of all you want to prepare your baking pan. This time I am using a rectangular coated pan. Generally I don’t like such pans, but they are good for this type of focaccia, also because we are not going to bake it at high temperature.
So take some high quality extra virgin olive oil, pour it in the pan and spread it to coverall the pan surface:
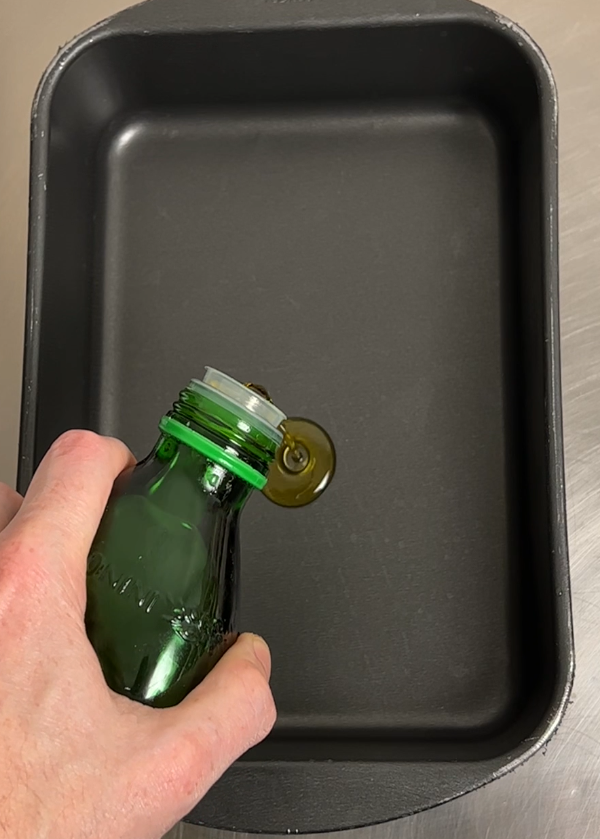
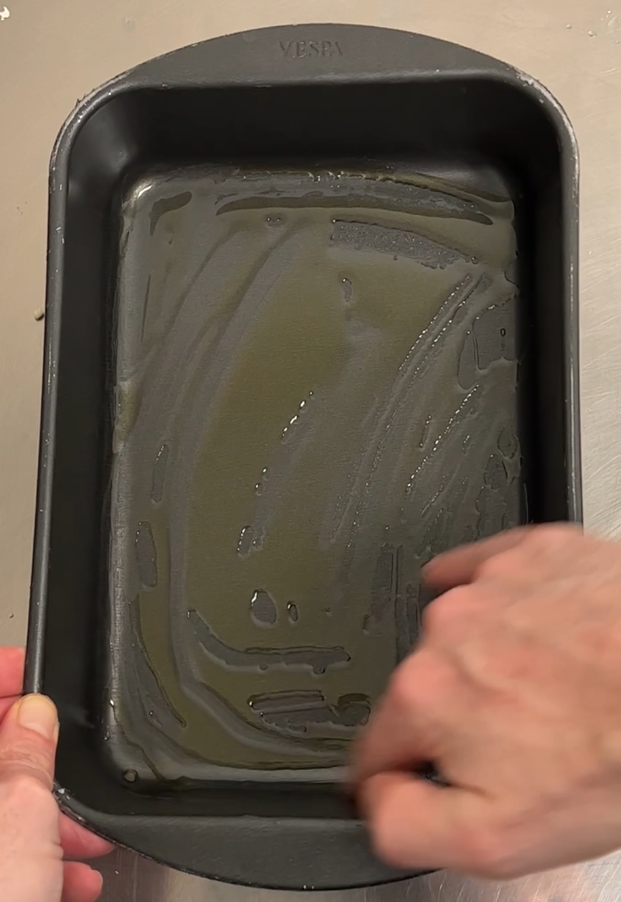
There is not a specific quantity of oil to use, but make sure you use enough and have a result similar to the one in picture. Also, this oil is going to be partially absorbed by the dough during second fermentation, so you want to have a very good quality extra virgin olive oil.
Next step is to move the proofed focaccia dough into the pan:
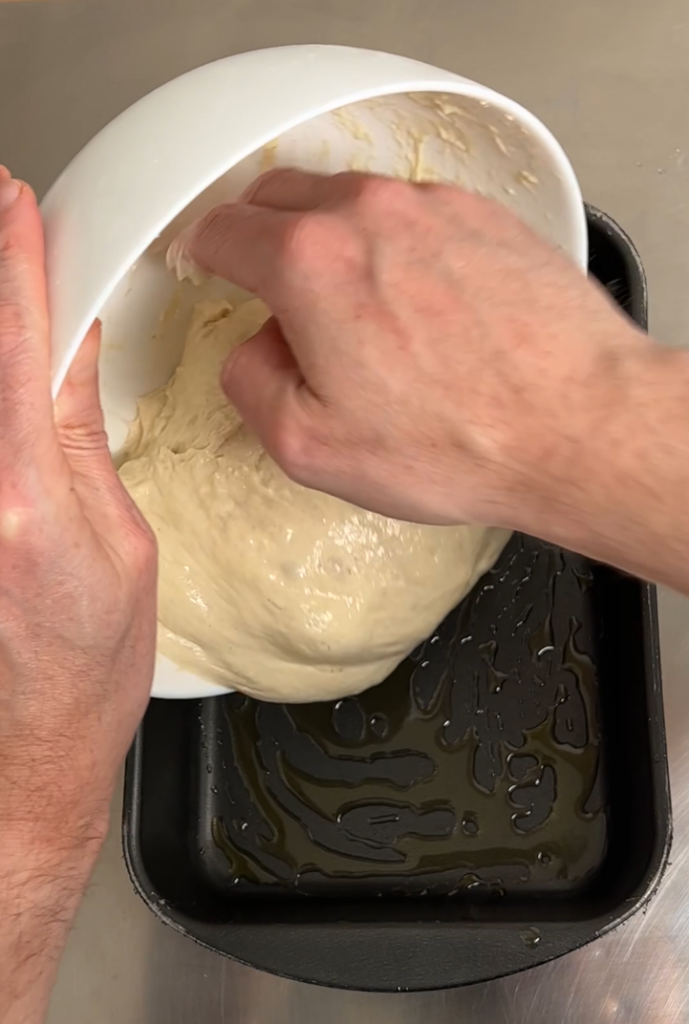
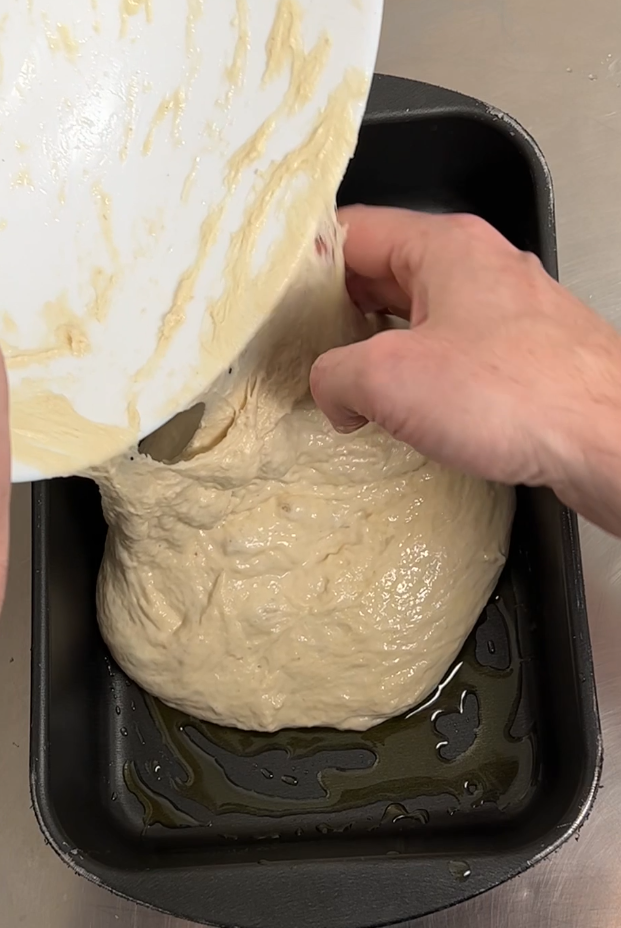
You don’t need to pay special attention on how you move the dough from the bowl. Just make sure it stays in one single dough and does not stretch too much. You risk to rip off the gluten mesh!
Before starting the real proofing, it is time to fold again the focaccia dough. This time we will be using a technique derived from the bread. So yuo will fold the dough on itself from one side, then from the other side and you turn it upside down. Pictures will be much explanatory than words:
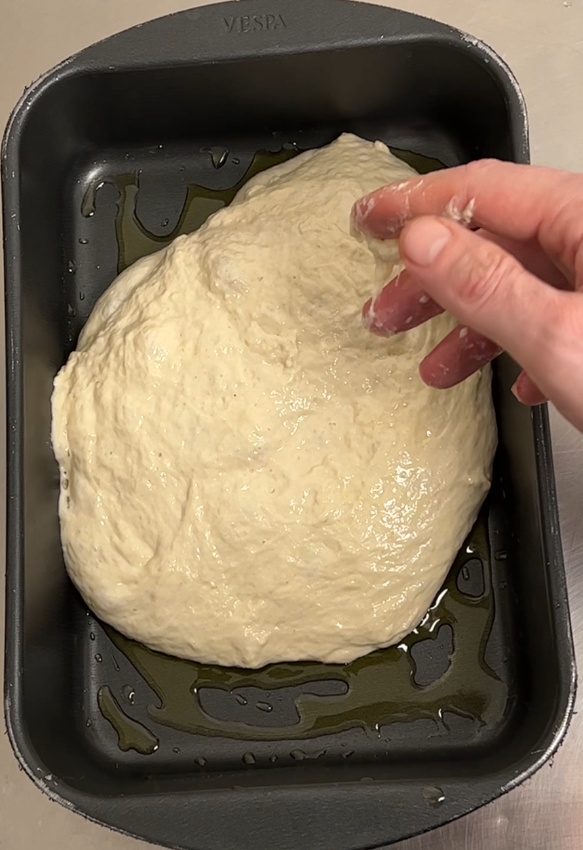
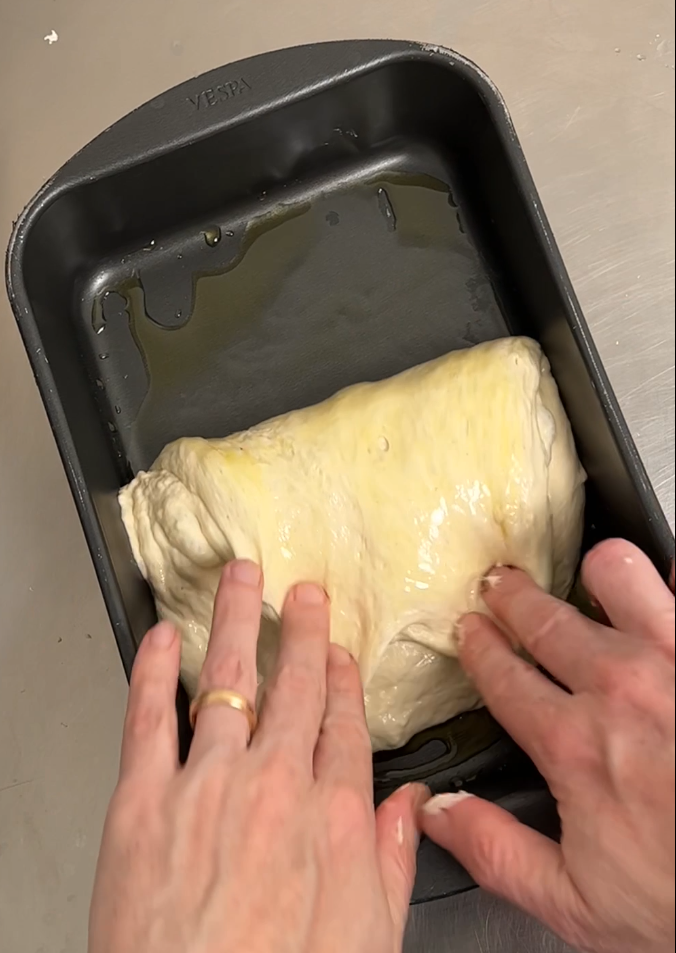
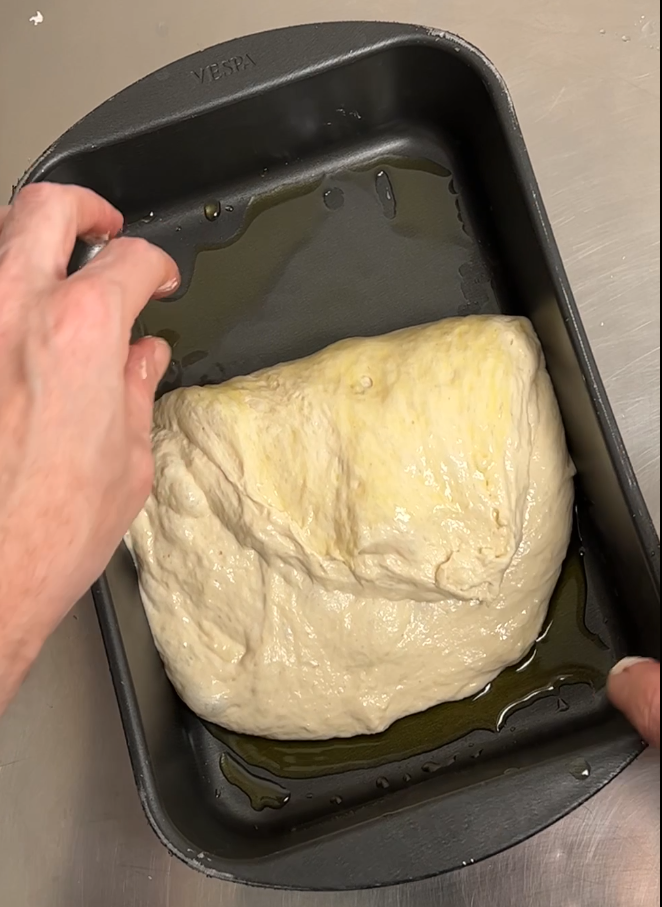
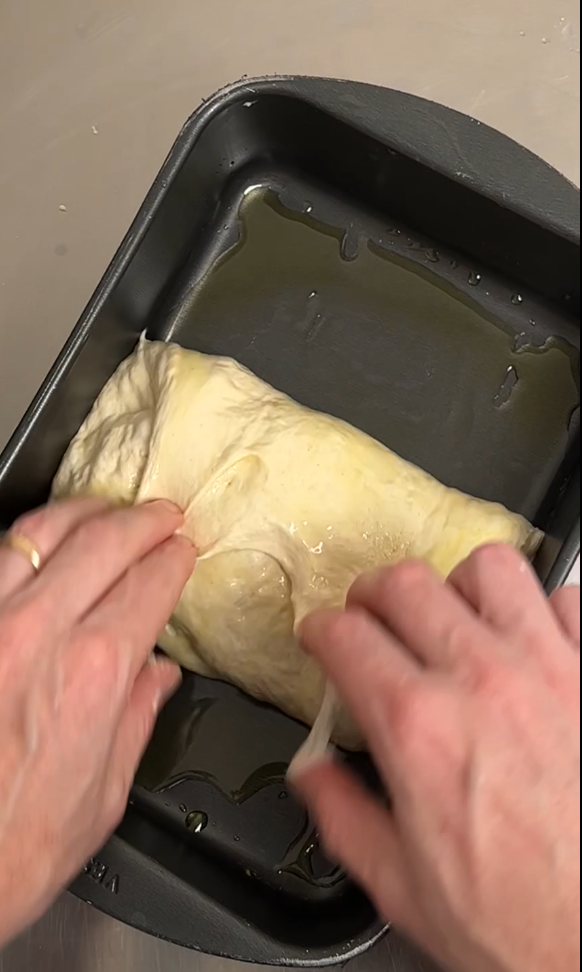
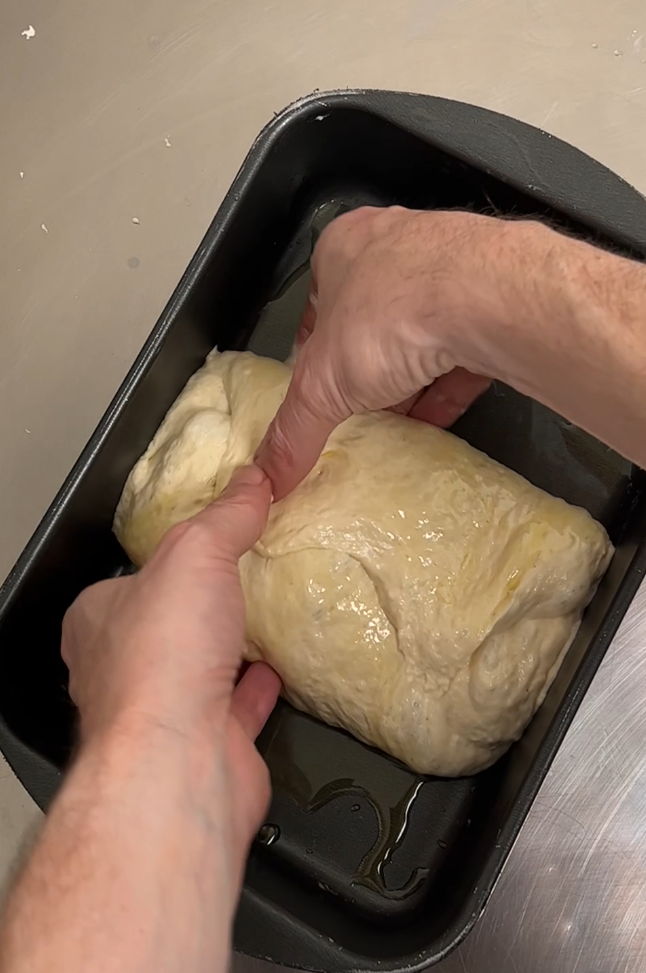
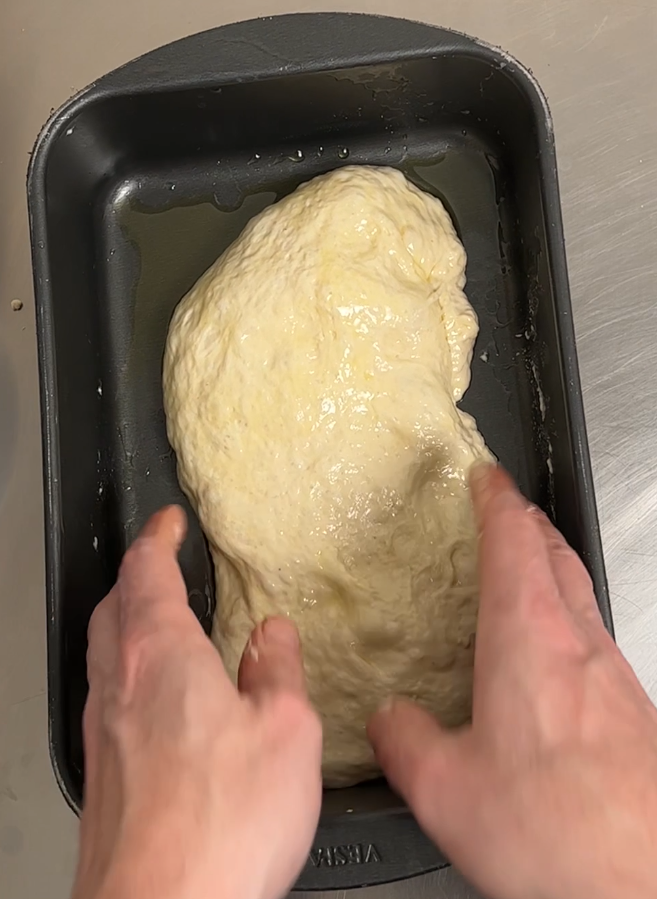
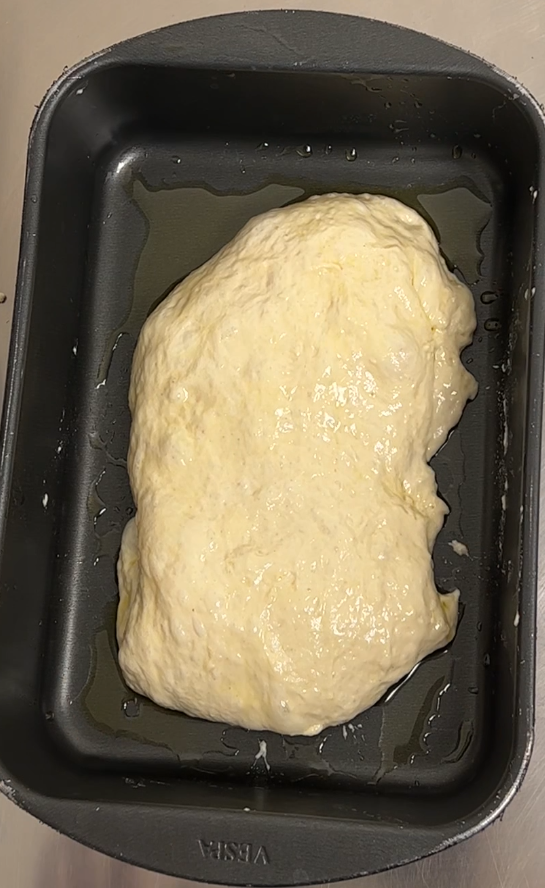
Now put the pan in the oven (without turning it on) and wait for the second proofing to happen. It will take from one to two hours, just be careful not to overproof. This is what you want to achieve:
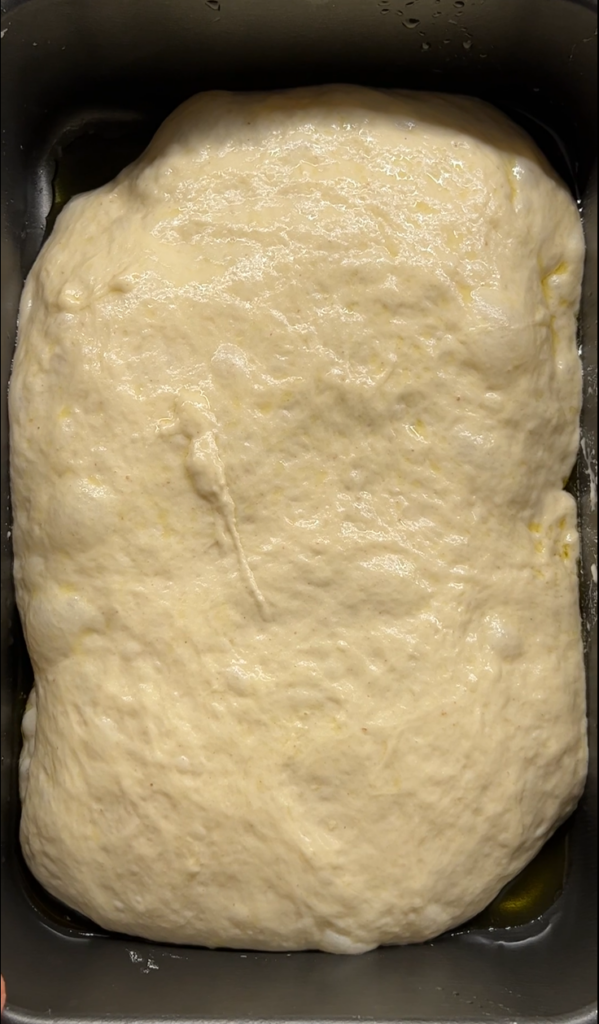
Essentially the focaccia dough expanded until the borders and started to also grow in height. Now we are ready to add our topping and bake it!
How To Properly Bake A No-knead Focaccia
Baking focaccia is not rocket science. It is a pretty simple process that does not require a dedicated pizza oven. Instead you can use a standard home oven. Even a small oven will do the job pretty well .
The rule of thumb is to bake this focaccia at a temperature of 220/230 Celsius, no more. Do not use any convection, just static oven. Convection will dry the surface of the dough too fast and the final result will not be the one we are searching.
Make sure yuo pre-heat the oven and then add your favorite topping to the focaccia.
To reproduce something similar to a focaccia barese I am going to use a classic topping before baking: cherry tomatoes. At the end of the article I will explain exactly how to prepare them in advance. For now just remember that you want to add those sliced tomatoes on top of focaccia just before baking. Make sure you make some pressure on tomatoes so that they penetrate the dough:
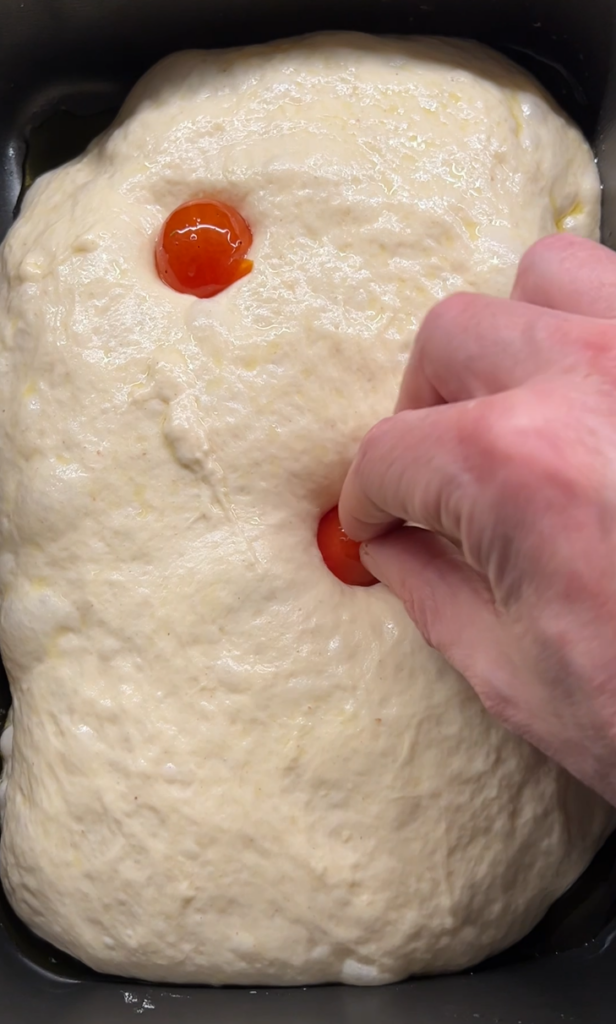
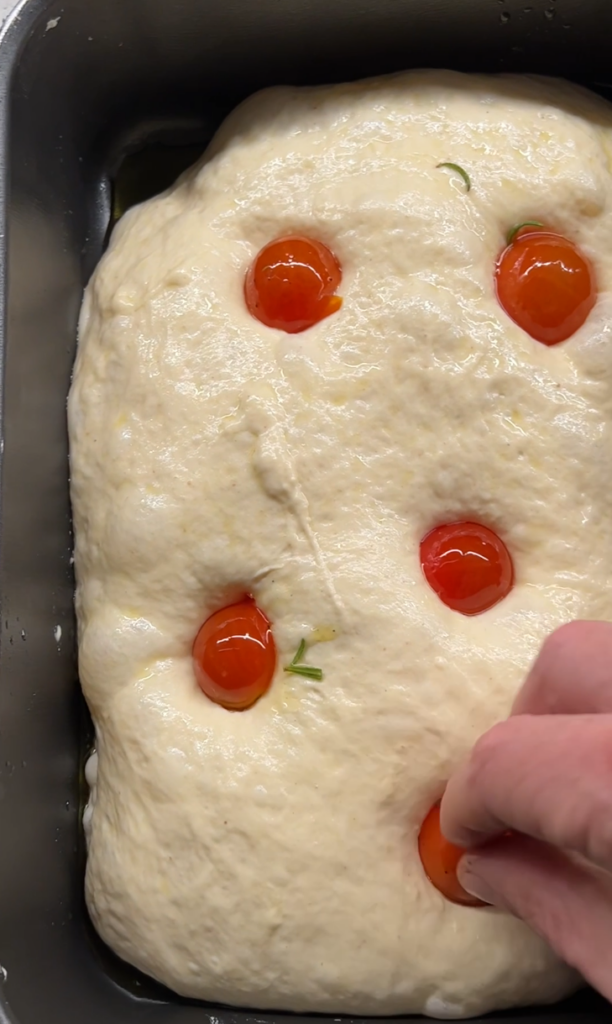
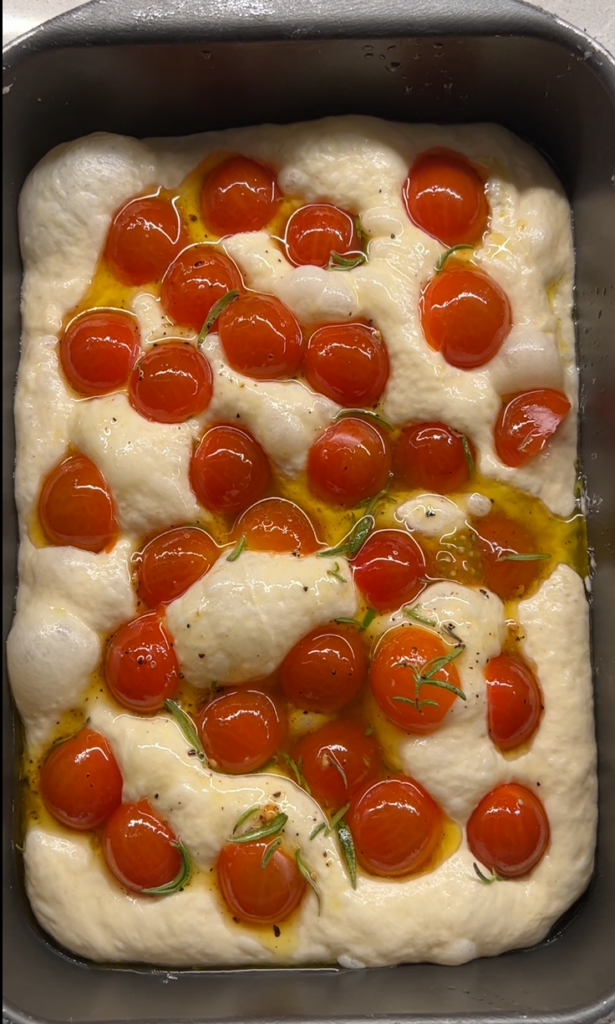
And now you are ready to go into the oven for about 15/20 minutes. Note that your oven may differ than mine and you maybe need more time, so just try to check while baking and avoid to take the focaccia out too early or too late.
Here is the ideal result:
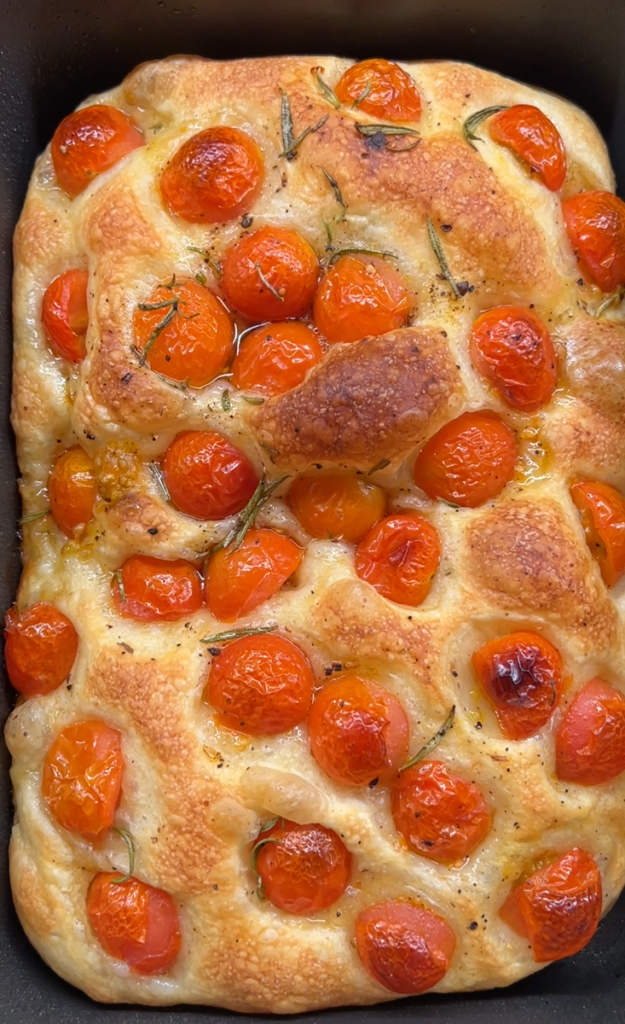
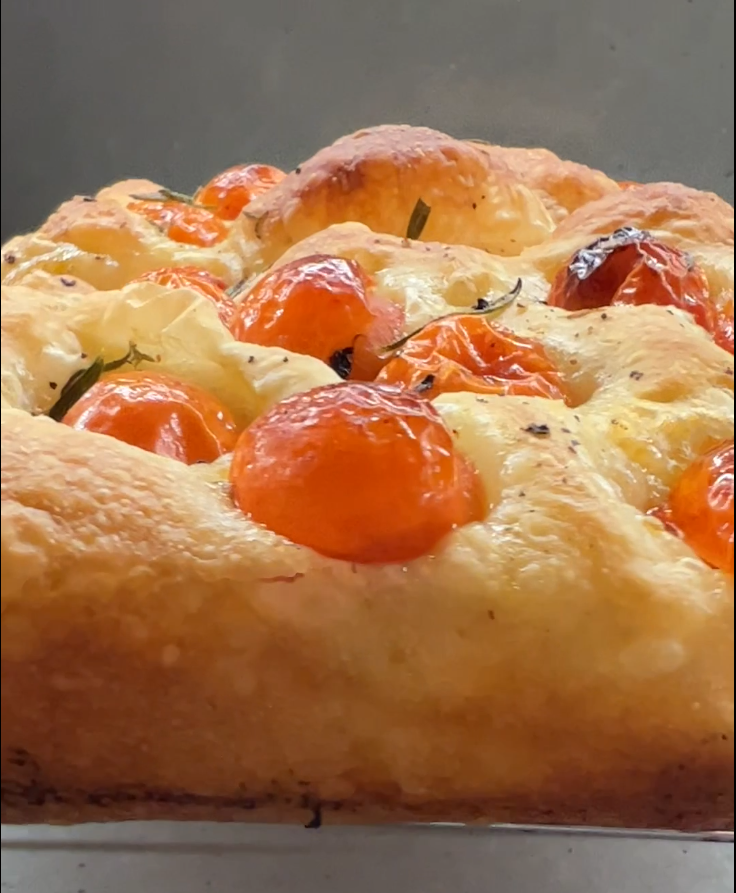
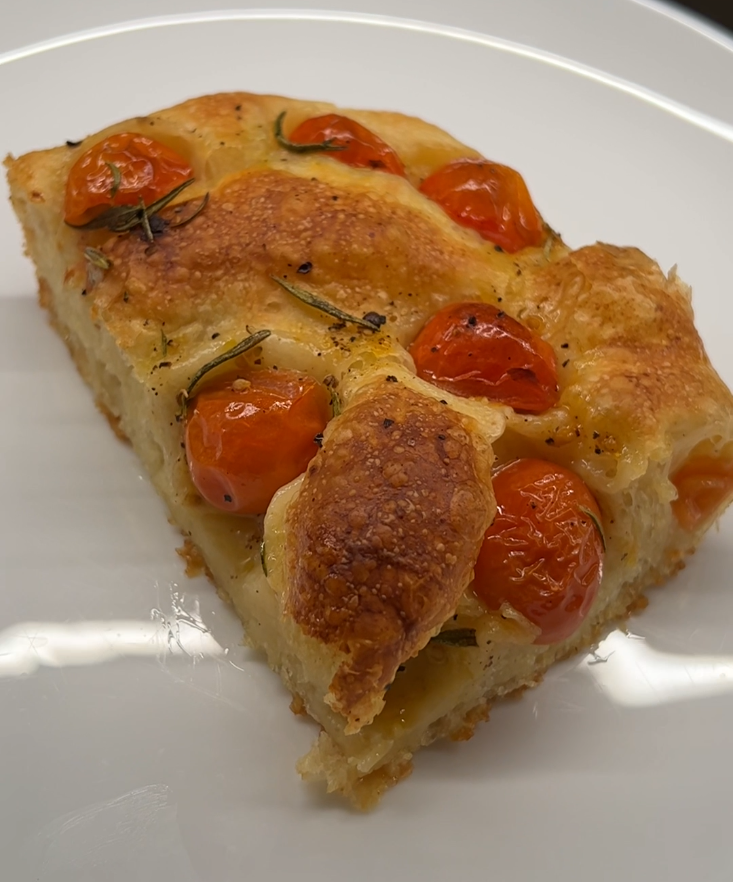
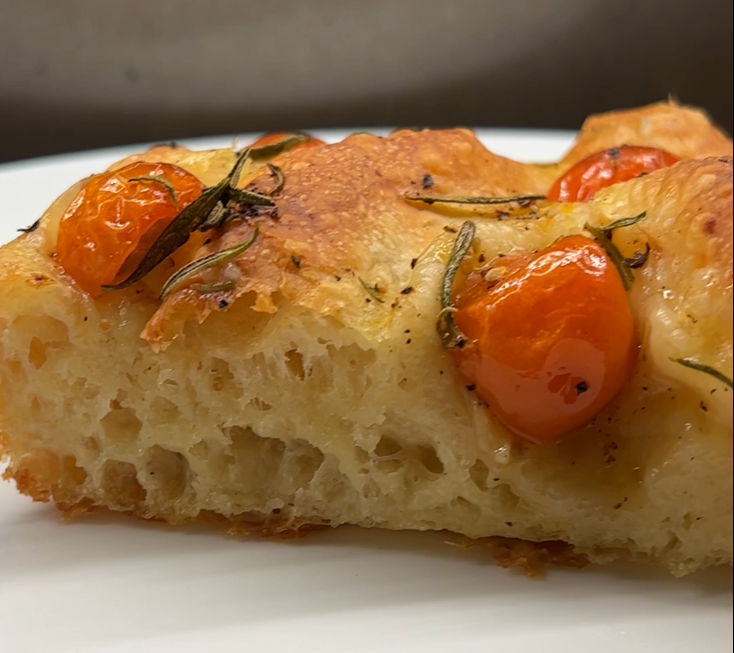
It is super fluffy! You will love it!
Italian Focaccia Classic Topping
First of all let me share the classic focaccia topping I made with cherry tomatoes. It is pretty easy. Just take the amount of cherry tomatoes I shared at the beginning of the article, divide them in two and season them with salt, extra virgin olive oil and rosemary. If you like you can add also a bit of black pepper.
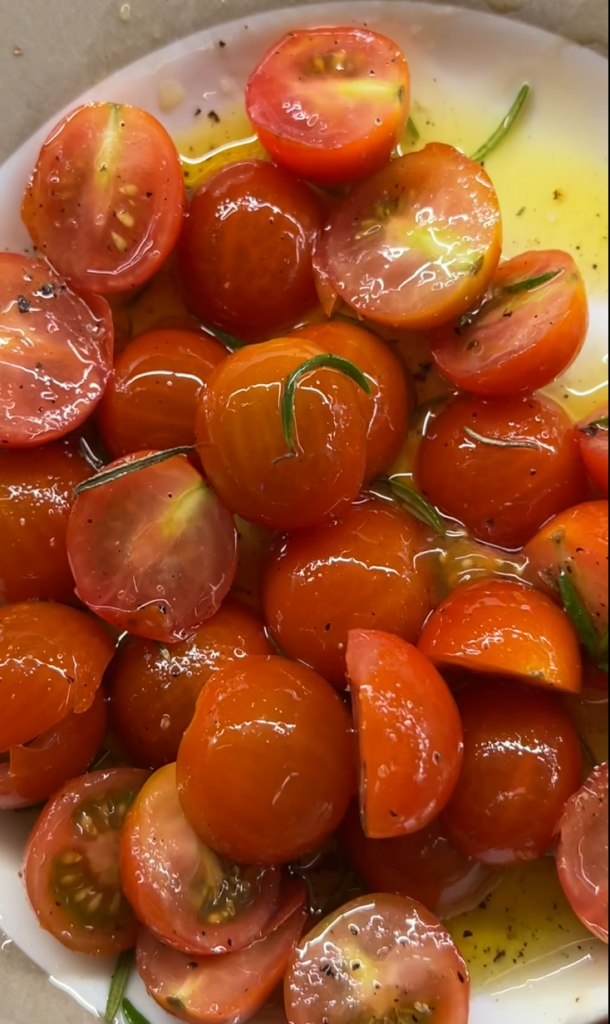
You may have noticed that the above topping is not the classic white Italian focaccia similar to focaccia bread. I know that very often there is not such an understanding about the difference between focaccia and bread. Let alone difference between focaccia and pizza.
In any case, I hope you enjoyed this article and the two tips to making a good focaccia.



2 Comments
I just made this focaccia and it’s the best I’ve ever had or made. The texture was excellent. Thank you so much for sharing this recipe and technique; it is fabulous. It was hard not eating the entire batch in one sitting.
Thanks to you for sharing your experience 🙂