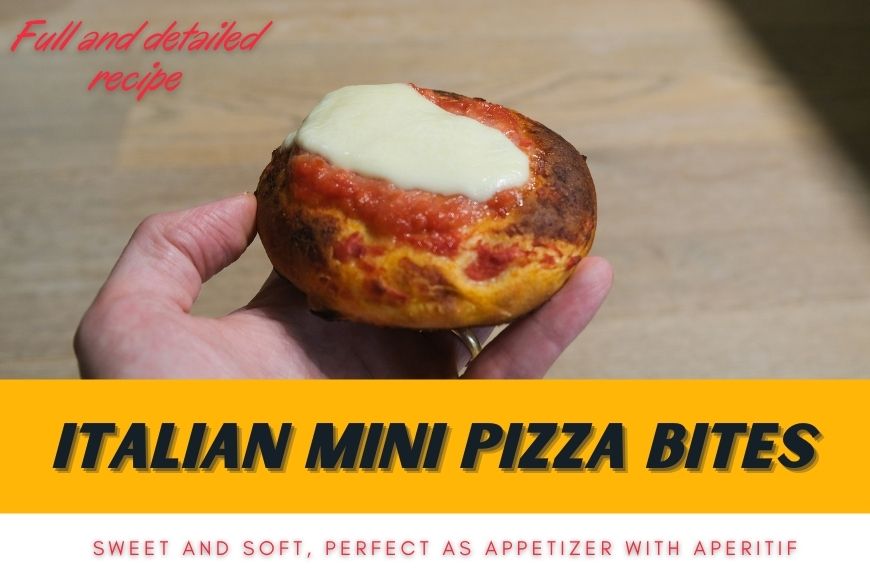
Italian Mini Pizza Bites – Pizzette perfect as starter!
Last updated on November 12th, 2023 at 06:55 pm
Pizzette are small pizza that are served in Italy very often with aperitivo. With this pizza recipe you can prepare delicious Italian mini pizza bites with minimal effort. As always I will be taking a step by step approach to guide you through preparation of this traditional Italian pizza.
As you will soon realize, this pizza recipe is a bit different than others we did already. We are going to make the pizza dough with milk. Moreover we are going to prepare very small dough balls of just 60 gr. The beauty of the mini pizza bites is that they are sweet, tasty and you cannot stop having one after the other.
As always here is the summary of the topics and steps of today’s pizza recipe:
- Mini Pizza Bites Recipe
- Mixing Ingredients and Preparing the Dough for Maturation in Fridge
- Making Pizzette Dough Balls and Start Second Dough Fermentation
- Shaping Dough balls for Third Fermentation
- Cooking Mini Pizza Bites
At the beginning you can think that the process to prepare pizzette as starter is tedious and requires time. However I can tell you that this is not really the case. If you follow the instructions everything will be incredibly easy. The result is guaranteed even if you are not very used to manipulate the pizza dough!!
Mini Pizza Bites Recipe
If you follow this website already you probably already know this recipe. In fact we are going to prepare the “Pizza as Starter/Appetizer” that you can find in the Pizza Calculator.
For this article I am going to prepare only four Pizzette. Of course you can prepare as many as you want and have the calculator giving you the amount of ingredients you need.
PizzetteRecipe
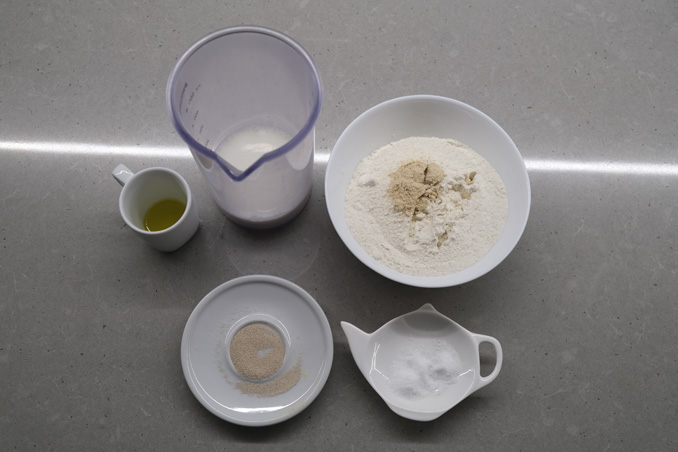
| Ingredient | Amount (gr) |
| Flour | 140 |
| Water | 10 |
| Milk | 80 |
| Yeast | 3.5 |
| Salt | 3.5 |
| Oil | 4 |
| Malt | 0.7 |
Let’s enrich the recipe adding what is the best flour to use for Pizza as starter. I recommend a general purpose flour that is not too strong. What I mean by “strong” is the amount of proteins it has. It’s even better is you can select the flour based on its W value. I suggest to use a 260/280W white flour. In Italy I would use a Tipo 0 or even a Tipo 00. If you cannot get the W value, try not to use a flour that has more than 13/13.5 gr of proteins.
I suggest to use a 260/280w general purpose flour for this recipe.
One can observe that there is one more difference than a classic Italian pizza recipe. Indeed we are using quite a lot of milk instead of water.
Milk will give a special taste but also a longer shelf-life. Of course for home made purpose you don’t necessarily need your pizza to last for long time. But you can if you want. Also, the taste of milk will give a sweeter feeling to the dough. This is absolutely perfect when you are getting an aperitif drink!
I would like you to consider to subscribe to my newsletter. It’s free, you will get a recipe notebook to download and you will never lose my new tips & tricks around the world of Italian pizza. I hate spam too, so no worries, subscribe with confidence:
Mixing Ingredients and First Dough Fermentation
For the preparation of the Italian Mini Pizza Bites dough, you have to proceed with mixing as any other pizza. Following is the step by step dough mixing process:
- Add flour and malt in the mixer
- have the mixer working for 1 minute
- Add yeast, water and milk all together
- Mix ingredients at low speed until they are well combined
- Without stopping the mixer add oil
- Increase a bit the speed of the mixer and let it go for 4/5 minutes
- When the dough is smooth stop the mixer
- have the dough resting for 20 minutes in the mixer bowl
If you want to prepare the pizza dough properly you want to measure temperature while mixing. Specifically you want to make sure that the dough closure temperature is not over 24 °C.
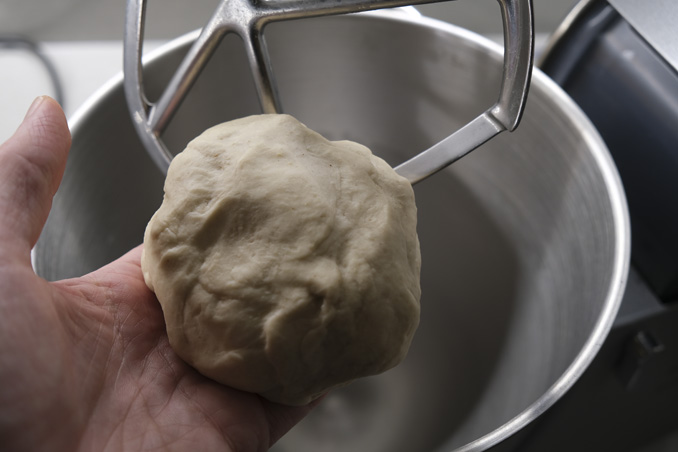
Italian mini pizza bites dough is sticky because we are using milk
One important note about this pizza dough: as we are using milk, the dough is sticky. Don’t worry because this is expected.
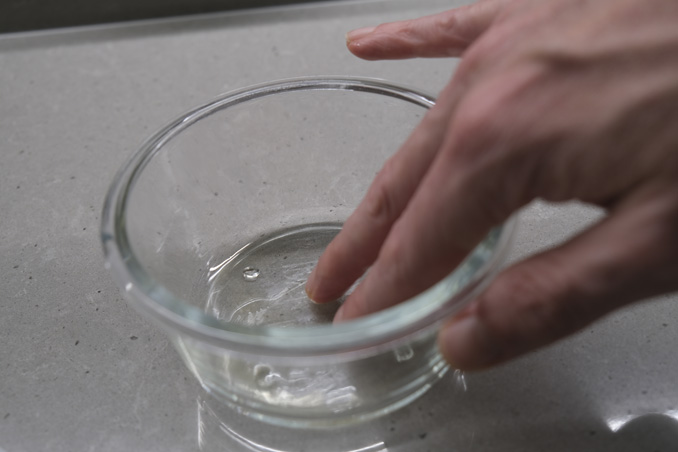
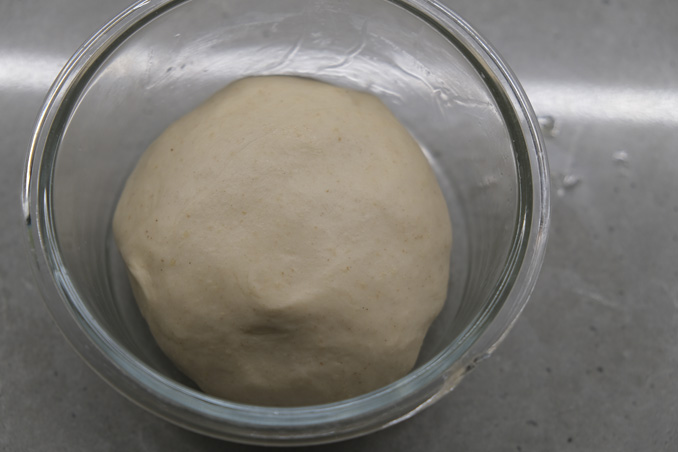
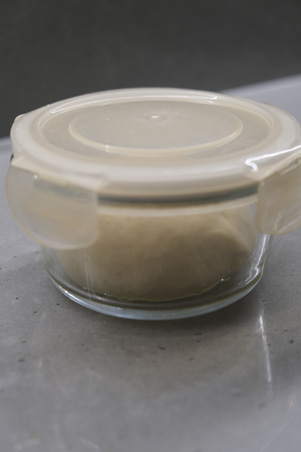
After the dough had a rest in the bowl mixer you can move it to a container and then to the fridge. The best temperature to have the cold fermentation is between 5 and 6 °C. You can keep the dough fermenting for 20/24 hours without issues. For the proofing box to use, I suggest to follow my previous article. Make sure you use one that is big enough to contain the dough but not too big.
Making Pizzette Dough Balls
After the pizza dough maturation in the fridge we can move to the next phase: making pizza dough balls. Before we do that, however, it is best to prepare the sheet tray. In fact this type of pizza dough requires to have a second fermentation directly on a sheet tray. More precisely just after you create the first balls!
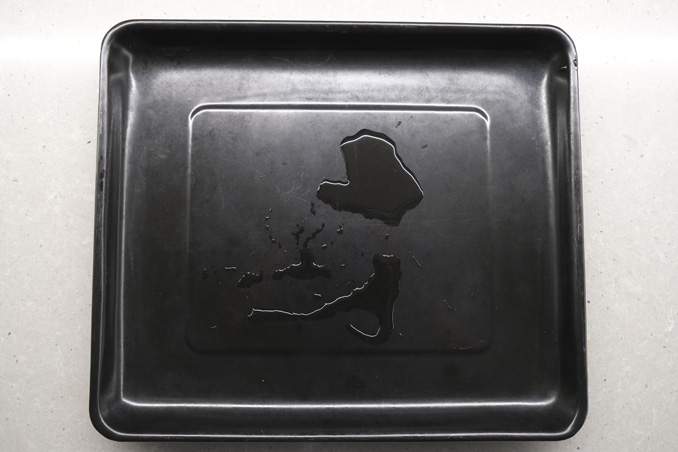
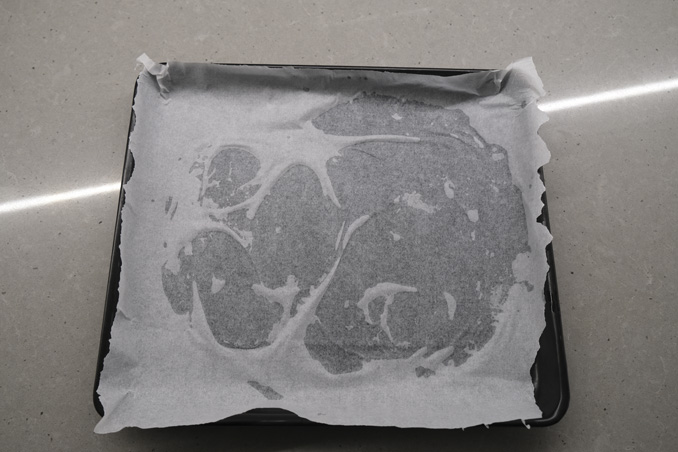
So, take a piece of parchment paper big enough to cover the base of your sheet try. To make sure it is sticking to the the sheet try I put a few drops of water below it.
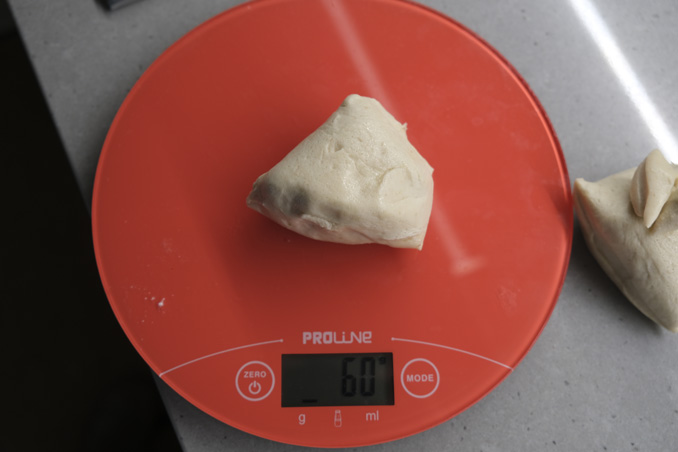
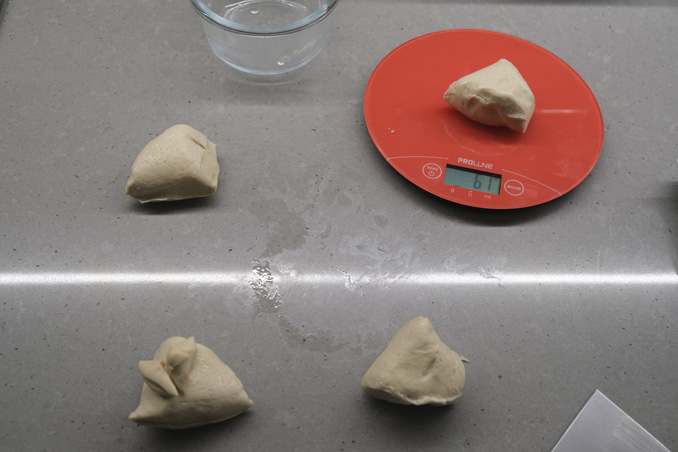
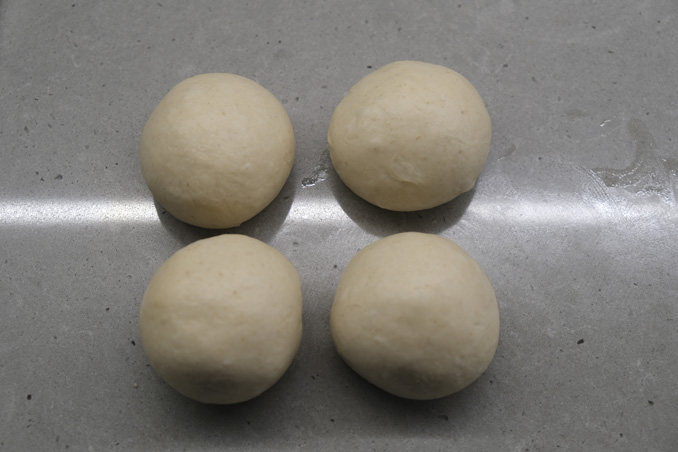
Now let’s take the dough from the proofing box that was in the fridge. We want to create from it four dough balls of about 60 gr. The process is super easy: just cut enough pizza dough to arrive to 60 gr and make the balls:
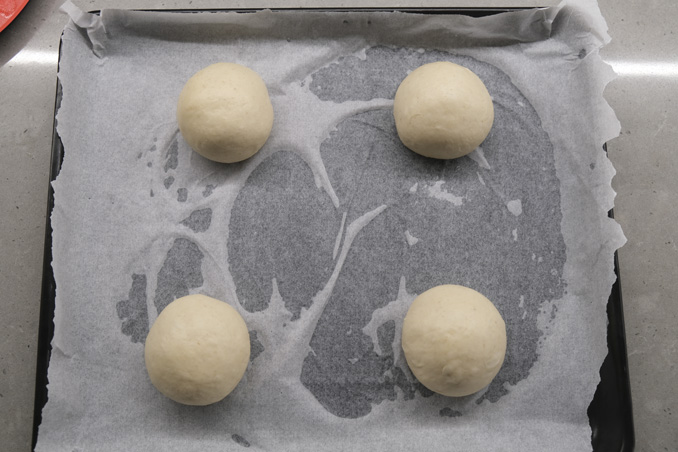
Each ball goes on the sheet tray parchment paper. Make sure you leave enough space between dough balls. You don’t want them to touch each other.
Once finished, put the sheet tray with pizzette dough balls in a warm place. The ideal temperature for this fermentation is 30 °C. If you don’t have any place with such temperature, you can use the oven and have the light turned on.
Now you just need to wait 40/50 minutes before the next step.
Consider to subscribe to my newsletter. It’s free, you will get a recipe notebook to download and you will never lose my new tips & tricks around the world of Italian pizza. I hate spam too, so no worries, subscribe with confidence:
Shaping Dough Balls for Second Fermentation
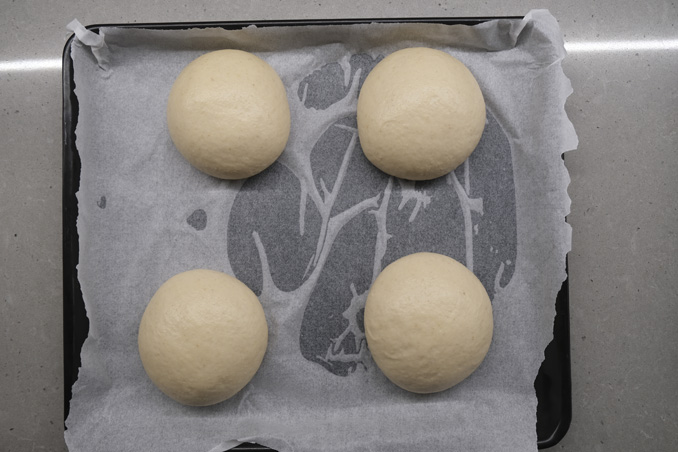
Once the mini pizza bites dough balls had a rest of 40/50 minutes, you can move to the preparation of second fermentation.
To do that you want to have your tomato sauce ready. In fact we are going to use it on top of our pizzette just before we start a new fermentation. I like to use peeled tomatoes for this recipe. I take them from a can and with the help of a hand immersion blender I reduce the tomatoes into a sauce. Remember: you only need 3 or 4 blender impulses to obtain the ideal sauce. Don’t do more than that. I also like to add 1% of sea salt in this pizza tomato sauce.
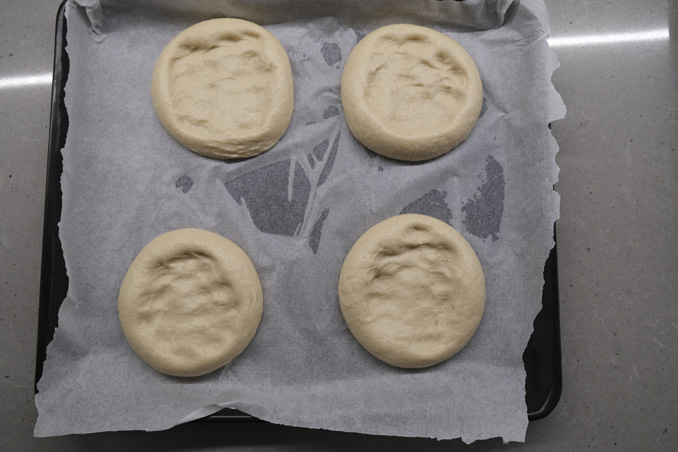
We can now shape the dough balls to ease the last fermentation. This is a pretty quick action. Simply press the dough balls that are already on the sheet tray from the center. Try to enlarge them a bit (not too much) while keeping the borders more or less untouched.
At the end of the process you expect to have similar result:

From this… 
…to this
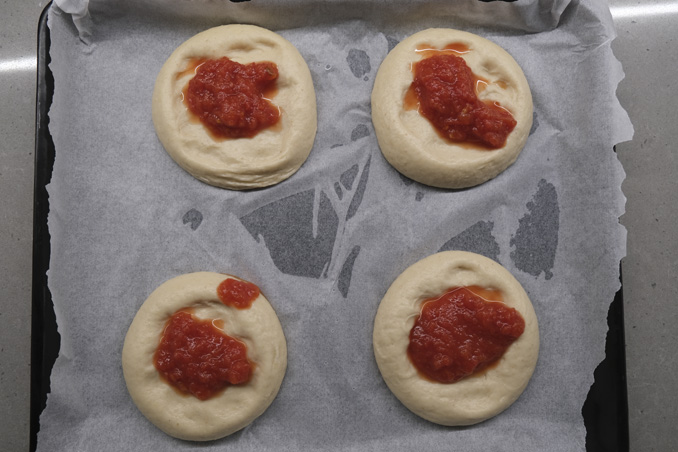
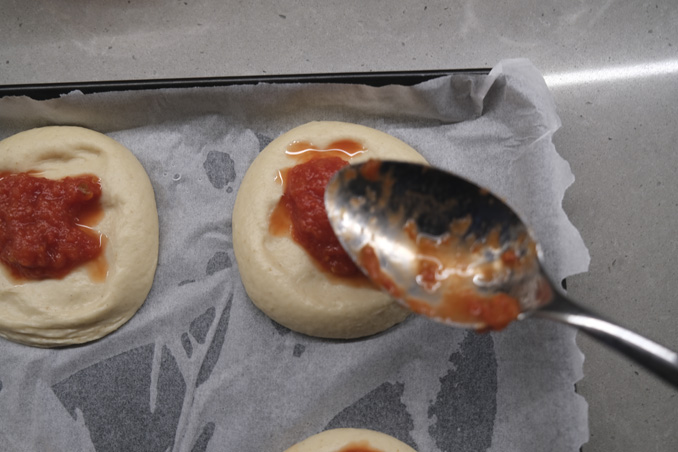
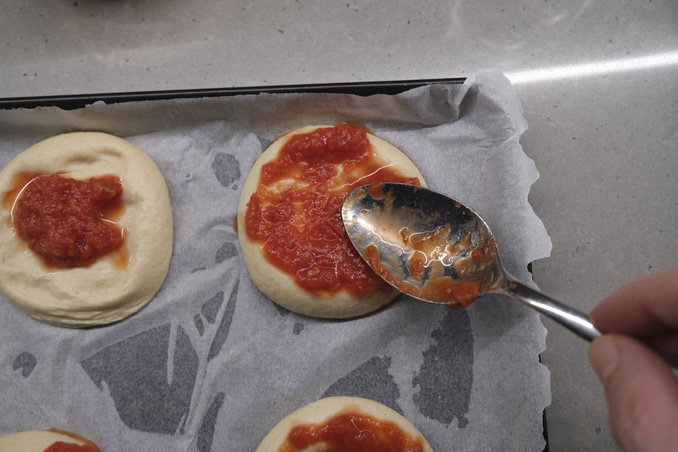
Now is time to add the tomato sauce. Do not add too much of it. On a 60 gr. dough ball I use less than one spoon of tomato sauce. Then I try to distribute evenly from the center to the borders:
And also this part is complete. Now let’s have the mini pizza bites having last fermentation. Ideally you want to put them back at 30 °C as we did before. Then, just wait for the dough to double.
Cooking Mini Pizza Bites
Italian mini pizza bites are ready to be cooked when they doubled after the last fermentation. You will definitely notice that they absorbed part of the tomato sauce we added before. This is what we wanted, so no worries:
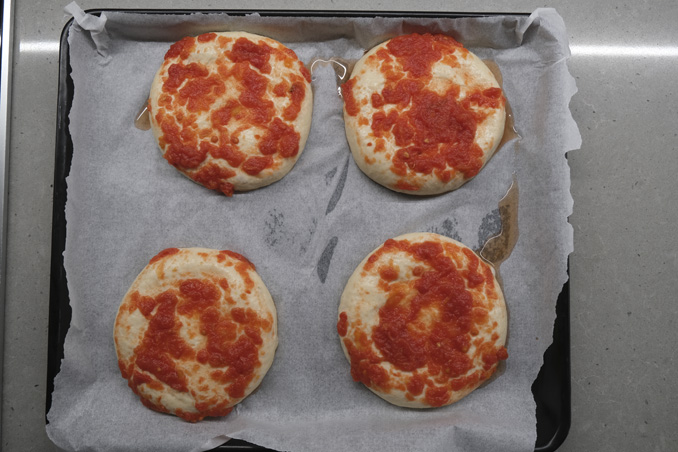
Now, take the sheet tray out and turn your oven to 240 °C static. We will do cooking in two parts. The first one will cook the dough properly. The second one will be used to add and cook remaining ingredients. Here you have a couple of options. You can use mozzarella cheese or just some oregano. If you want to go for the first option, make sure you prepare mozzarella slices in advance.
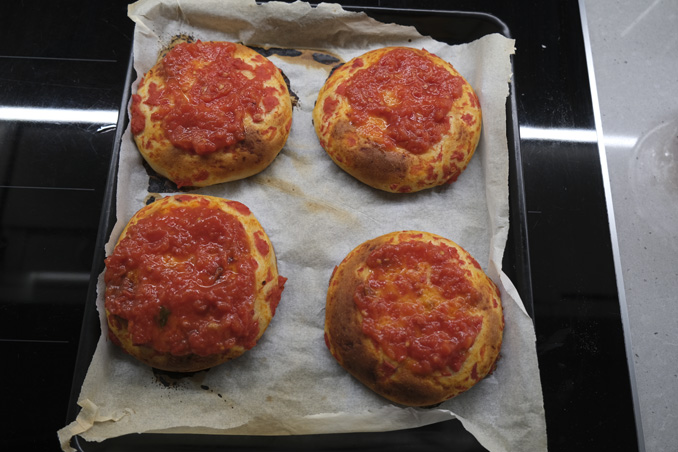
Once the oven temperature is fine, we start cooking for about 12 minutes. You want to have the first cooking ending with this result:
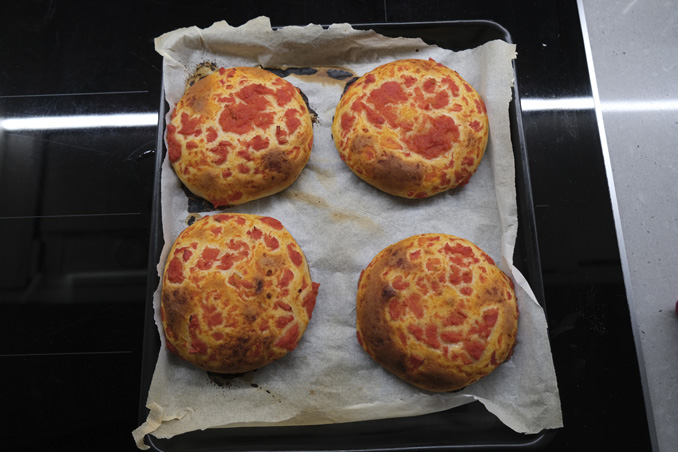
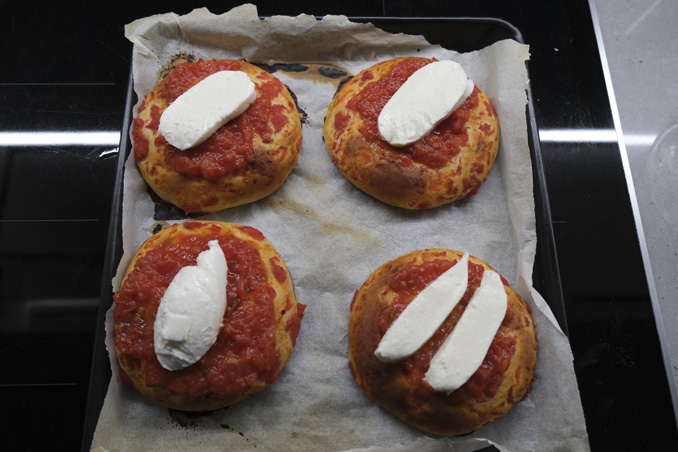
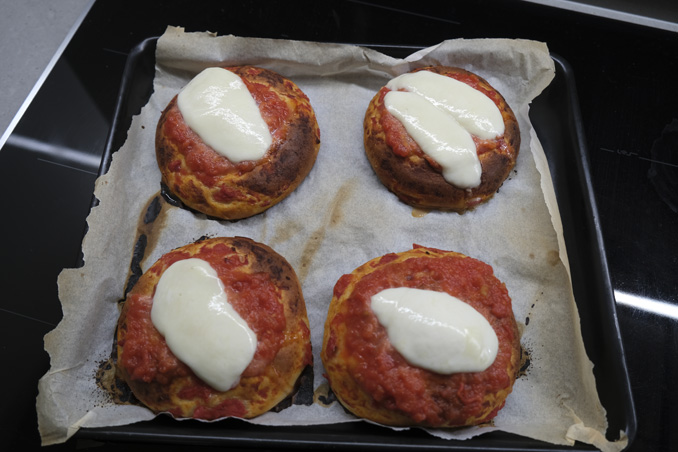
Now is time to add more tomato sauce and, if you like, mozzarella cheese slices. Then put the sheet tray in the oven again until mozzarella is melted or tomato sauce cooked enough.
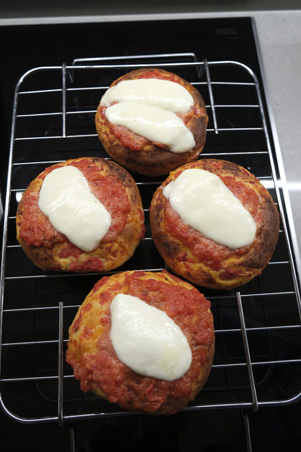
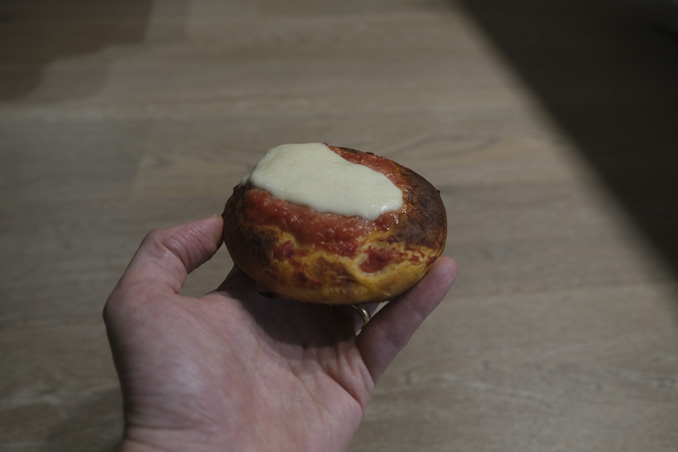
And now is time to enjoy:
If you like my blog posts and you want to learn more about the fantastic world of real authentic Italian Pizza, I suggest you to subscribe to my newsletter. It’s free and you get a free notebook where you can take note of your pizza journey!



1 Comment